Tenaya Peak and Matthes Crest Linkup
Last year, Louie and I had a great time climbing Cathedral Peak (5.7, 5 pitches) in Tuolumne Meadows, Yosemite. This year, both of us being much stronger, faster, and more experienced climbers, and also both being unemployed, we set a significantly more ambitious itinerary:
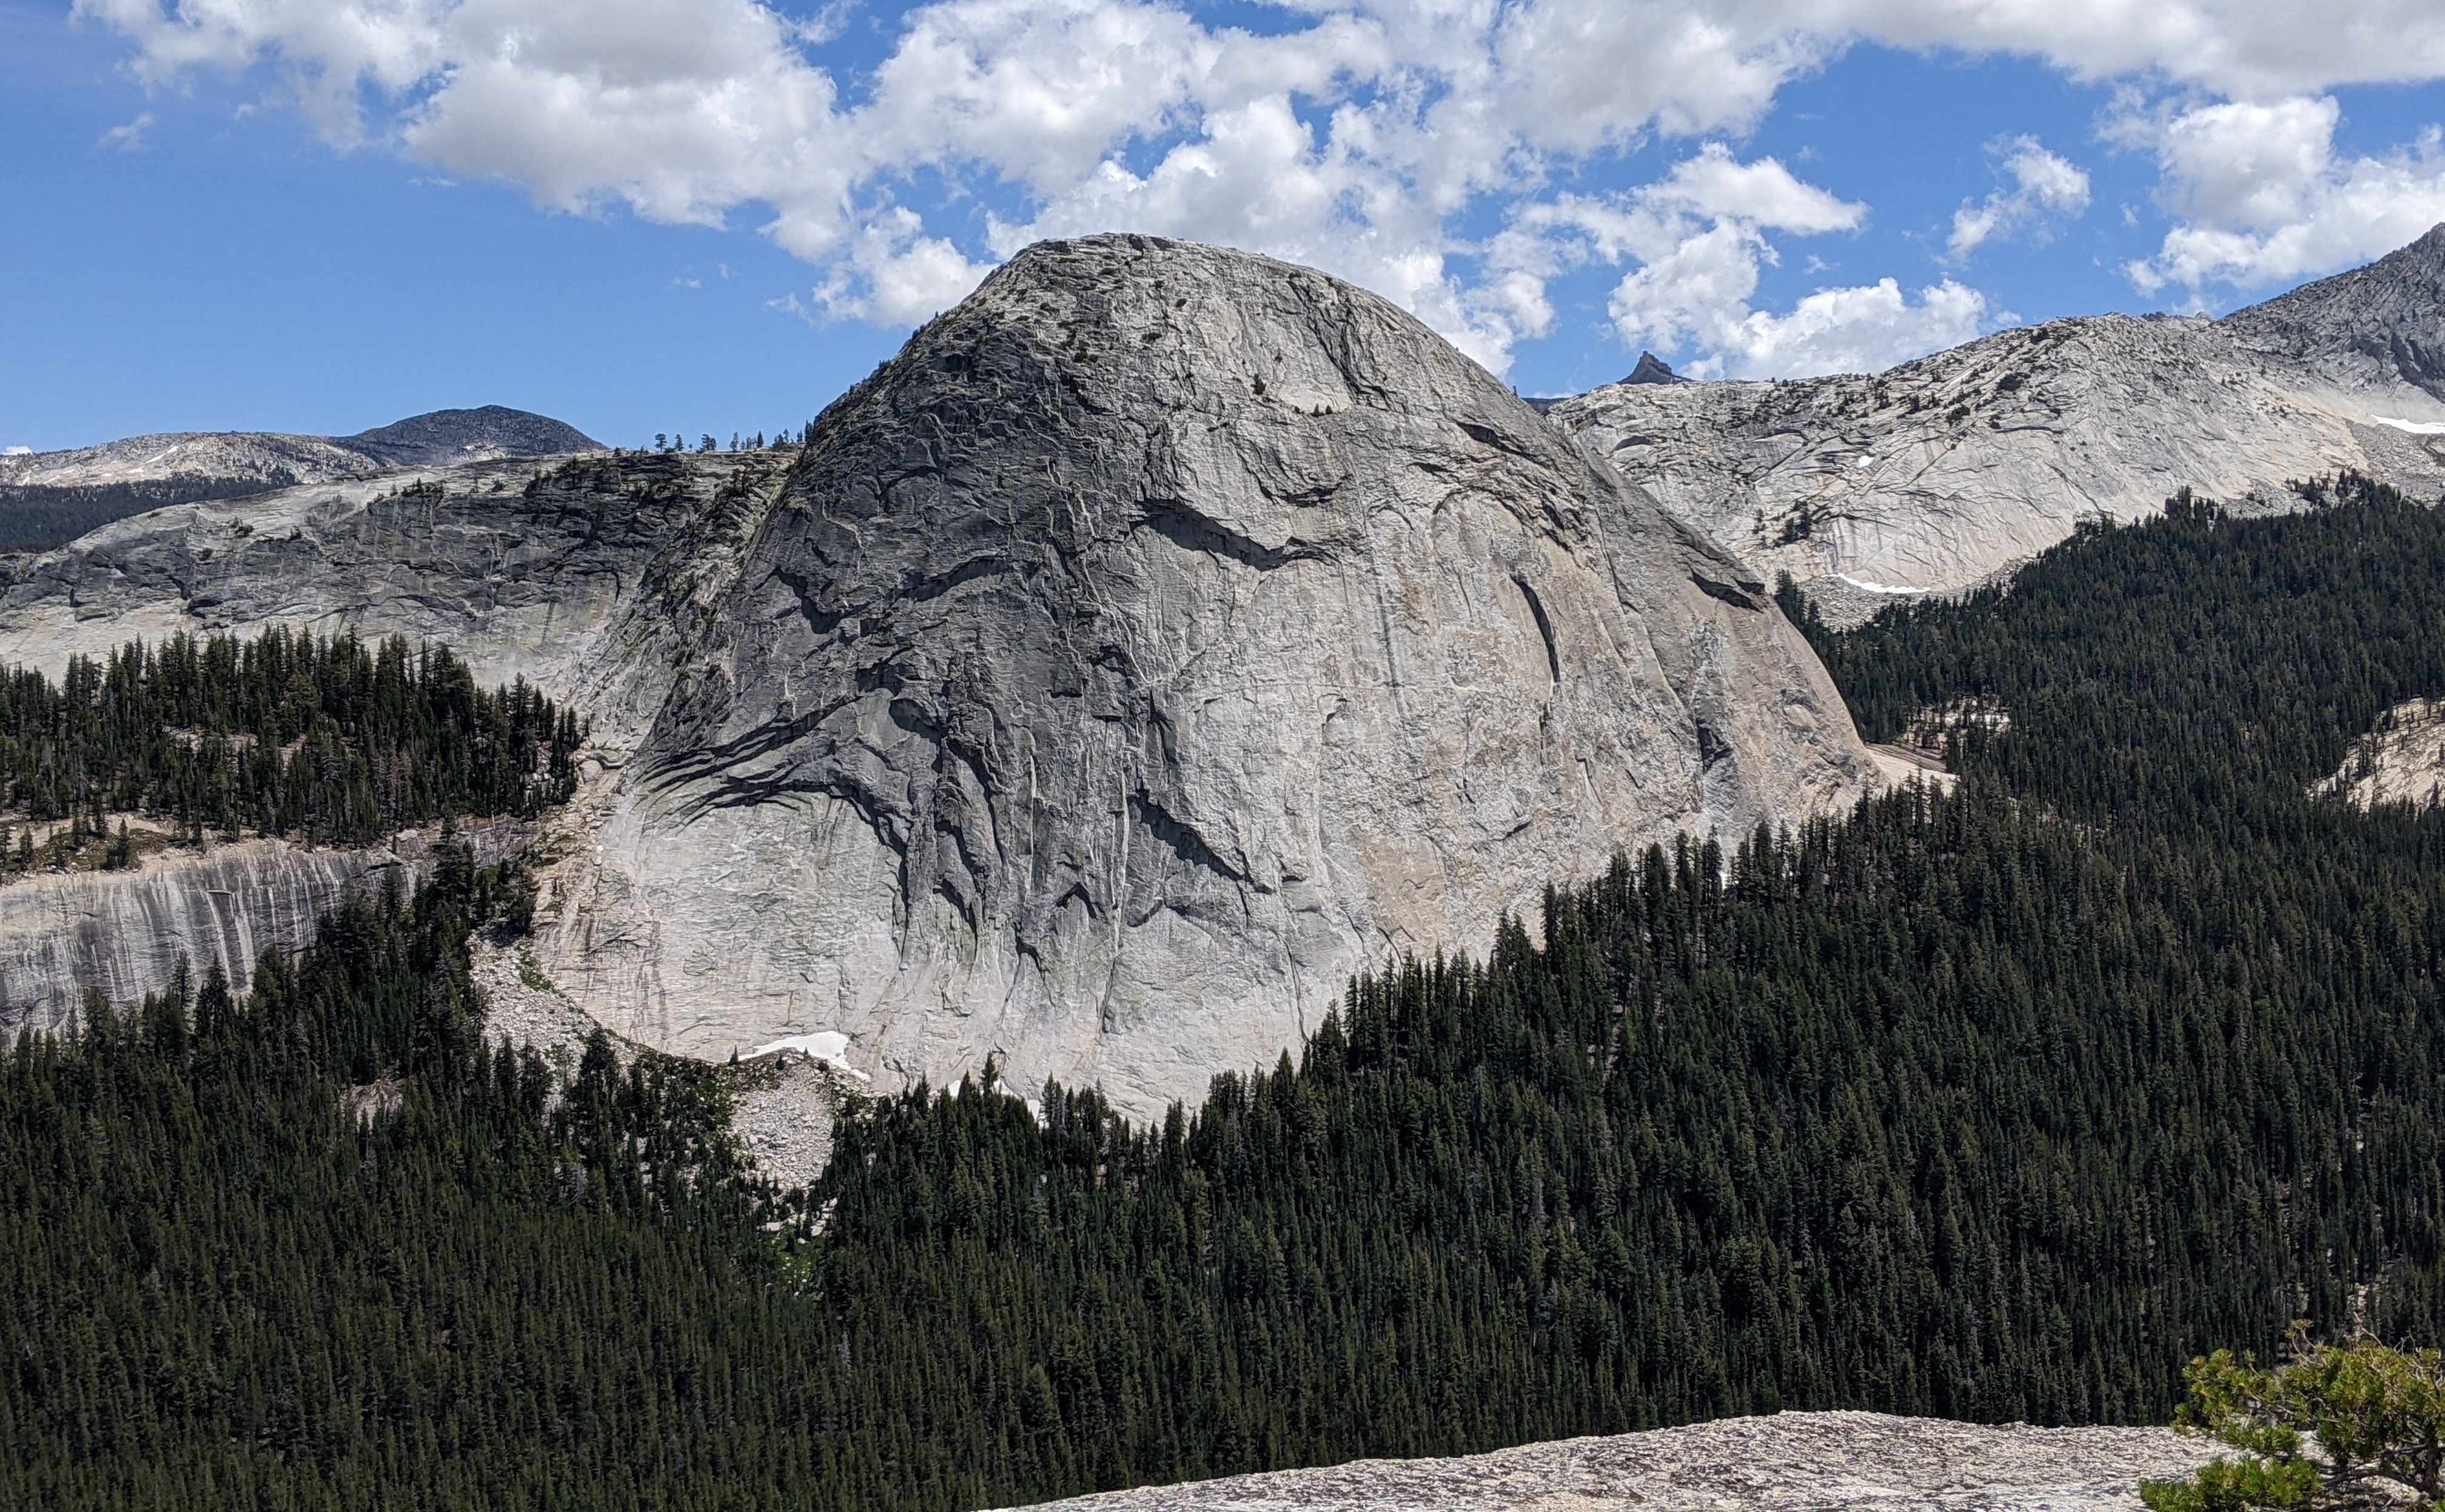
- Fairview Dome, Regular Route (5.9, 12 pitches)
- DAFF Dome, West Crack (5.9, 4 pitches)
- Tenaya Peak, NW Buttress (5.5, 14 pitches)
- Matthes Crest Traverse (5.7, ~500 ft vertical and ~2000 ft horizontal)
In particular, we decided to try a linkup of Tenaya Peak and Matthes Crest, completing both of them in the same day.
Tenaya Peak climb: 2 hrs (9:30am - 11:30am)
Hike from Tenaya Peak to start of Matthes Crest: 3 hrs (12:30pm - 3:30pm)
Matthes Crest traverse to South summit: 4 hrs (4pm - 8pm)
Descent and hike to Cathedral trailhead: 4.5 hrs (8pm - 12:20am)
Car to car time: 18.5 hrs
I had been interested in the Matthes Crest Traverse since last year, after climbing Cathedral Peak. I saw some comments on Mountain Project suggesting the Tenaya Peak + Matthes Crest linkup was pretty easy and straightforward. At first, knowing that both routes are rather long, I thought there was no way we could do it. But after looking further into what it would take, Louie and I decided that we were actually competent enough to pull it off. We would just need to move quickly.
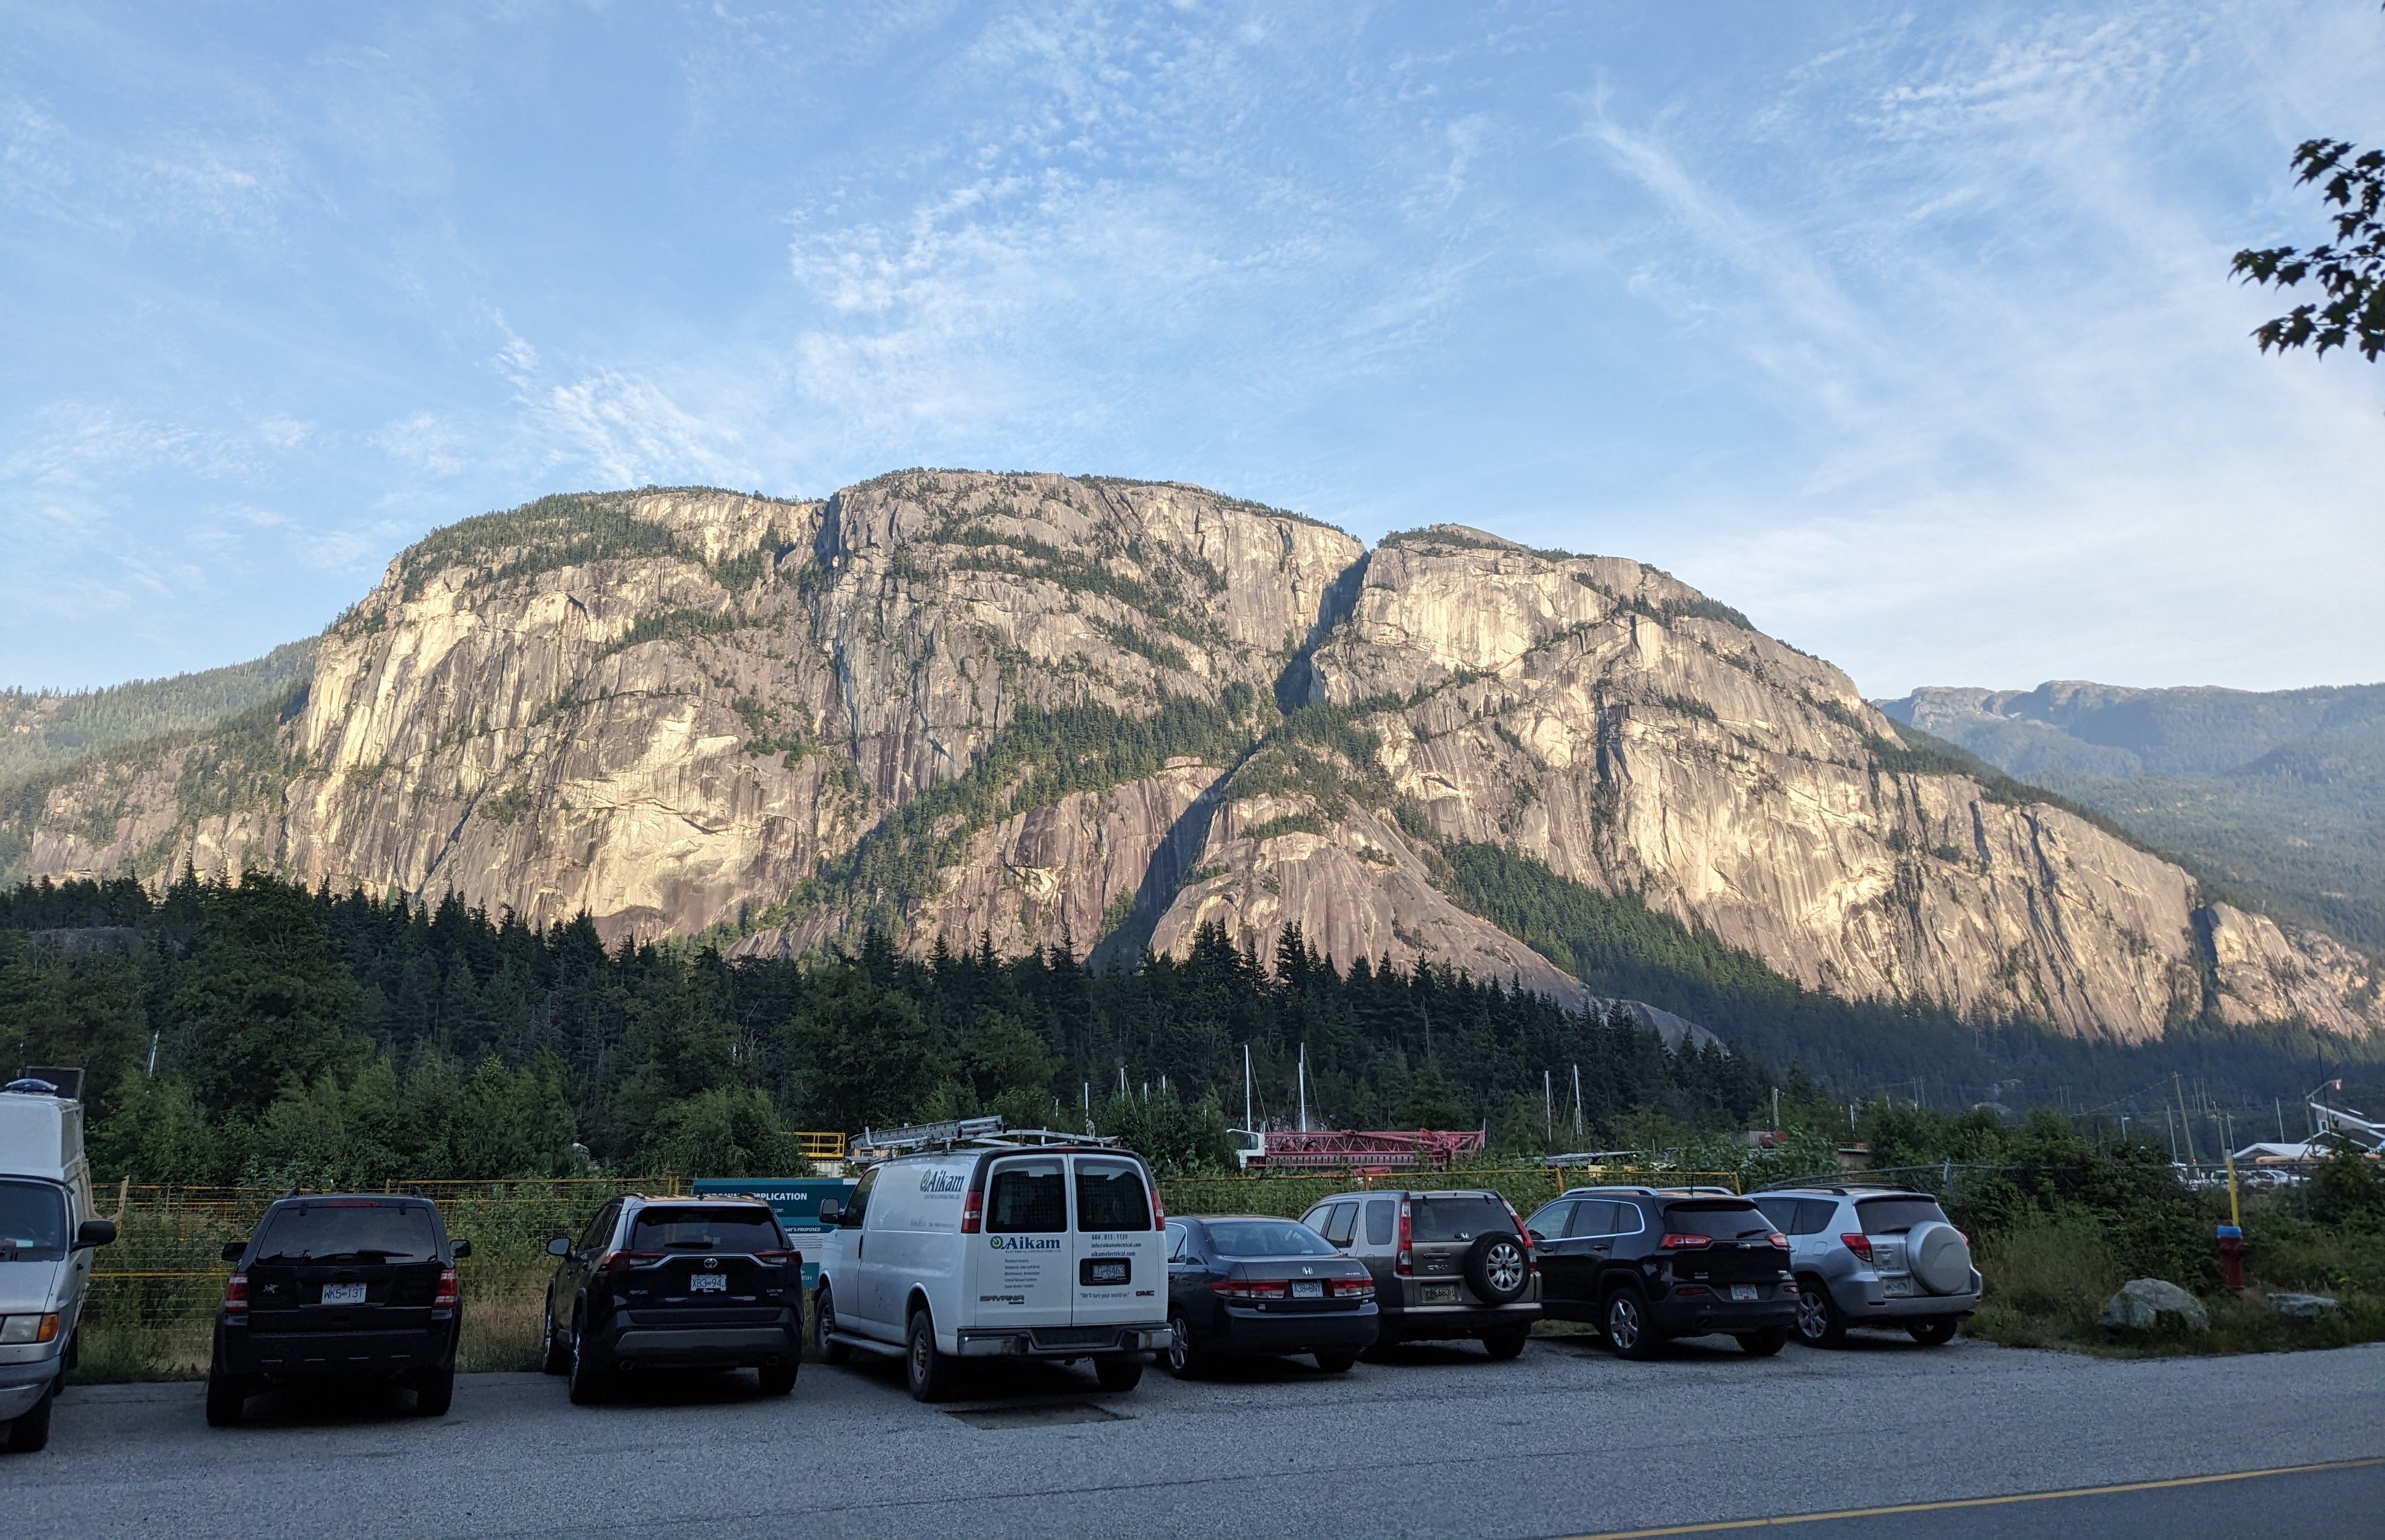
We did another 4:30am wakeup, while it was still dark, to use as much of the available daylight as possible. Thankfully, we were only a few weeks off from the summer solstice, so we had nearly the longest day possible. I definitely don’t enjoy waking up at 4:30 but sometimes it’s worth it for what you can accomplish. We were planning on starting the day at Tenaya Lake and finishing at the Cathedral Peak trailhead, so we dropped off Louie’s car at the Cathedral trailhead, then took my car to Tenaya.
Approach to Tenaya Peak
We left the car at 5:40am and headed towards Tenaya Lake. We could see Tenaya Peak towering above the lake.
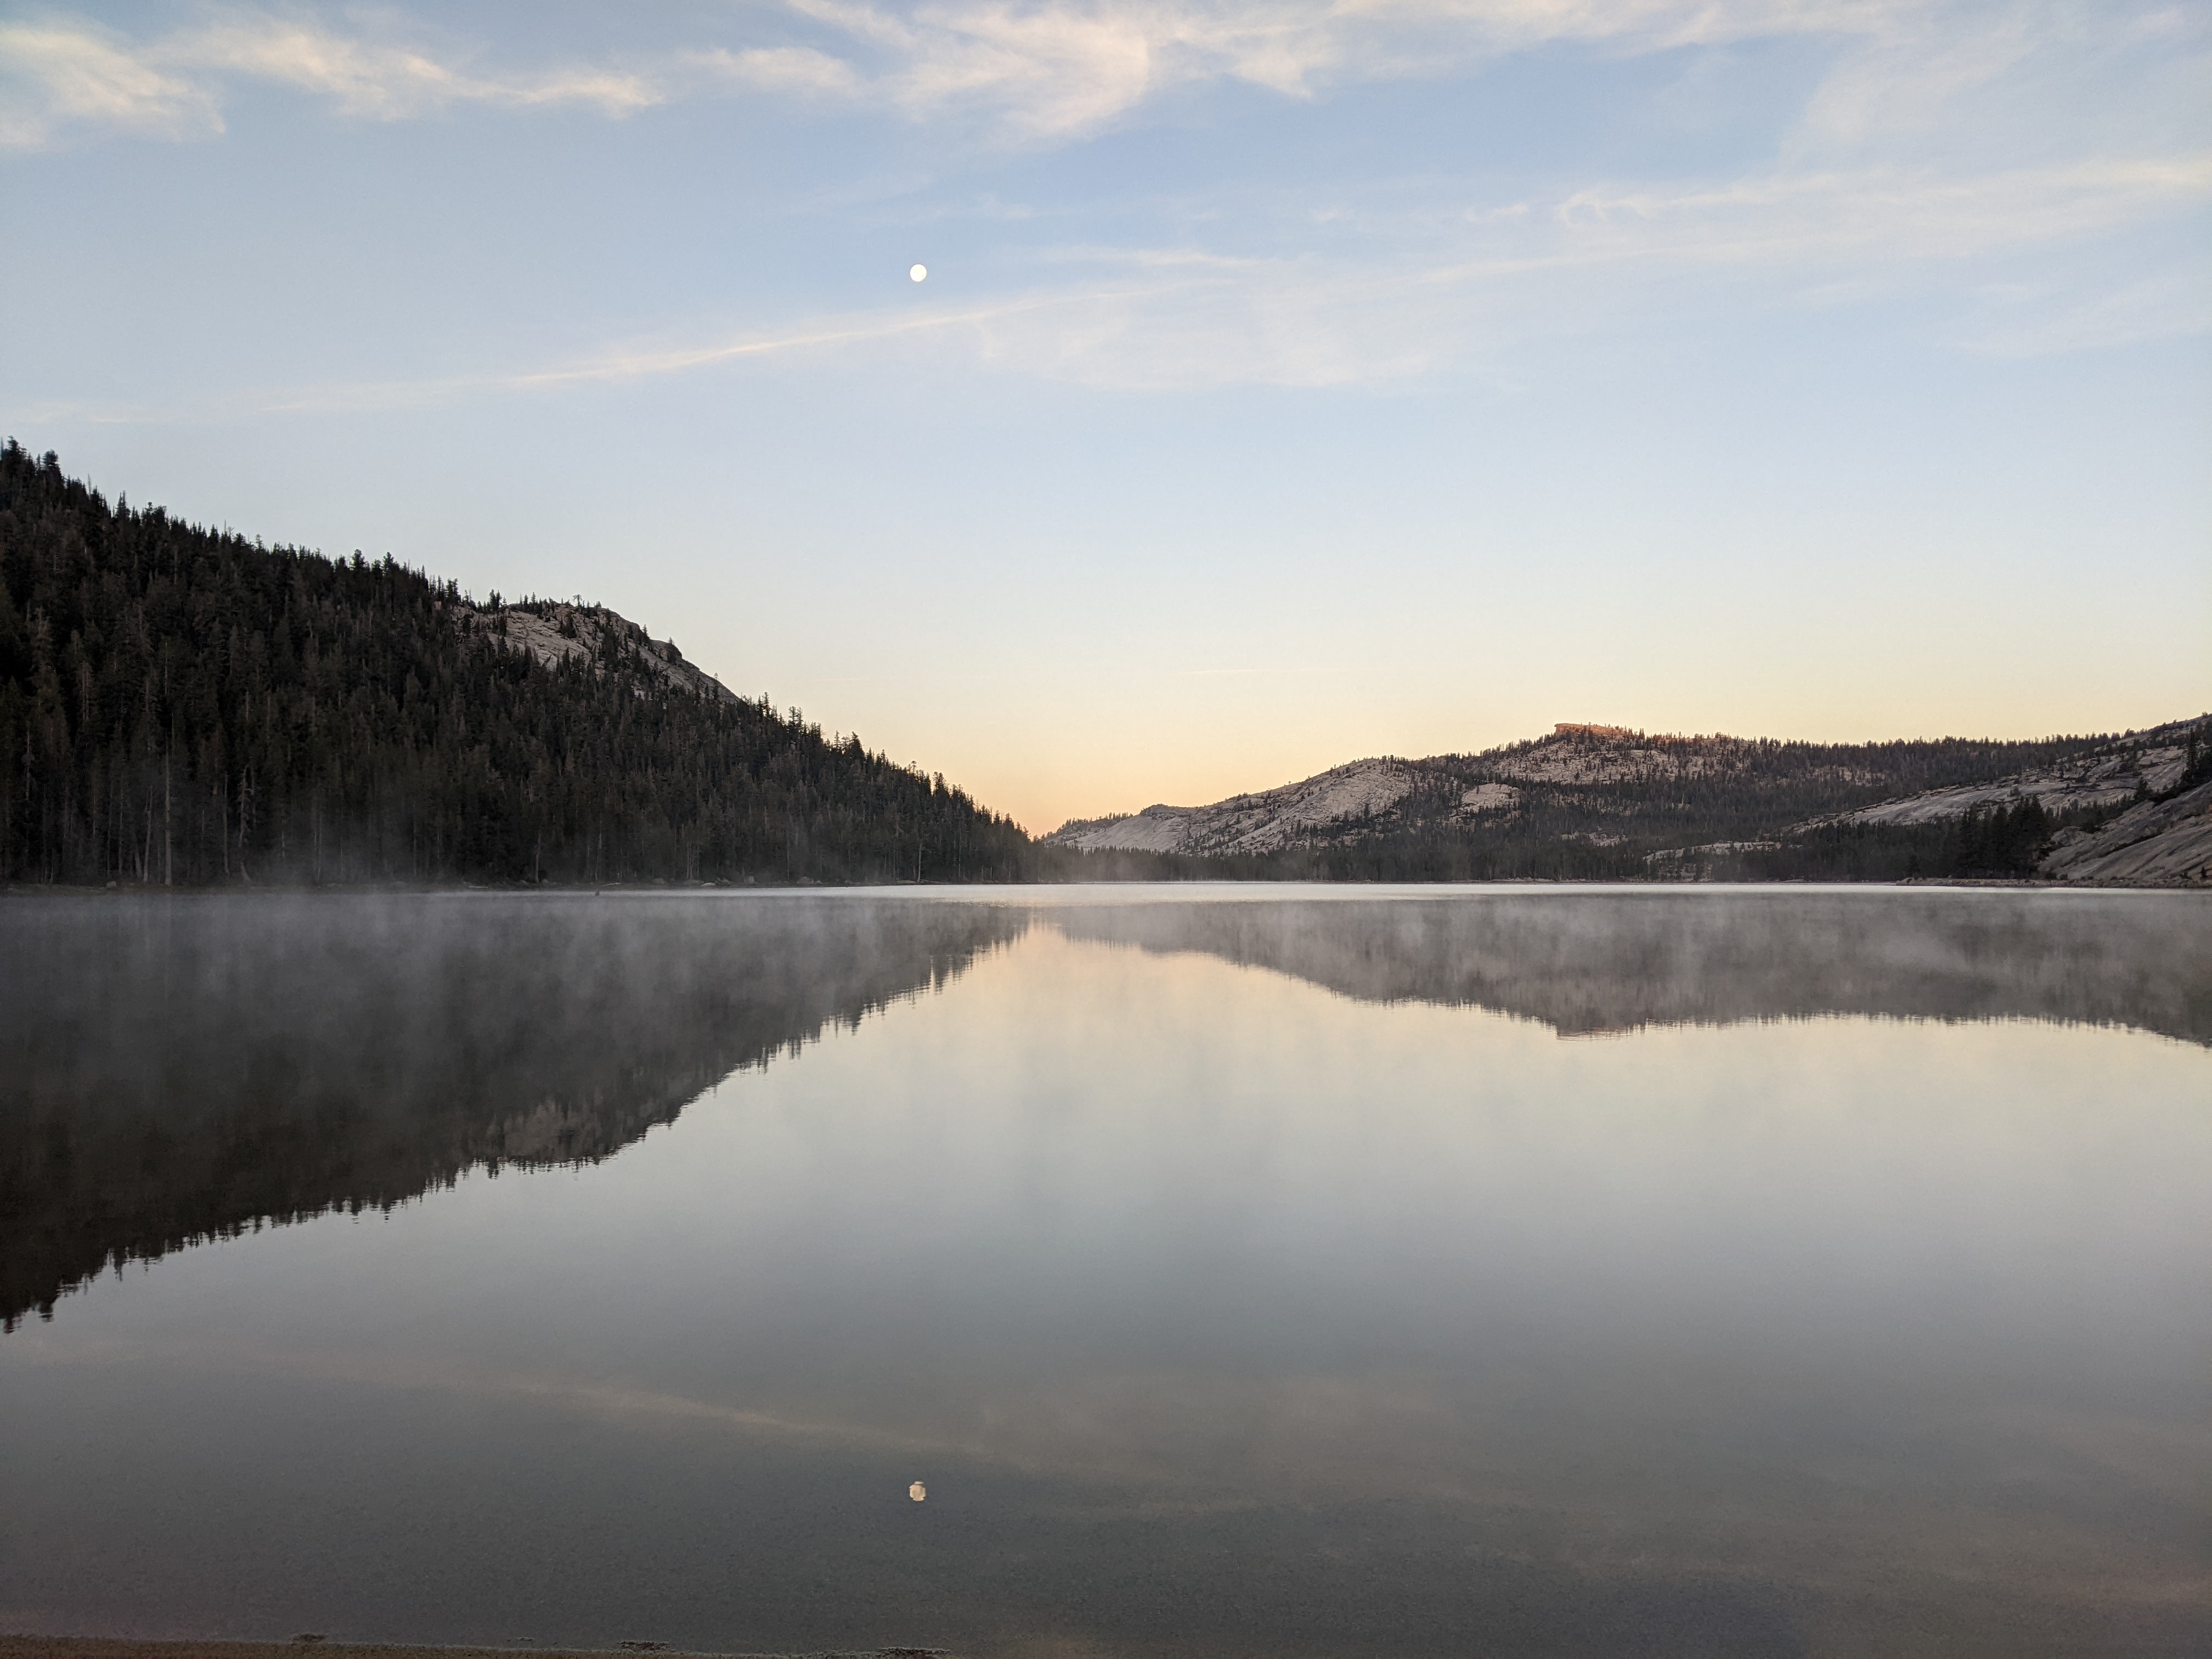
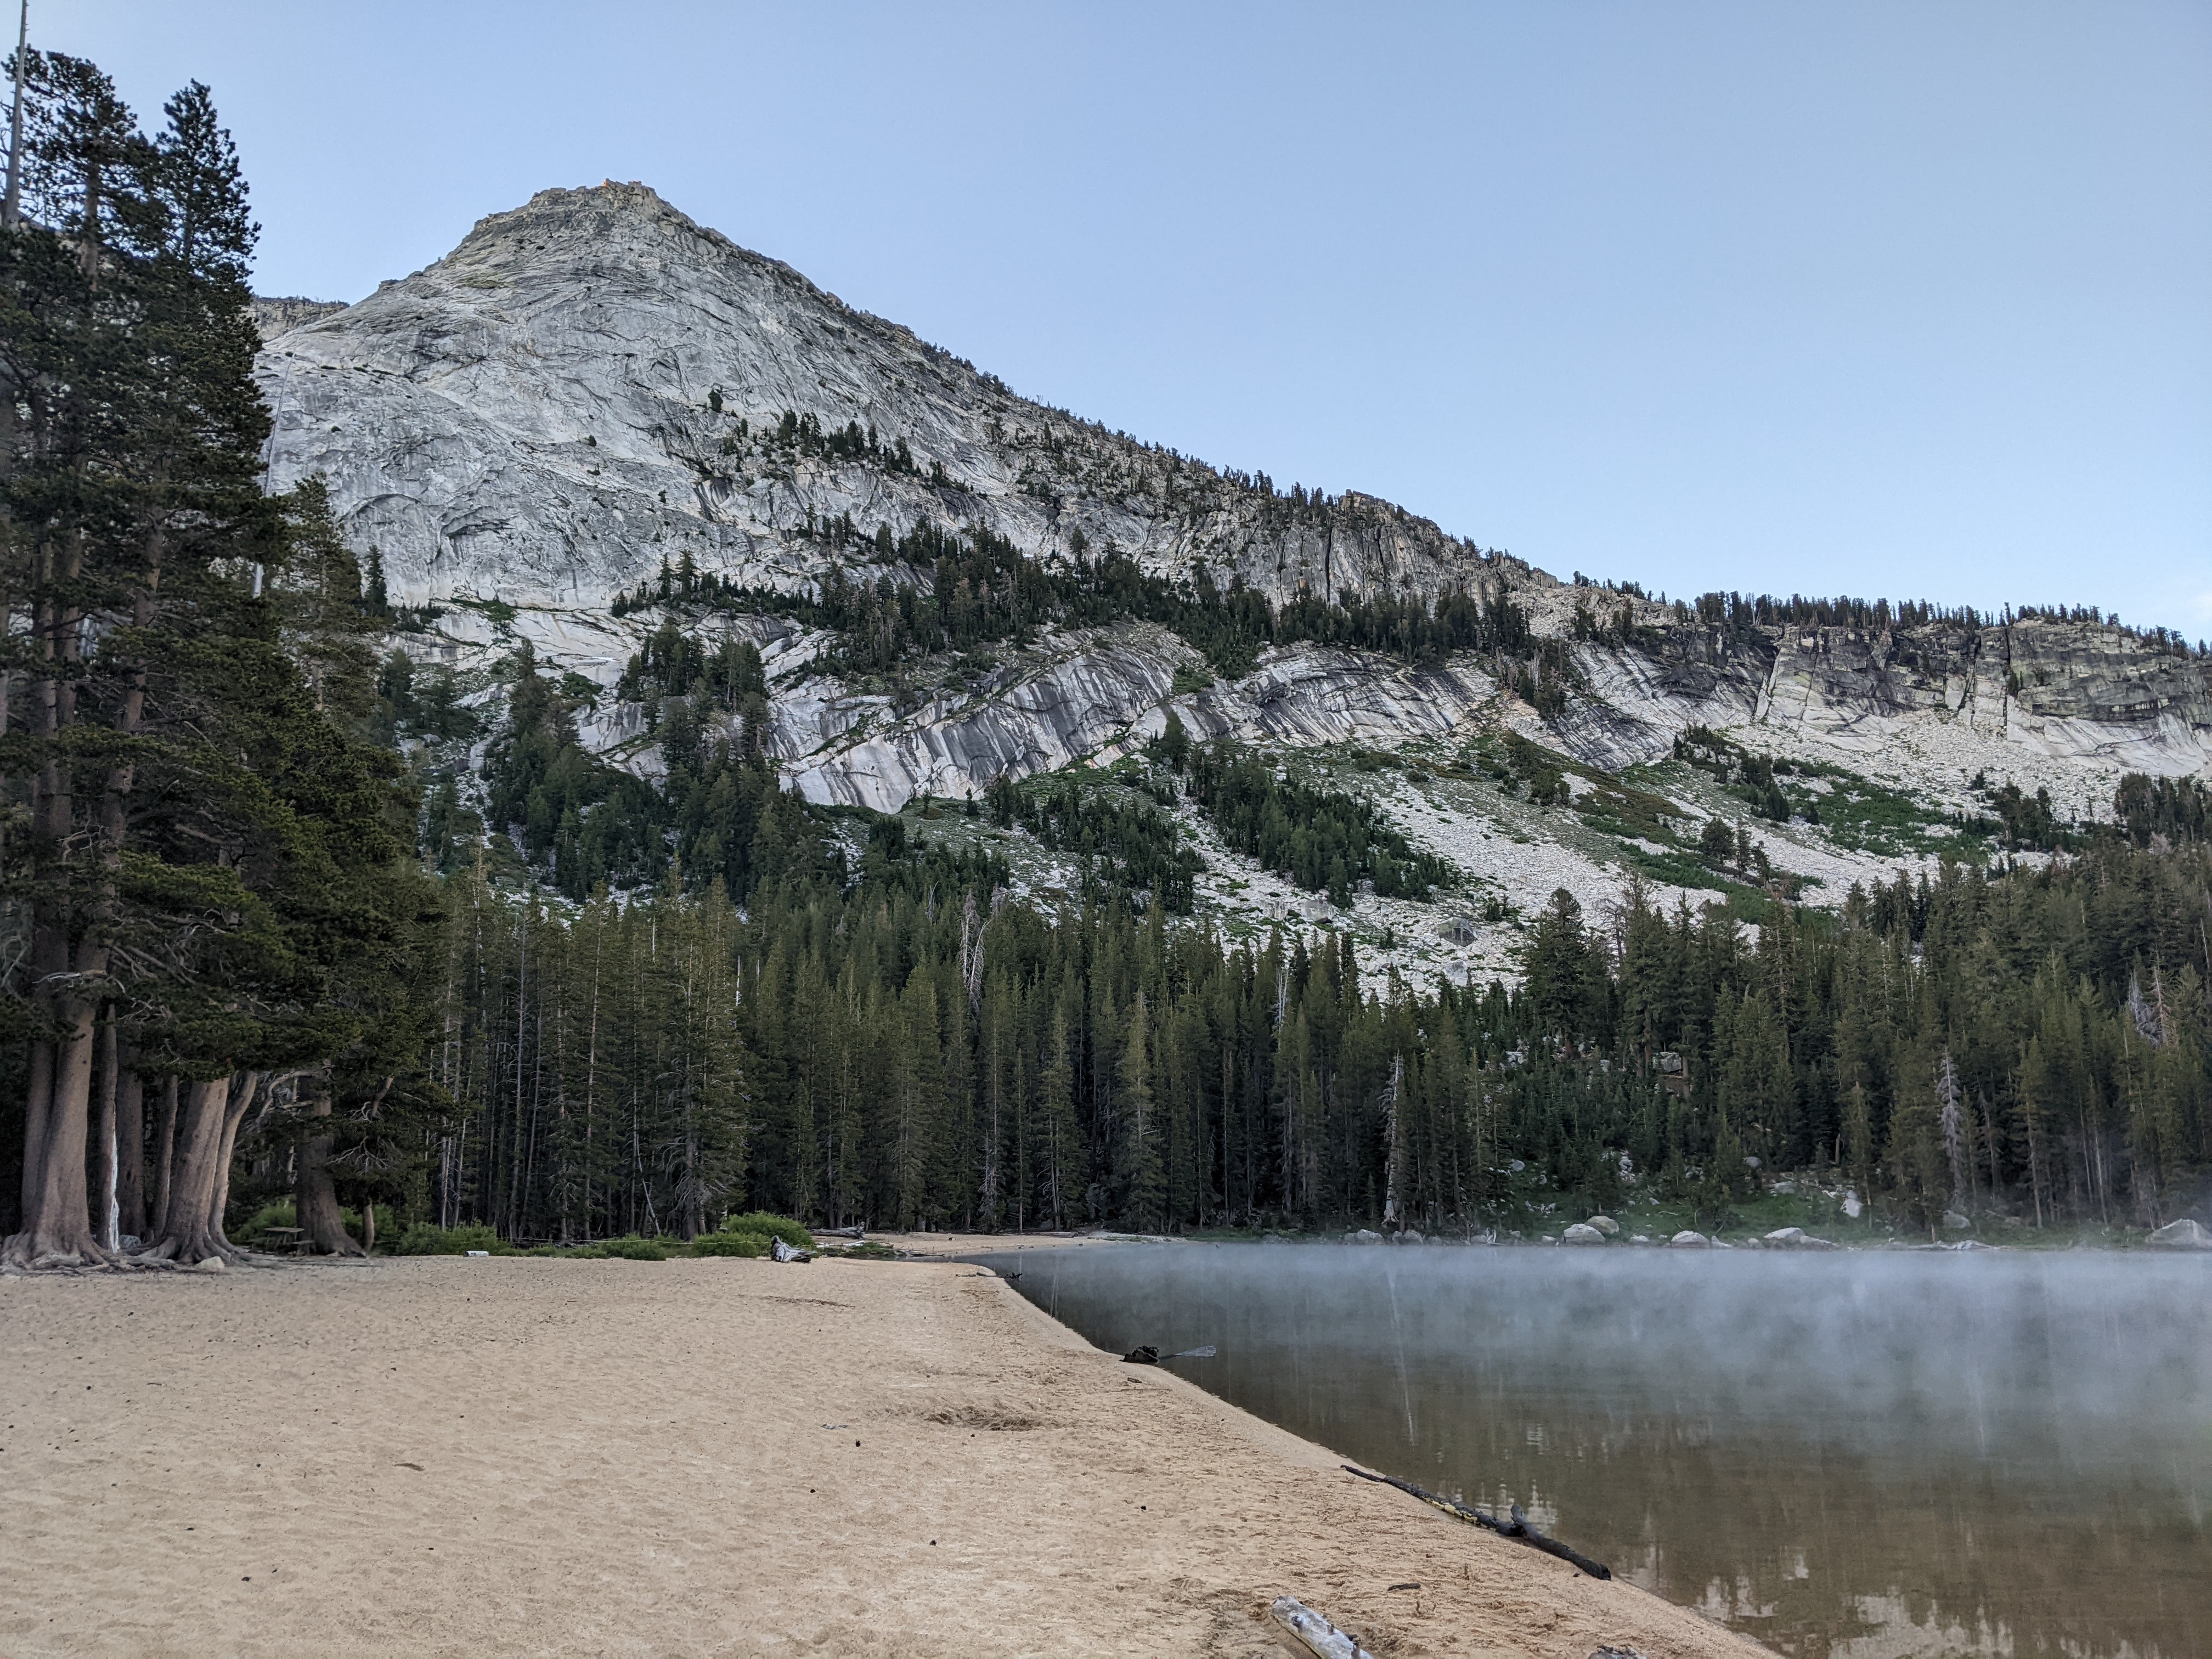
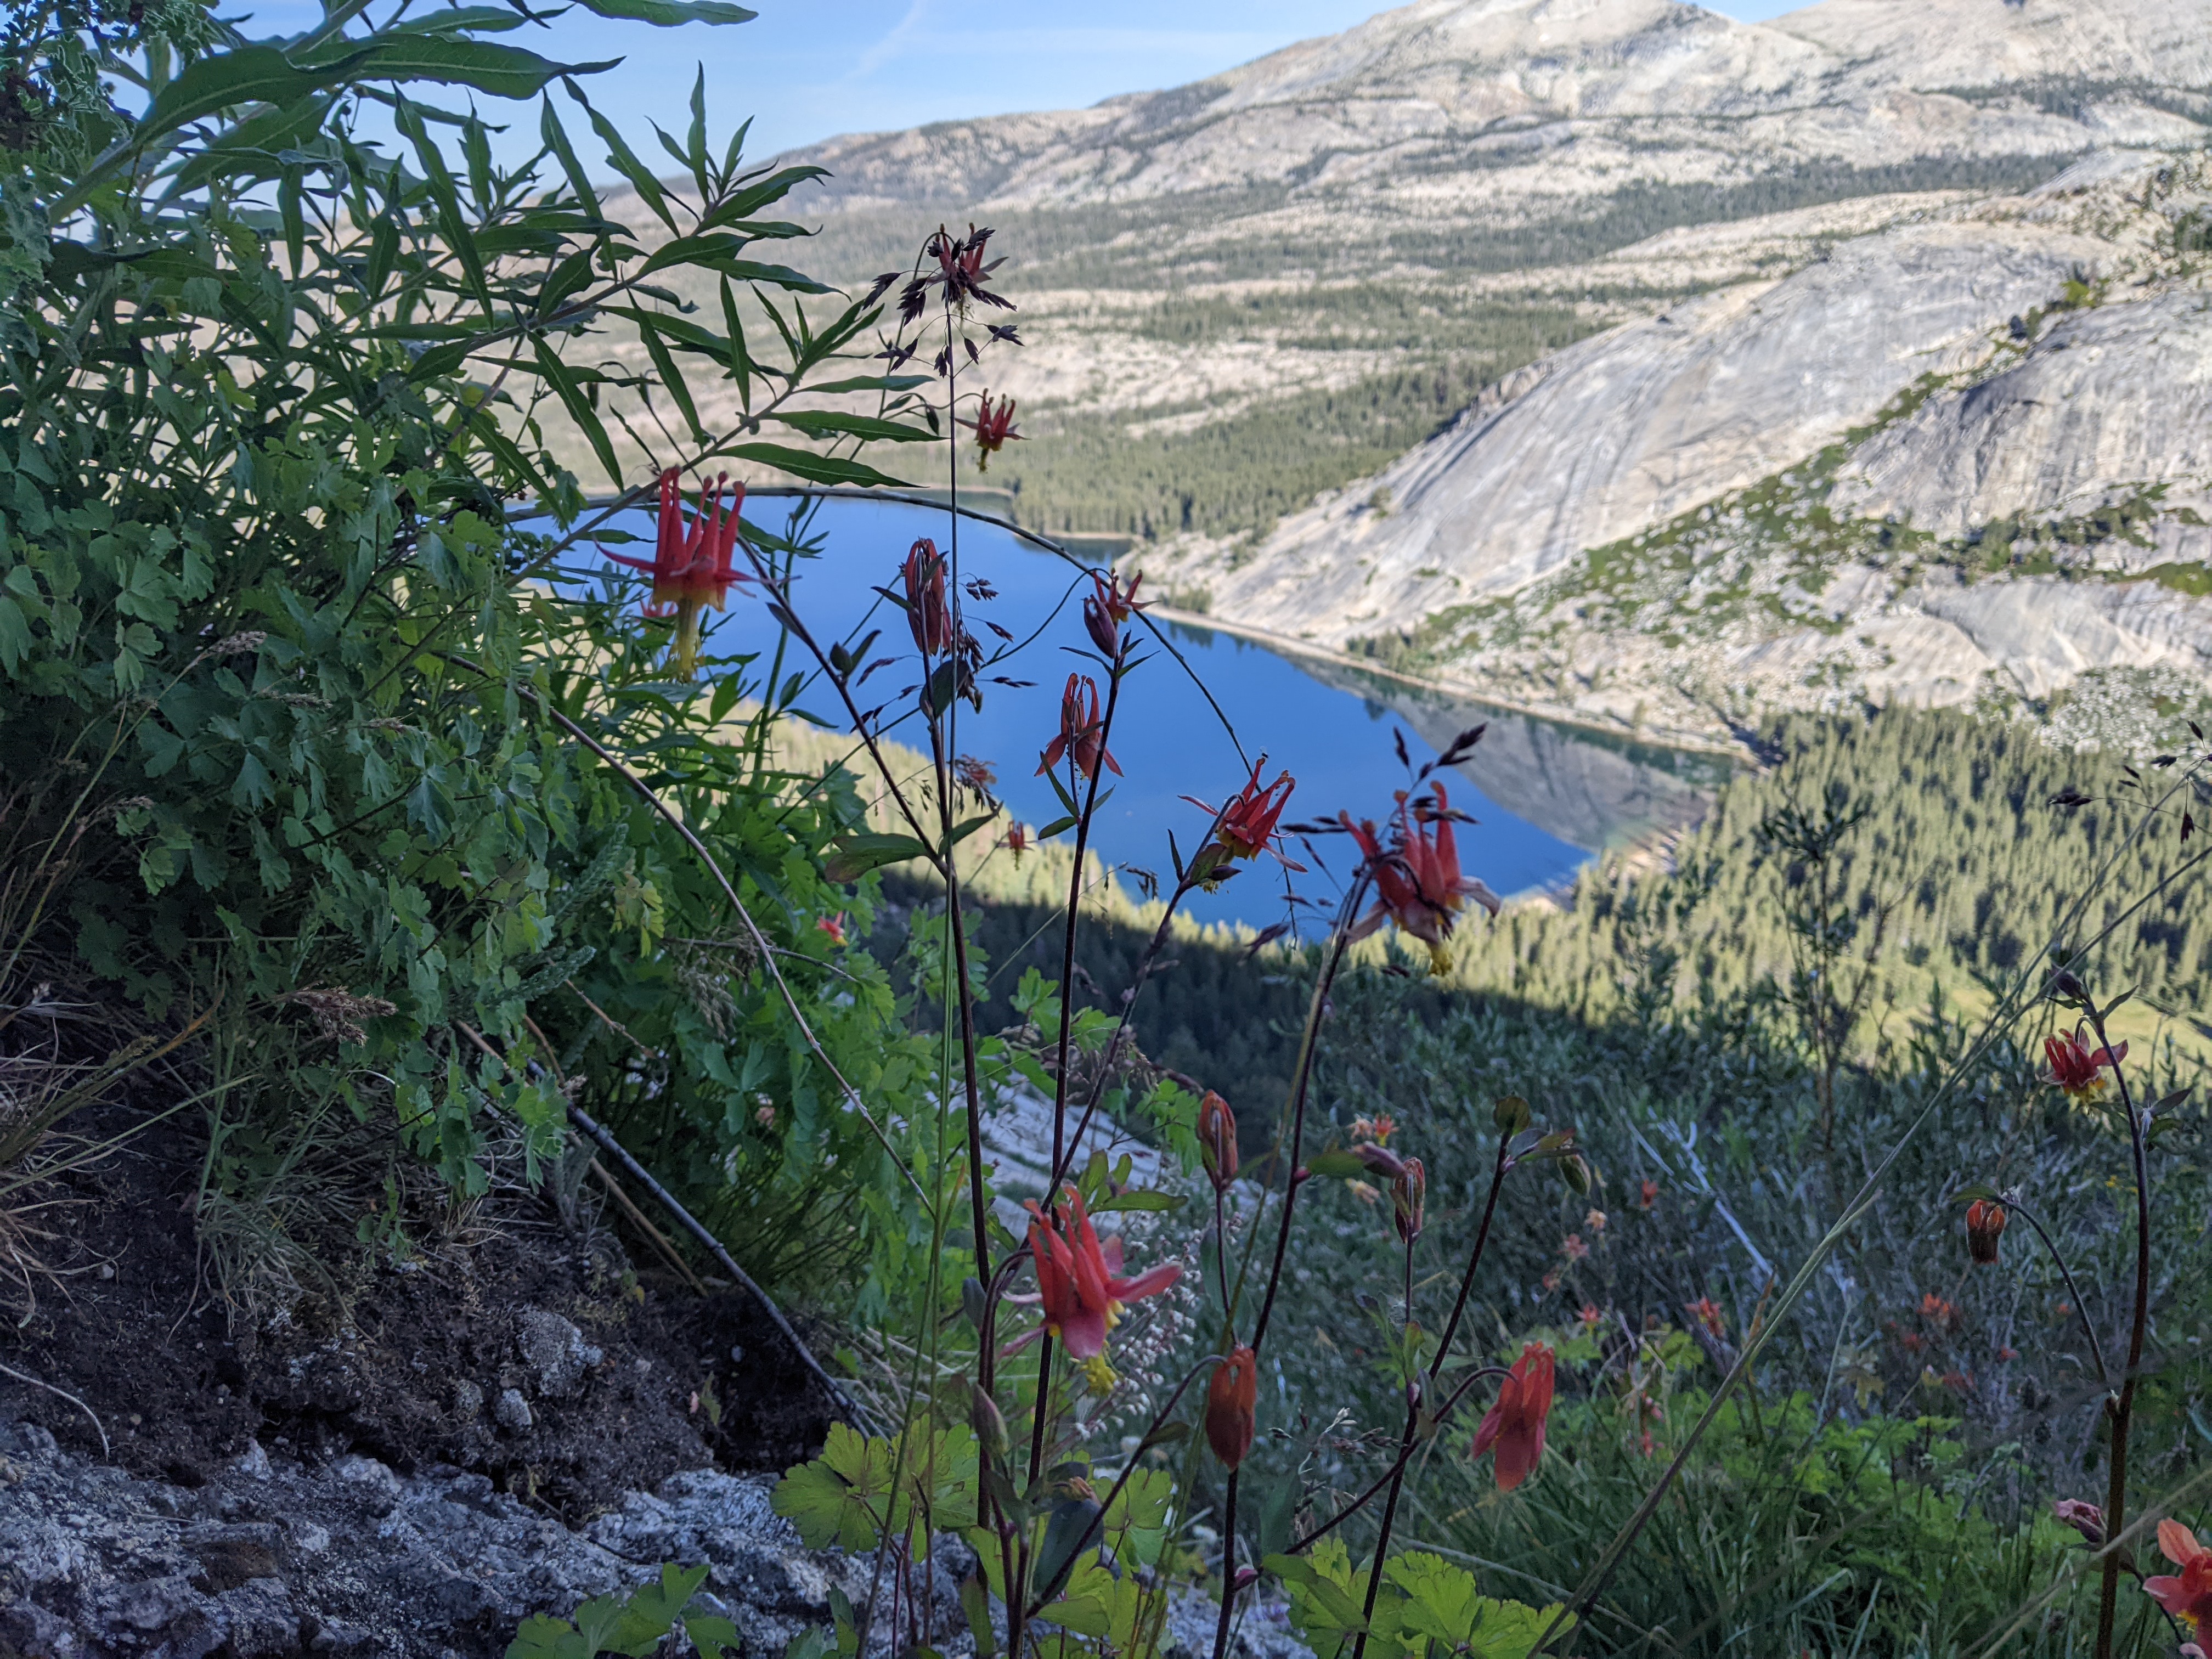
Unfortunately, there is not a trail from the lake to the start of the climb - you have to routefind, bushwhack, and scramble your way up the slope to the base of the rock. We had a lot more trouble with this section than I anticipated. Next time, I’d definitely load a GPX track for this since we took non-optimal paths several times. The trees are pretty thick and it’s hard to see if you’re heading in the right direction. We reached the base of the rock around 7am, but decided that we needed to actually keep scrambling higher. We ended up scrambling/hiking for another hour and a half, eventually ending up on a ledge which might have been the “starting ledge” described in the route description, but honestly we couldn’t tell. It’s definitely possible that we may have bypassed a good chunk of the climbing and started mid-route.
Climbing Tenaya Peak
The Tenaya Peak NW Buttress is a 5.5 route, which is quite easy climbing and most people will simul-climb or solo the entire thing. We planned to simul in order to move quickly. Simul climbing is an advanced climbing technique where both climbing partners are climbing at the same time. One person leads and places pieces of protection, while the second person follows about 100’ down and removes the protection, always keeping at least a few pieces of pro attached to the wall. We used this quite helpful article as a reference for the systems we used: Theory of simul-climbing by Choss Boys. Because both people can climb at the same time, and you don’t need to stop to build anchors very often, simul climbing allows you to move at least 3x as fast as normal. We used microtraxions to protect the leader. The follower used a mountaineer’s coil to shorten the rope to 35m, and had a grigri for a running belay to manage slack.
We had decided that Louie would lead the entire Tenaya Peak climb, while I would lead all of Matthes Crest, so that we wouldn’t have to swap leader/follower roles while in the middle of a climb. At this point, Louie racked up to get ready to climb.
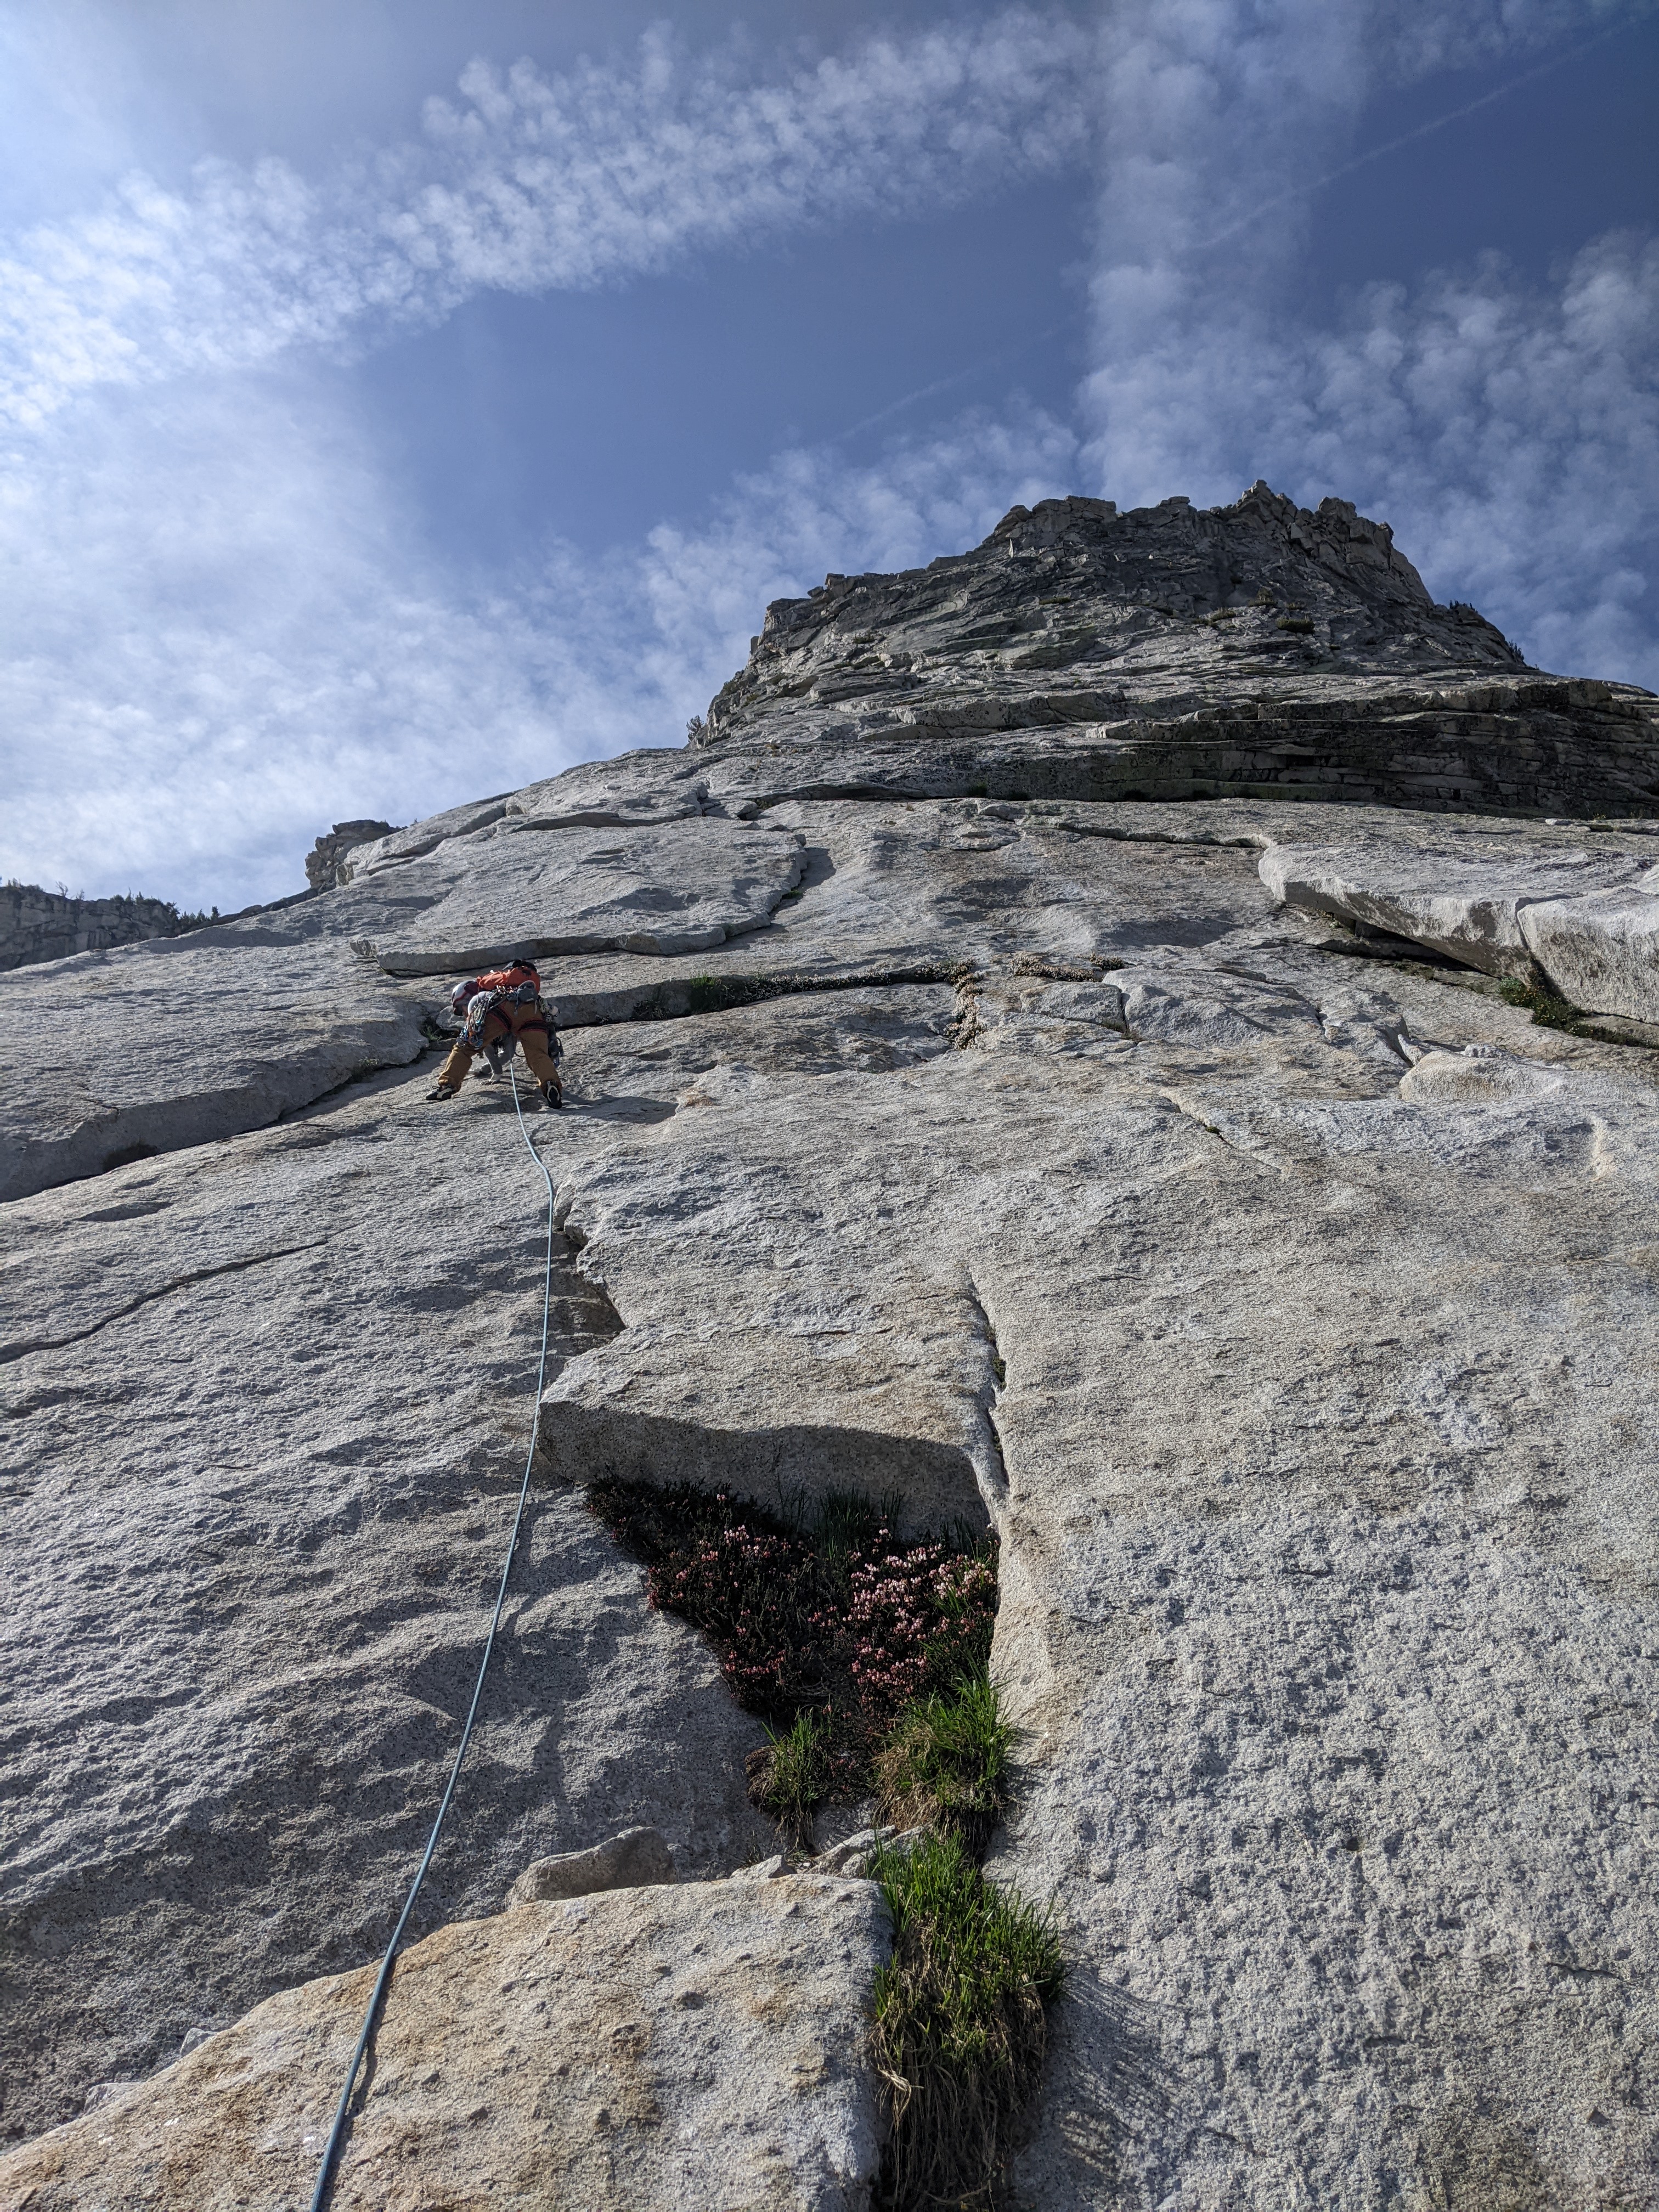
Once we started climbing, we were moving pretty fast. We were passed by a free soloist in the middle, who pointed out some cute marmots on the ledge we started on, but nobody else was on the route. Louie led us to the top in 2 hours, only stopping to belay once.
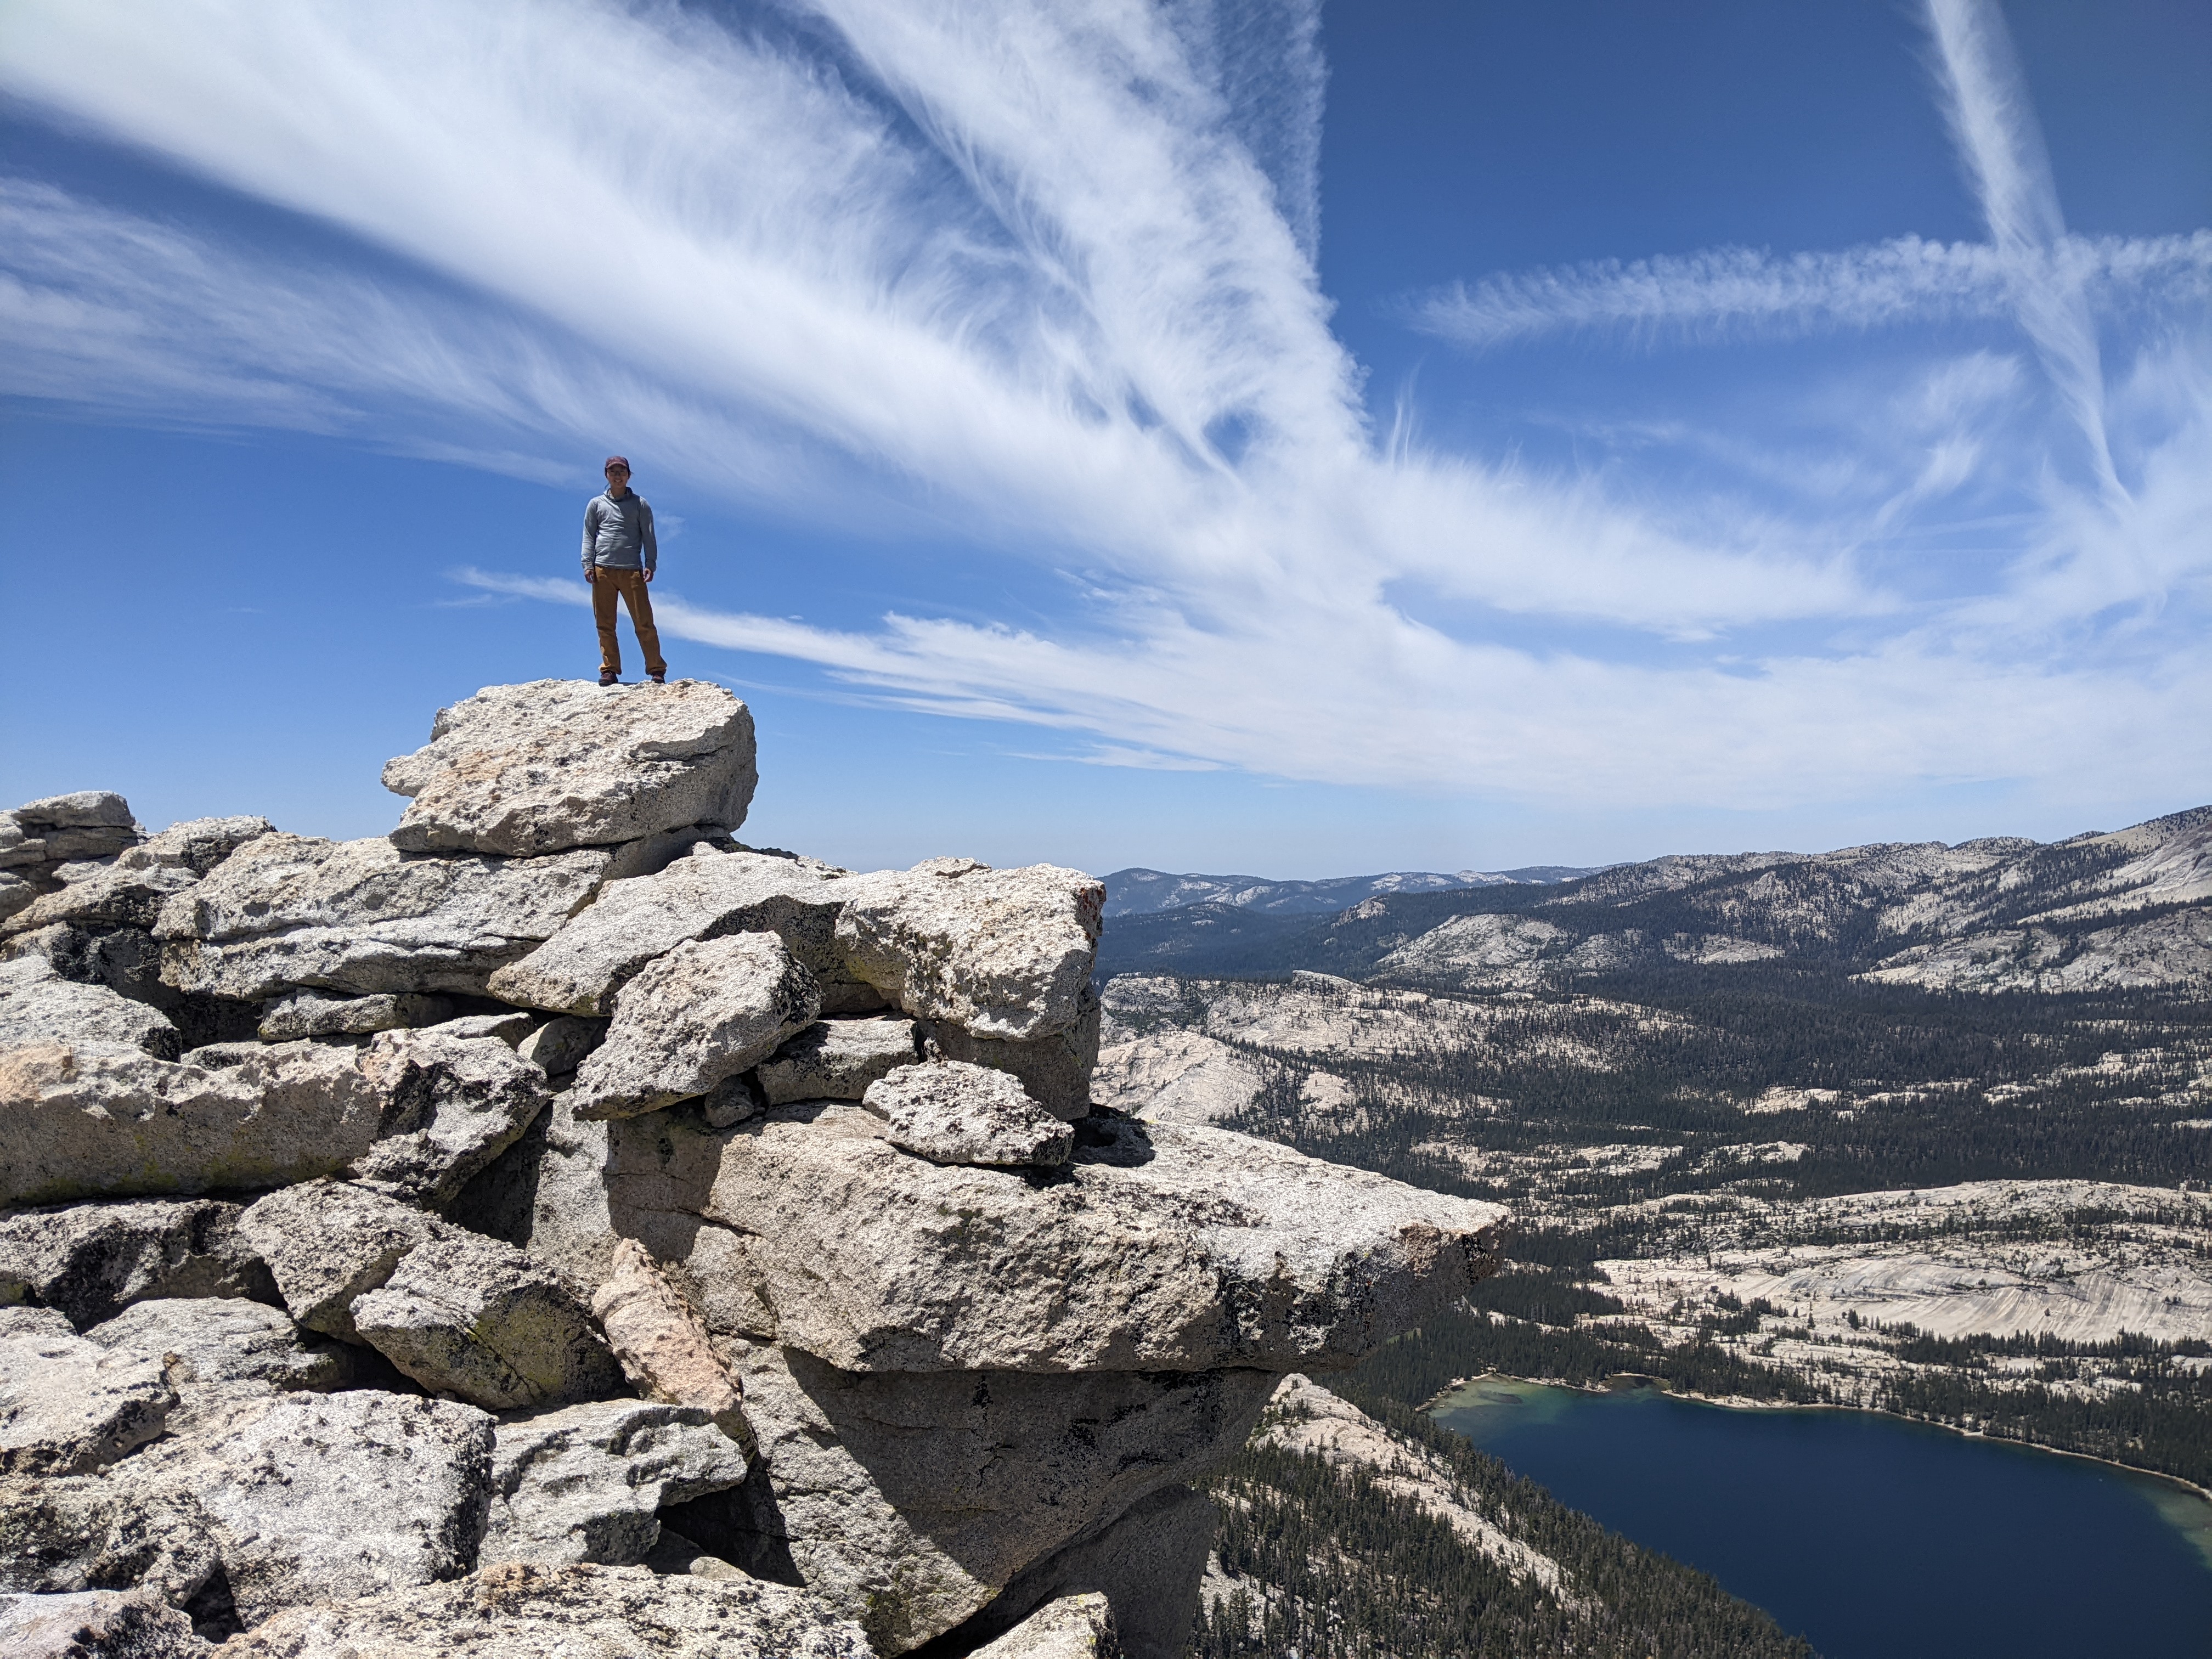
The view from the top was amazing! We were pretty happy to be up there at 11:30am and felt that we should have enough time to continue on to our second objective for the day.
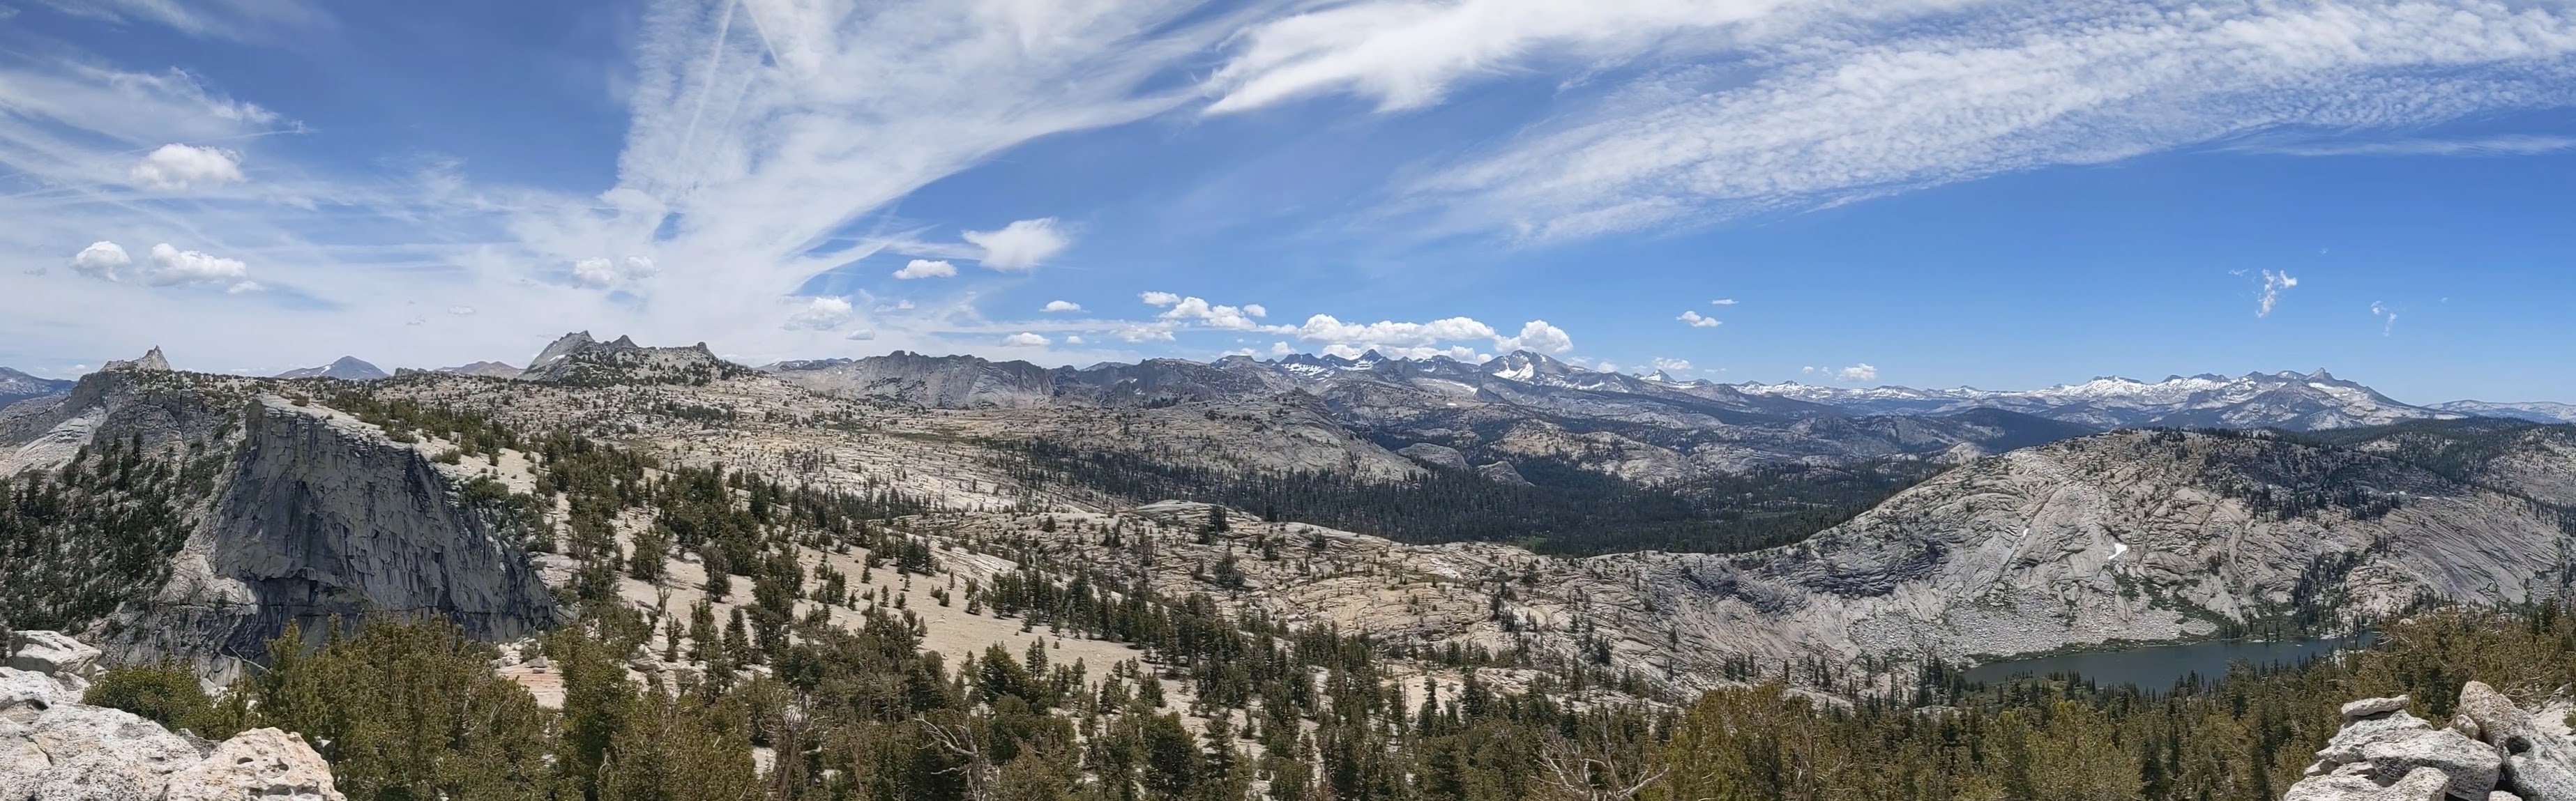
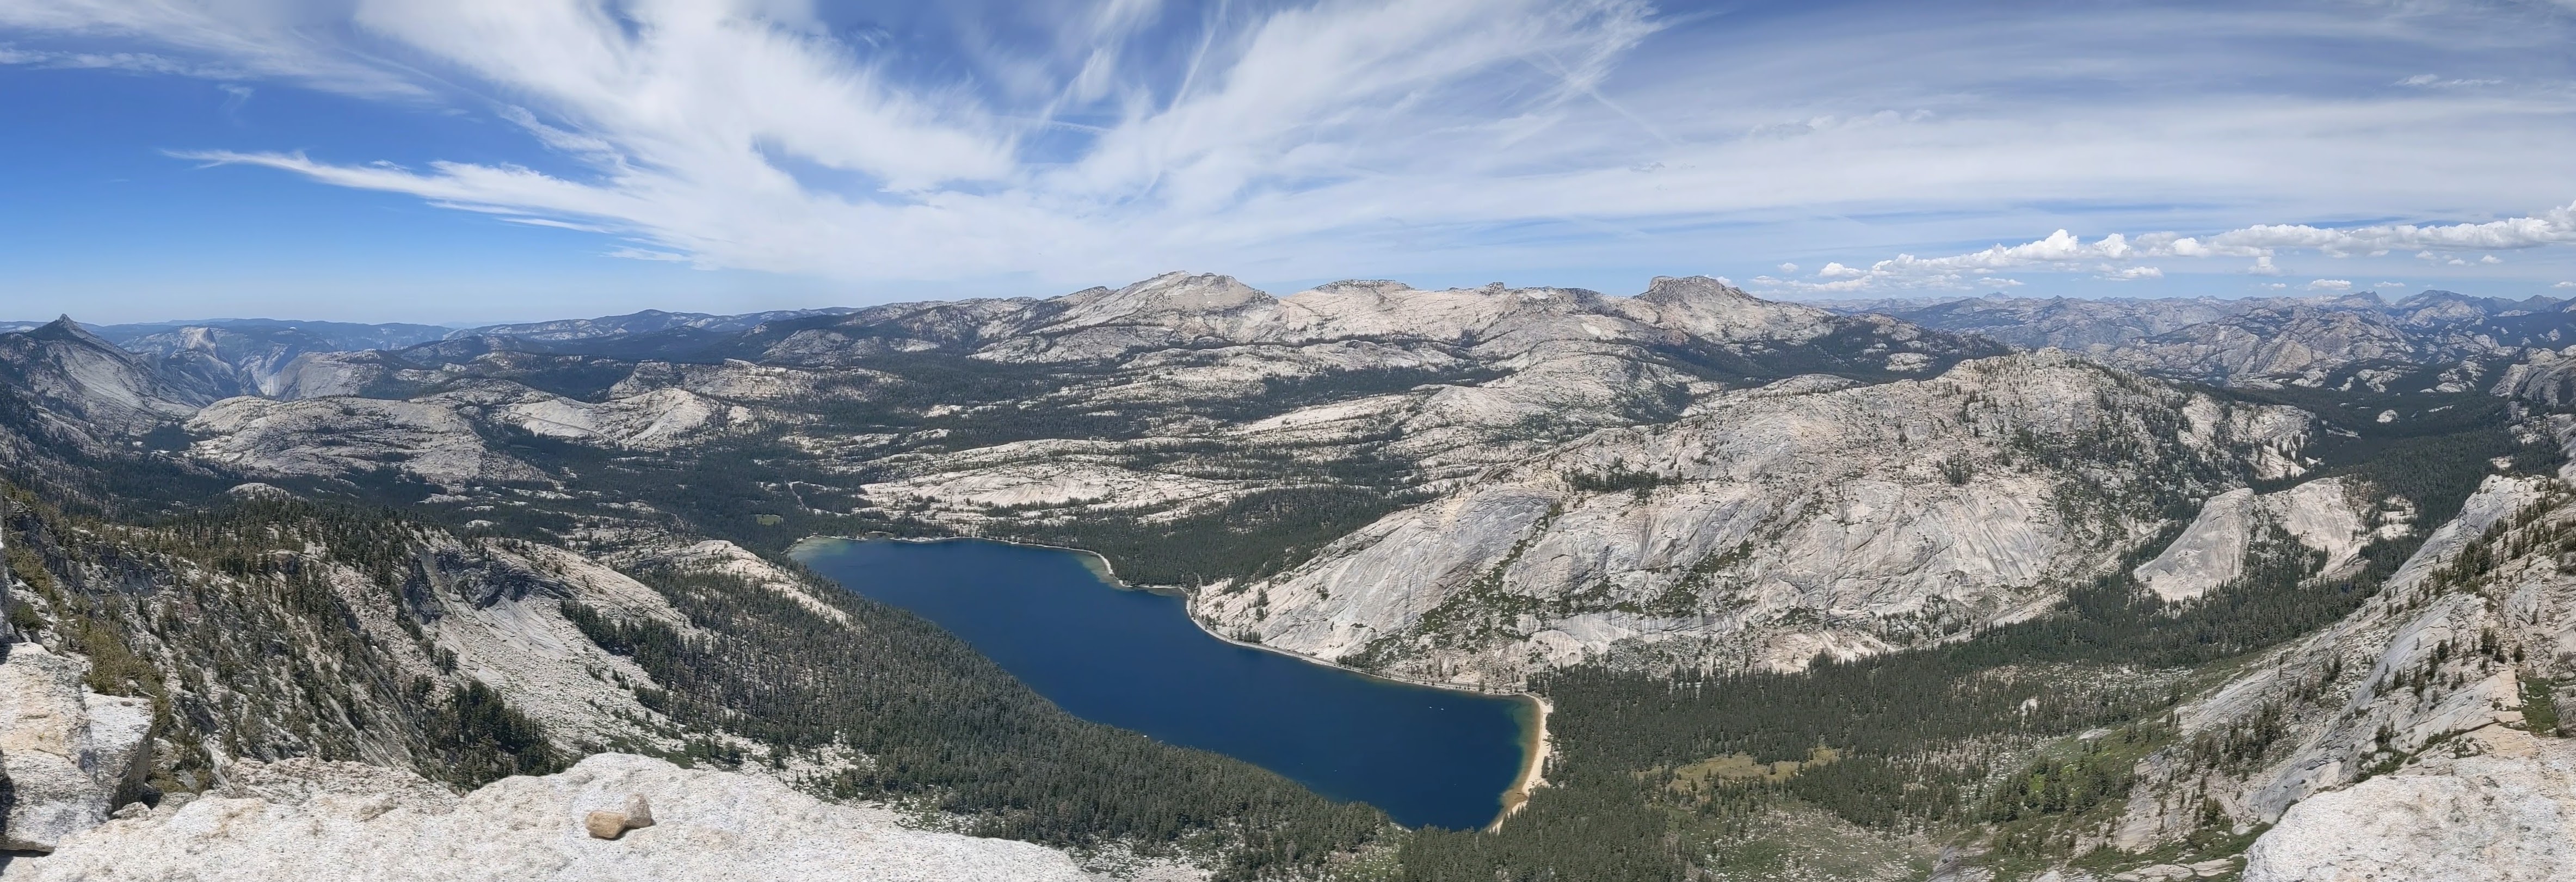
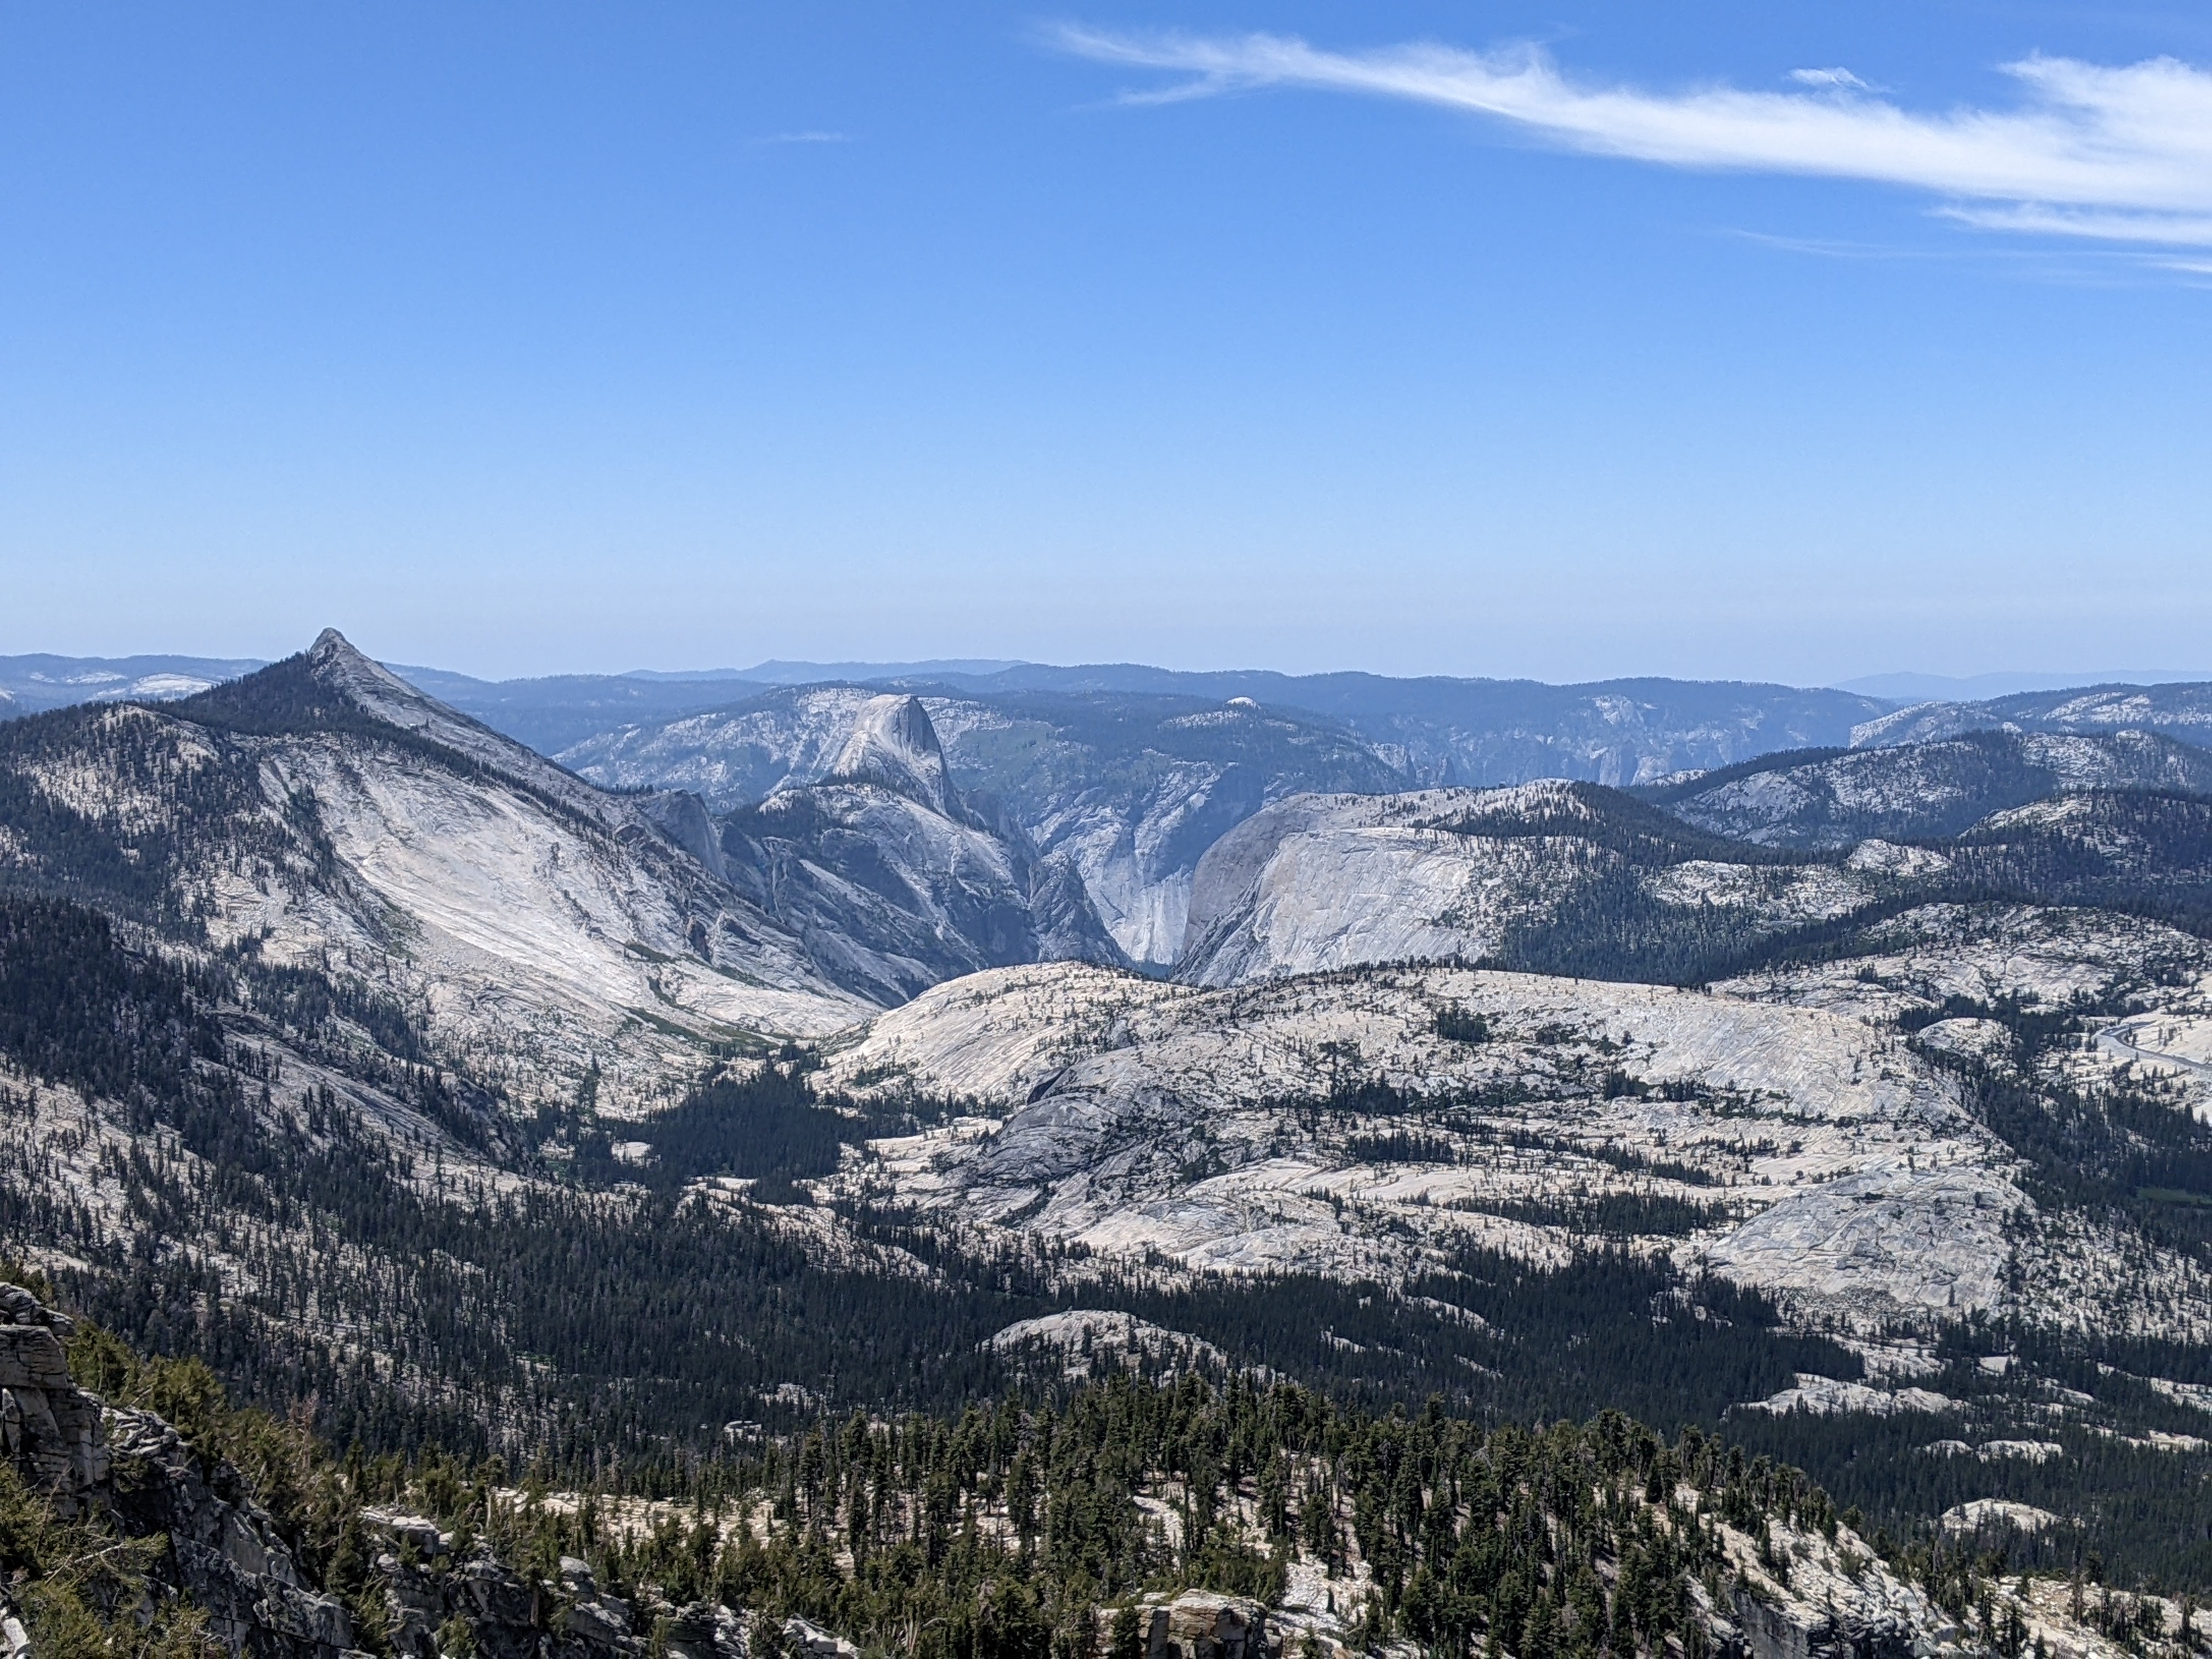
I previously backpacked from Tenaya Lake to Clouds Rest and Half Dome, so it was cool to see the entire route from above.
Hike from Tenaya Peak to start of Matthes Crest
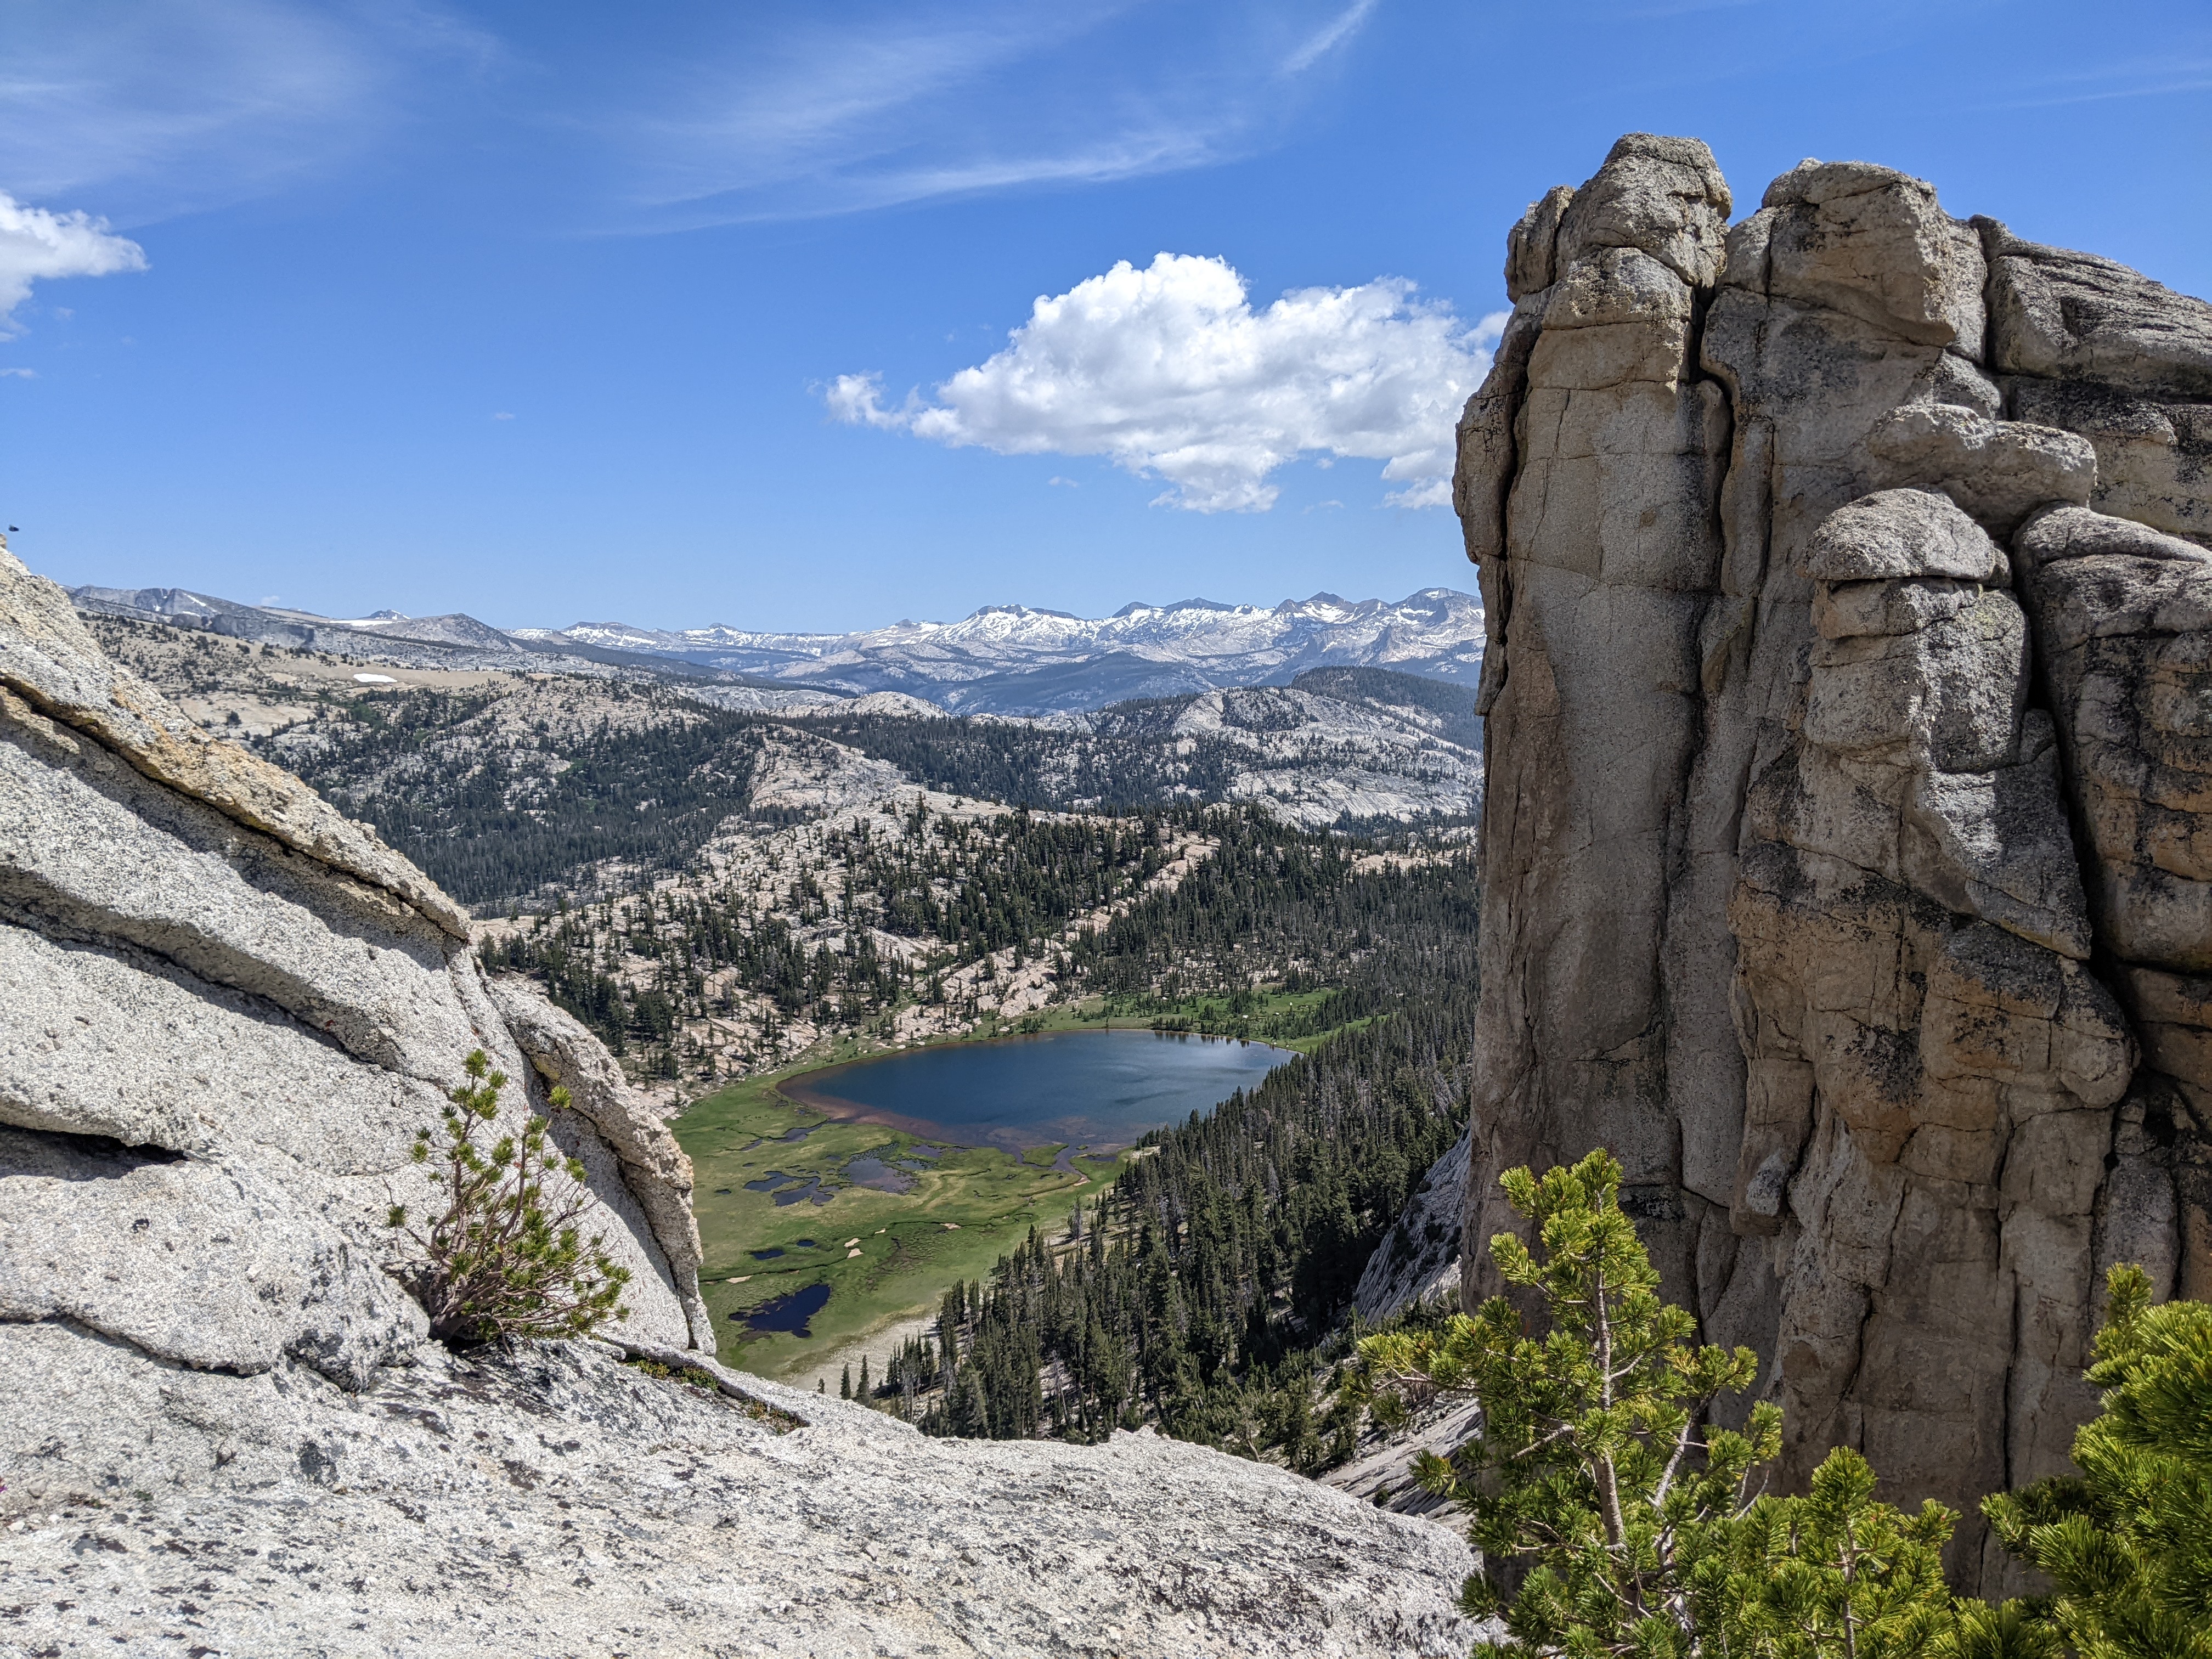
Next we had to hike from the top of Tenaya Peak to the start of Matthes Crest. Looking out from the peak, we could see Matthes Crest and it didn’t even look that far away. We were initially optimistic that we could get there pretty quickly.
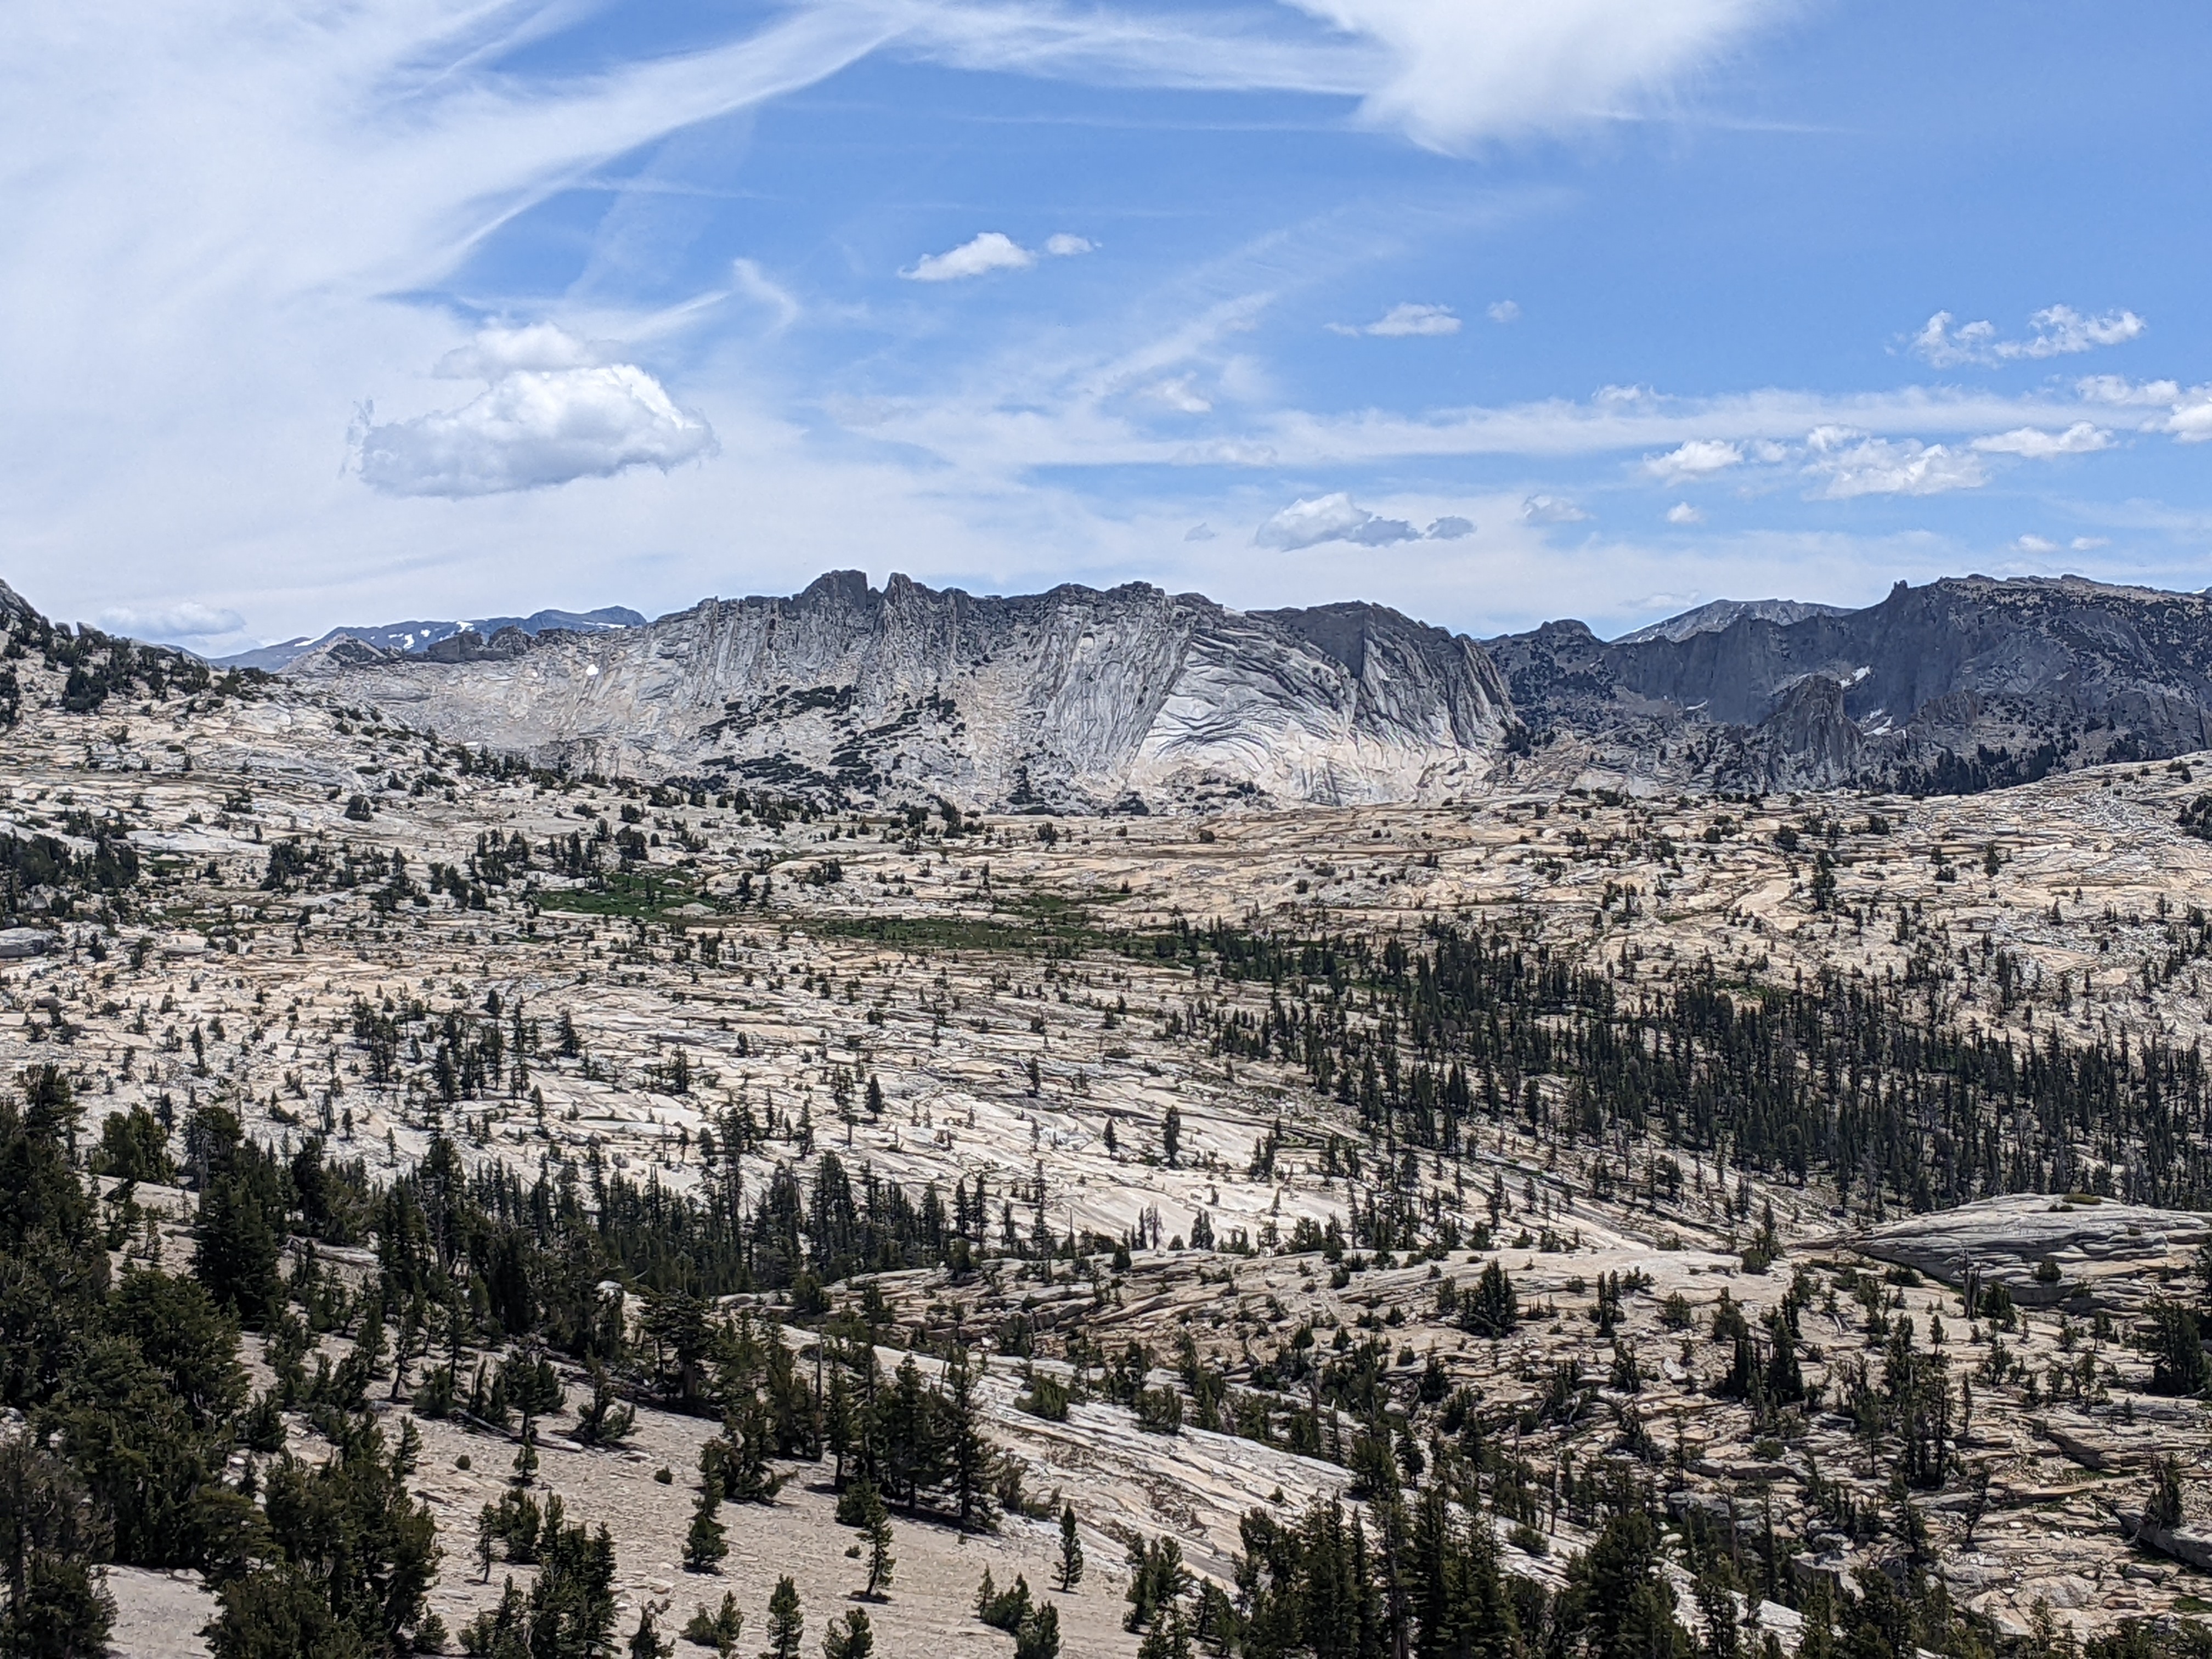
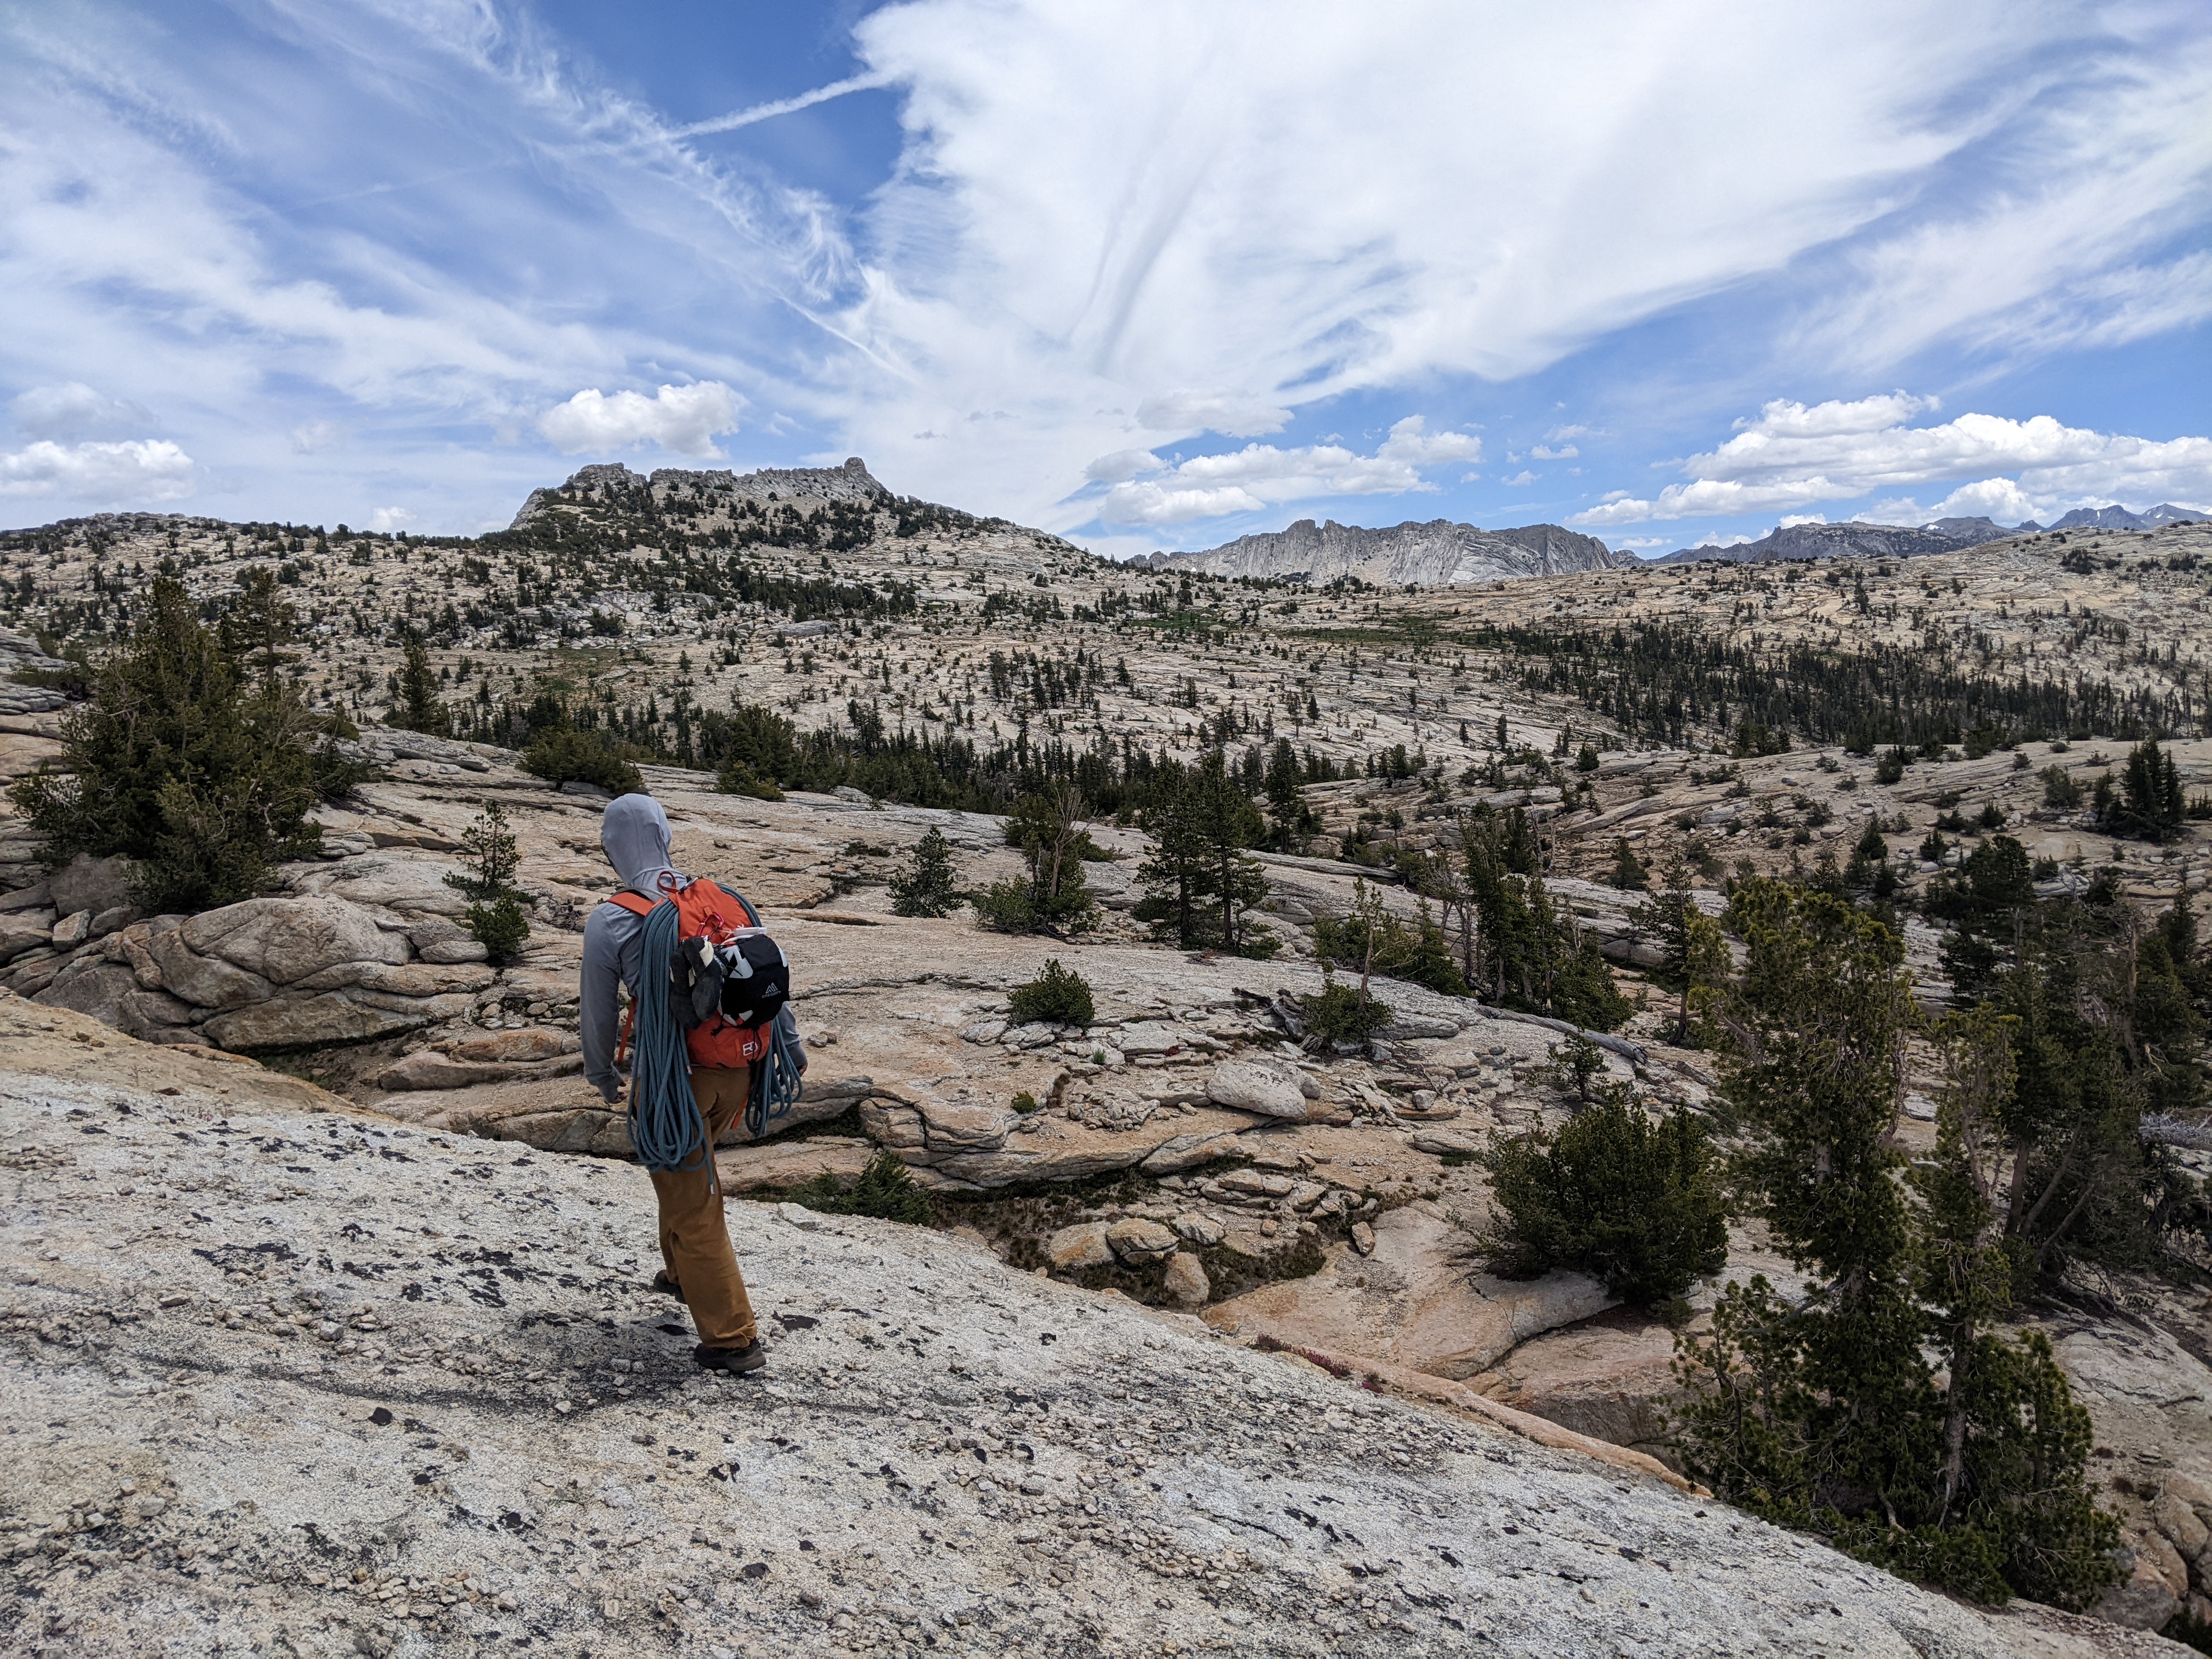
The first 2 miles of the hike were pretty flat and easy. But after having already gained 3000 or so feet of elevation in the morning, we were not very enthused to have to hike uphill again to reach Matthes with our heavy packs. Our pace slowed down to a crawl and we had to take a lot of breaks to make it up to the start. We finally made it there around 3:30pm. That was a little later than we had been hoping, but we knew we would have daylight until at least 8pm, and figured that would still be enough time to complete the techincal sections of the day before it got dark.
Matthes Crest Traverse (to South Summit)
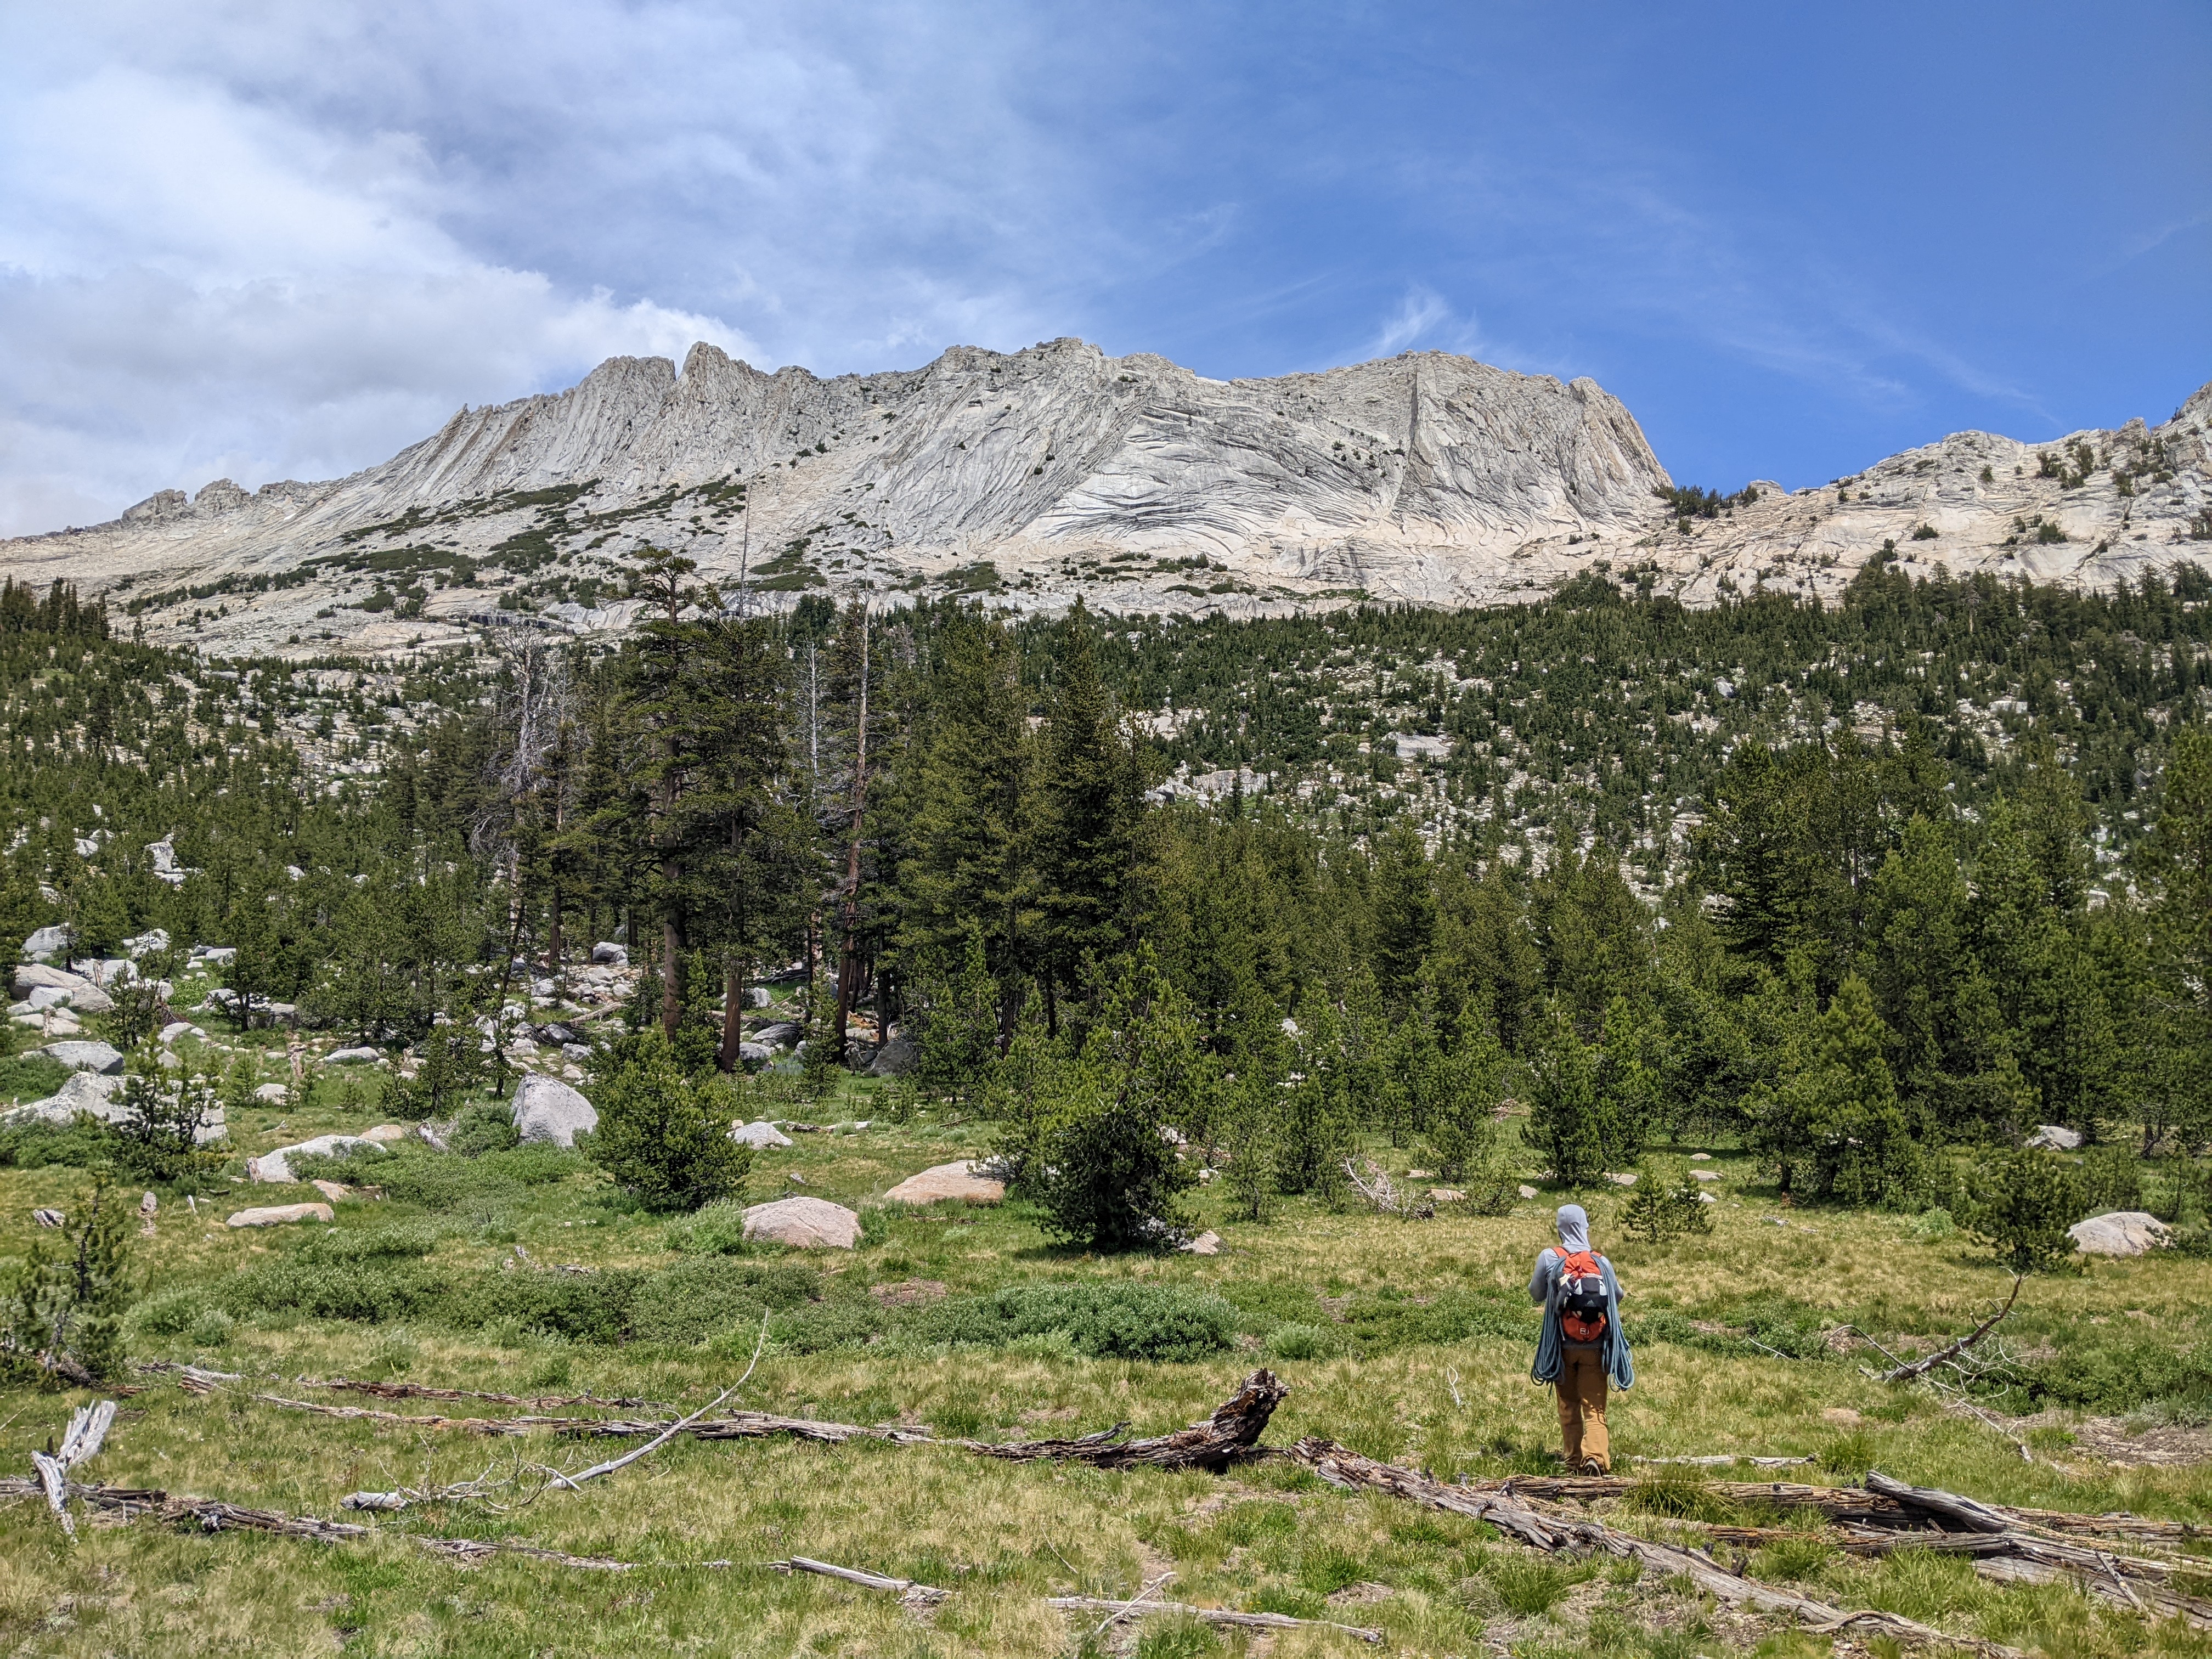
We quickly ate our lunches, and then finally it was time to begin the epic Matthes Crest! Nobody else was around probably because it was 4pm, but it was cool to have the crest to ourselves. The weather and temperature were great and we weren’t concerned about any potential rain or storms.
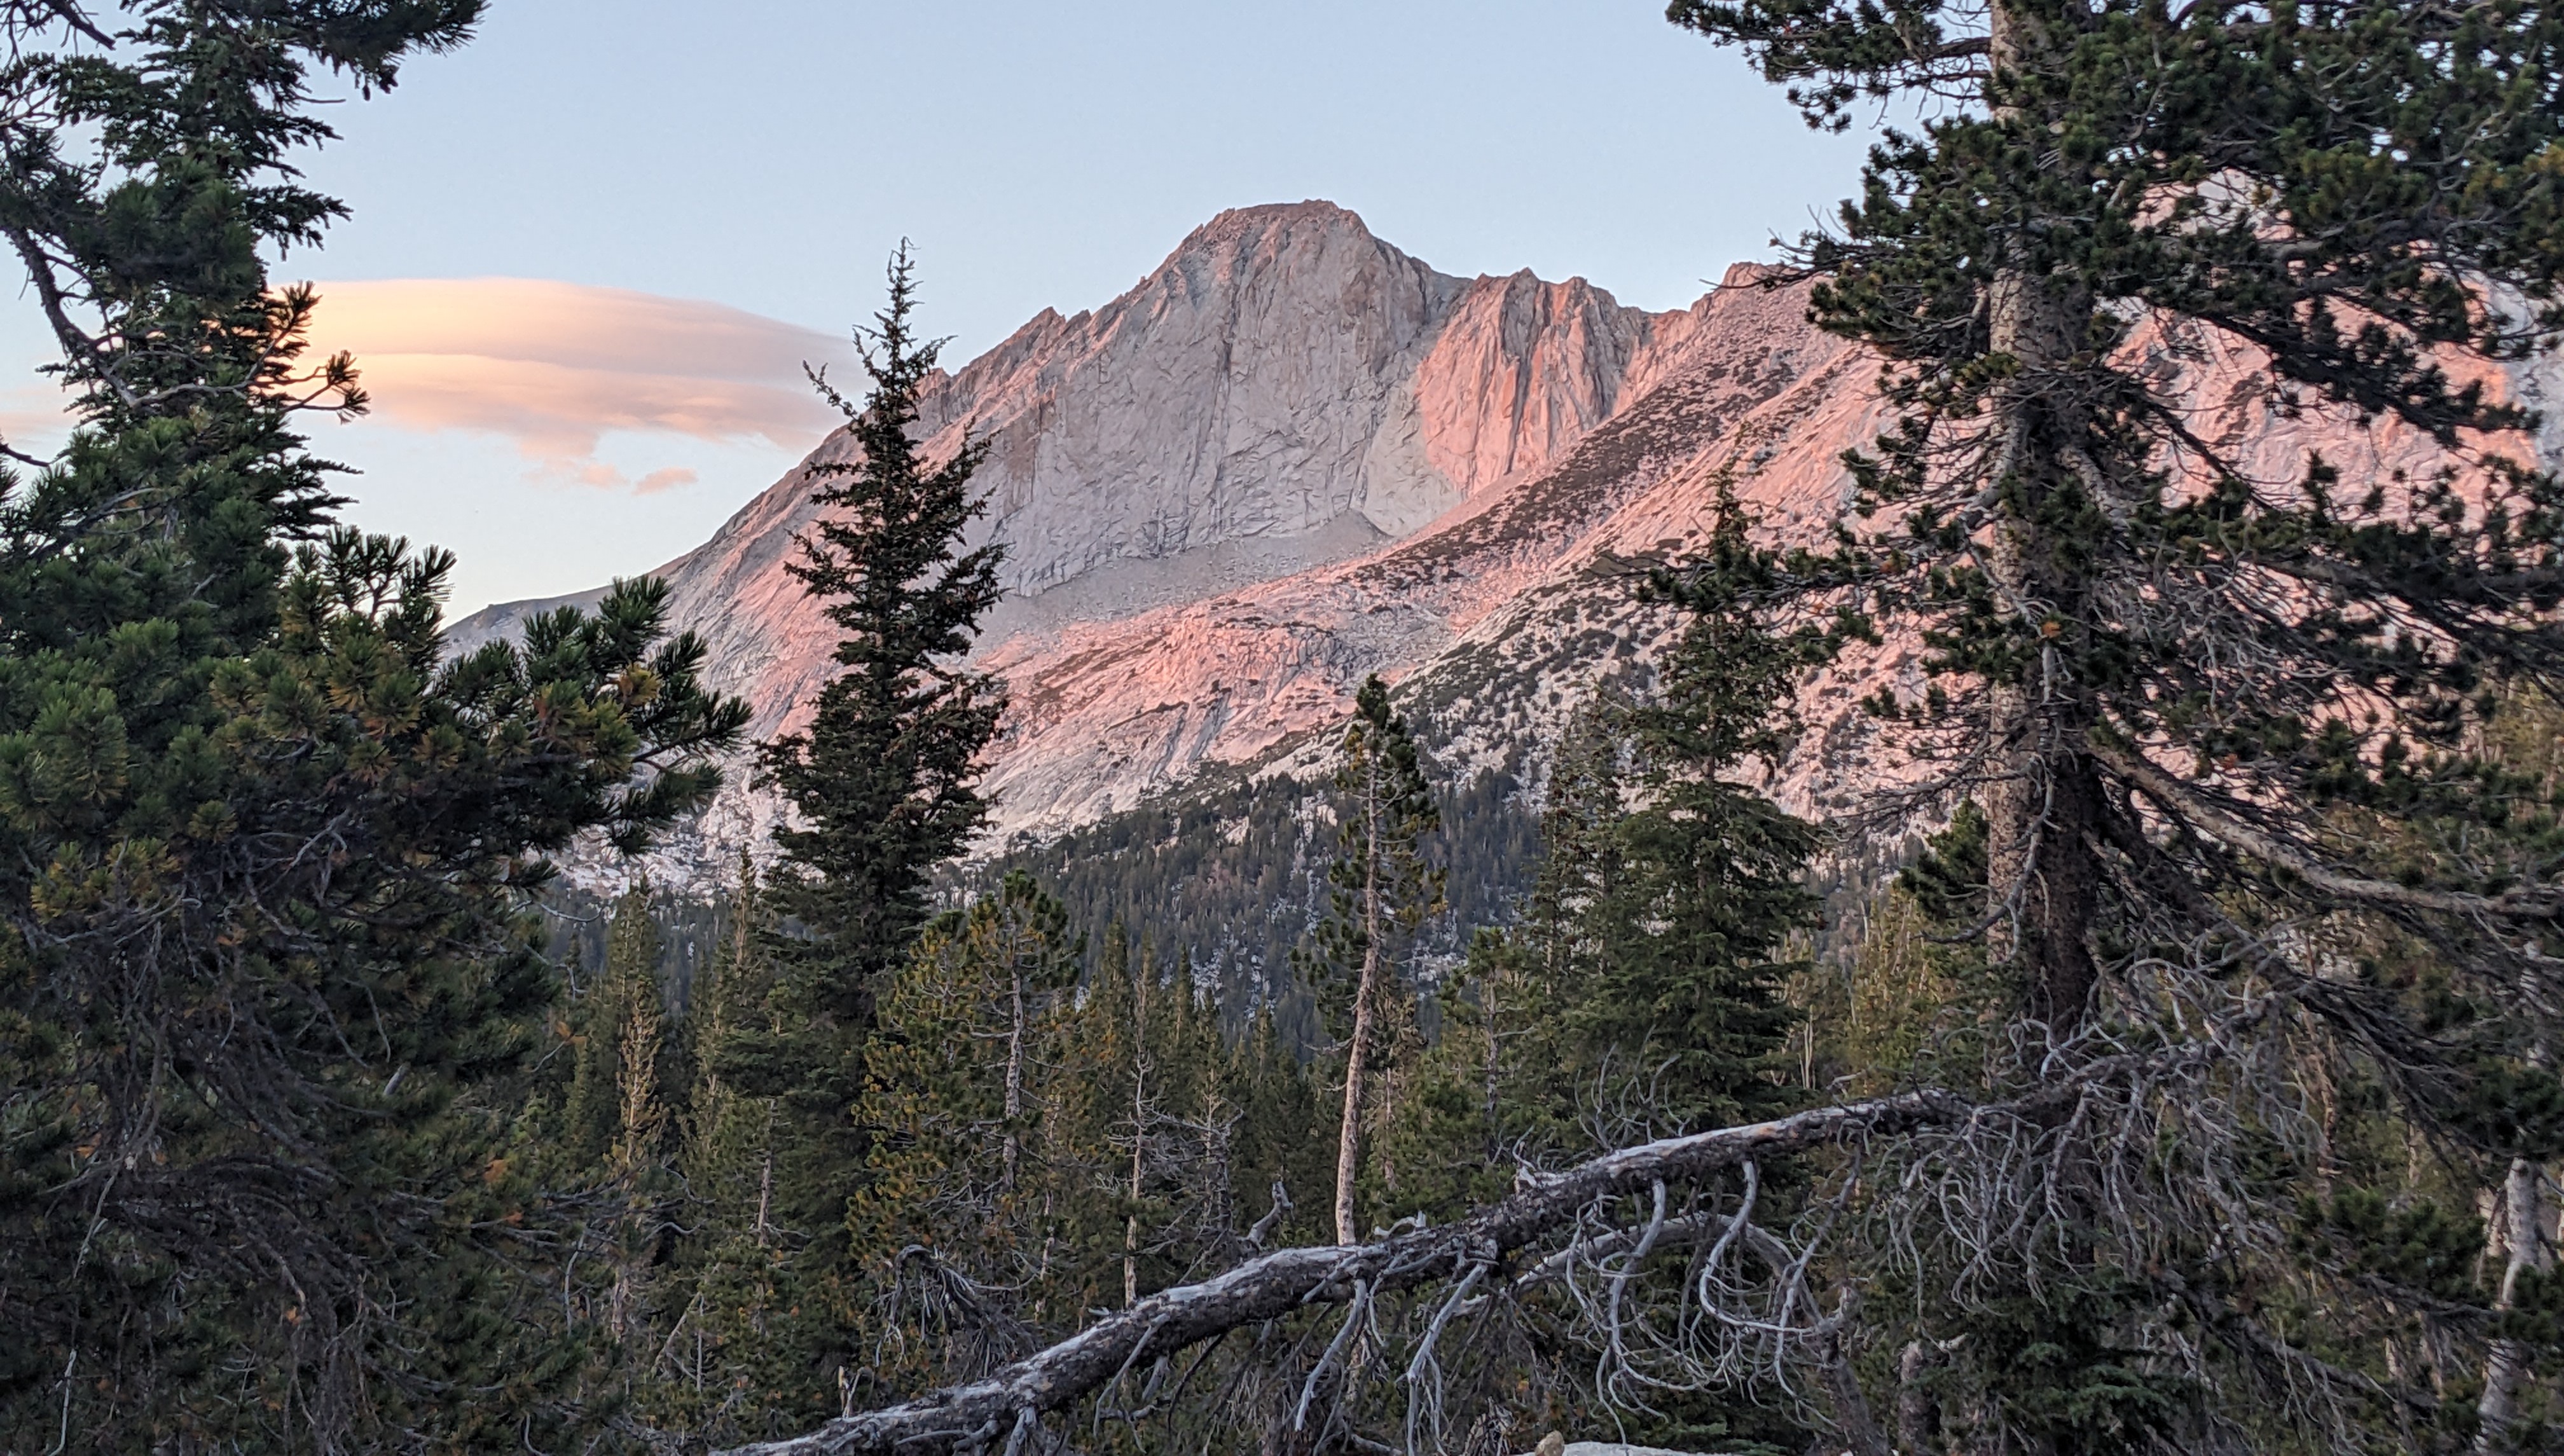
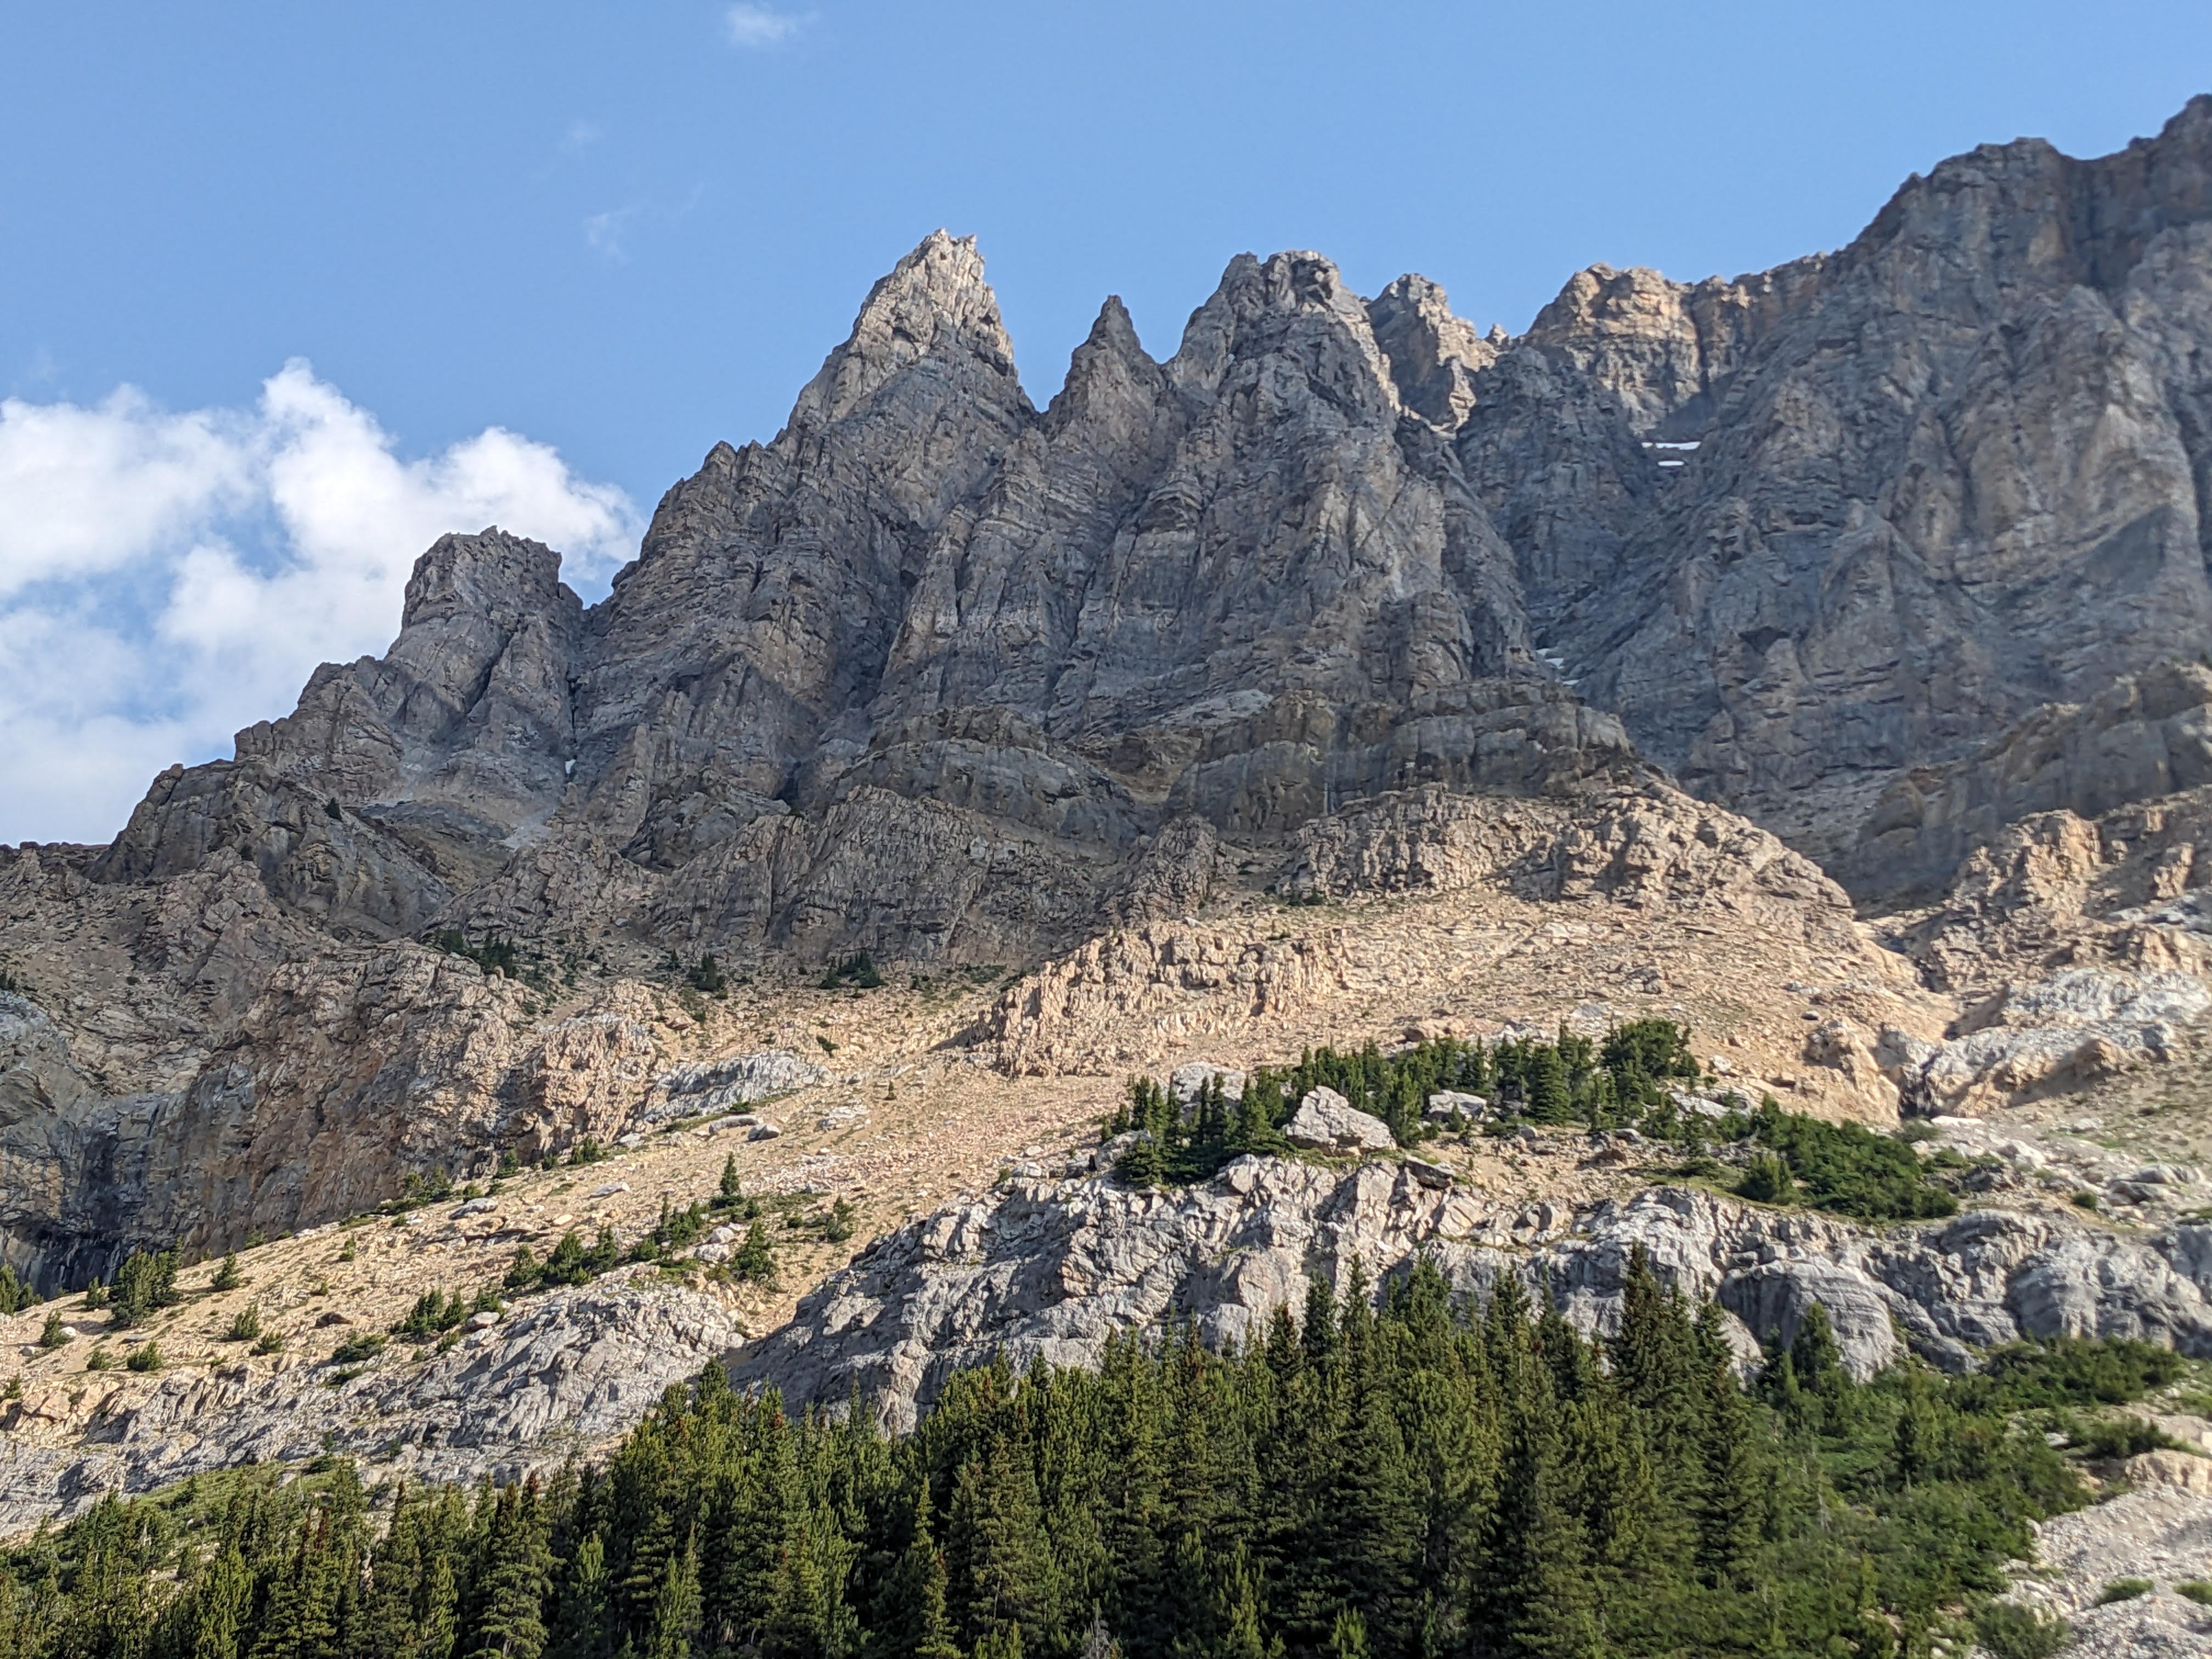
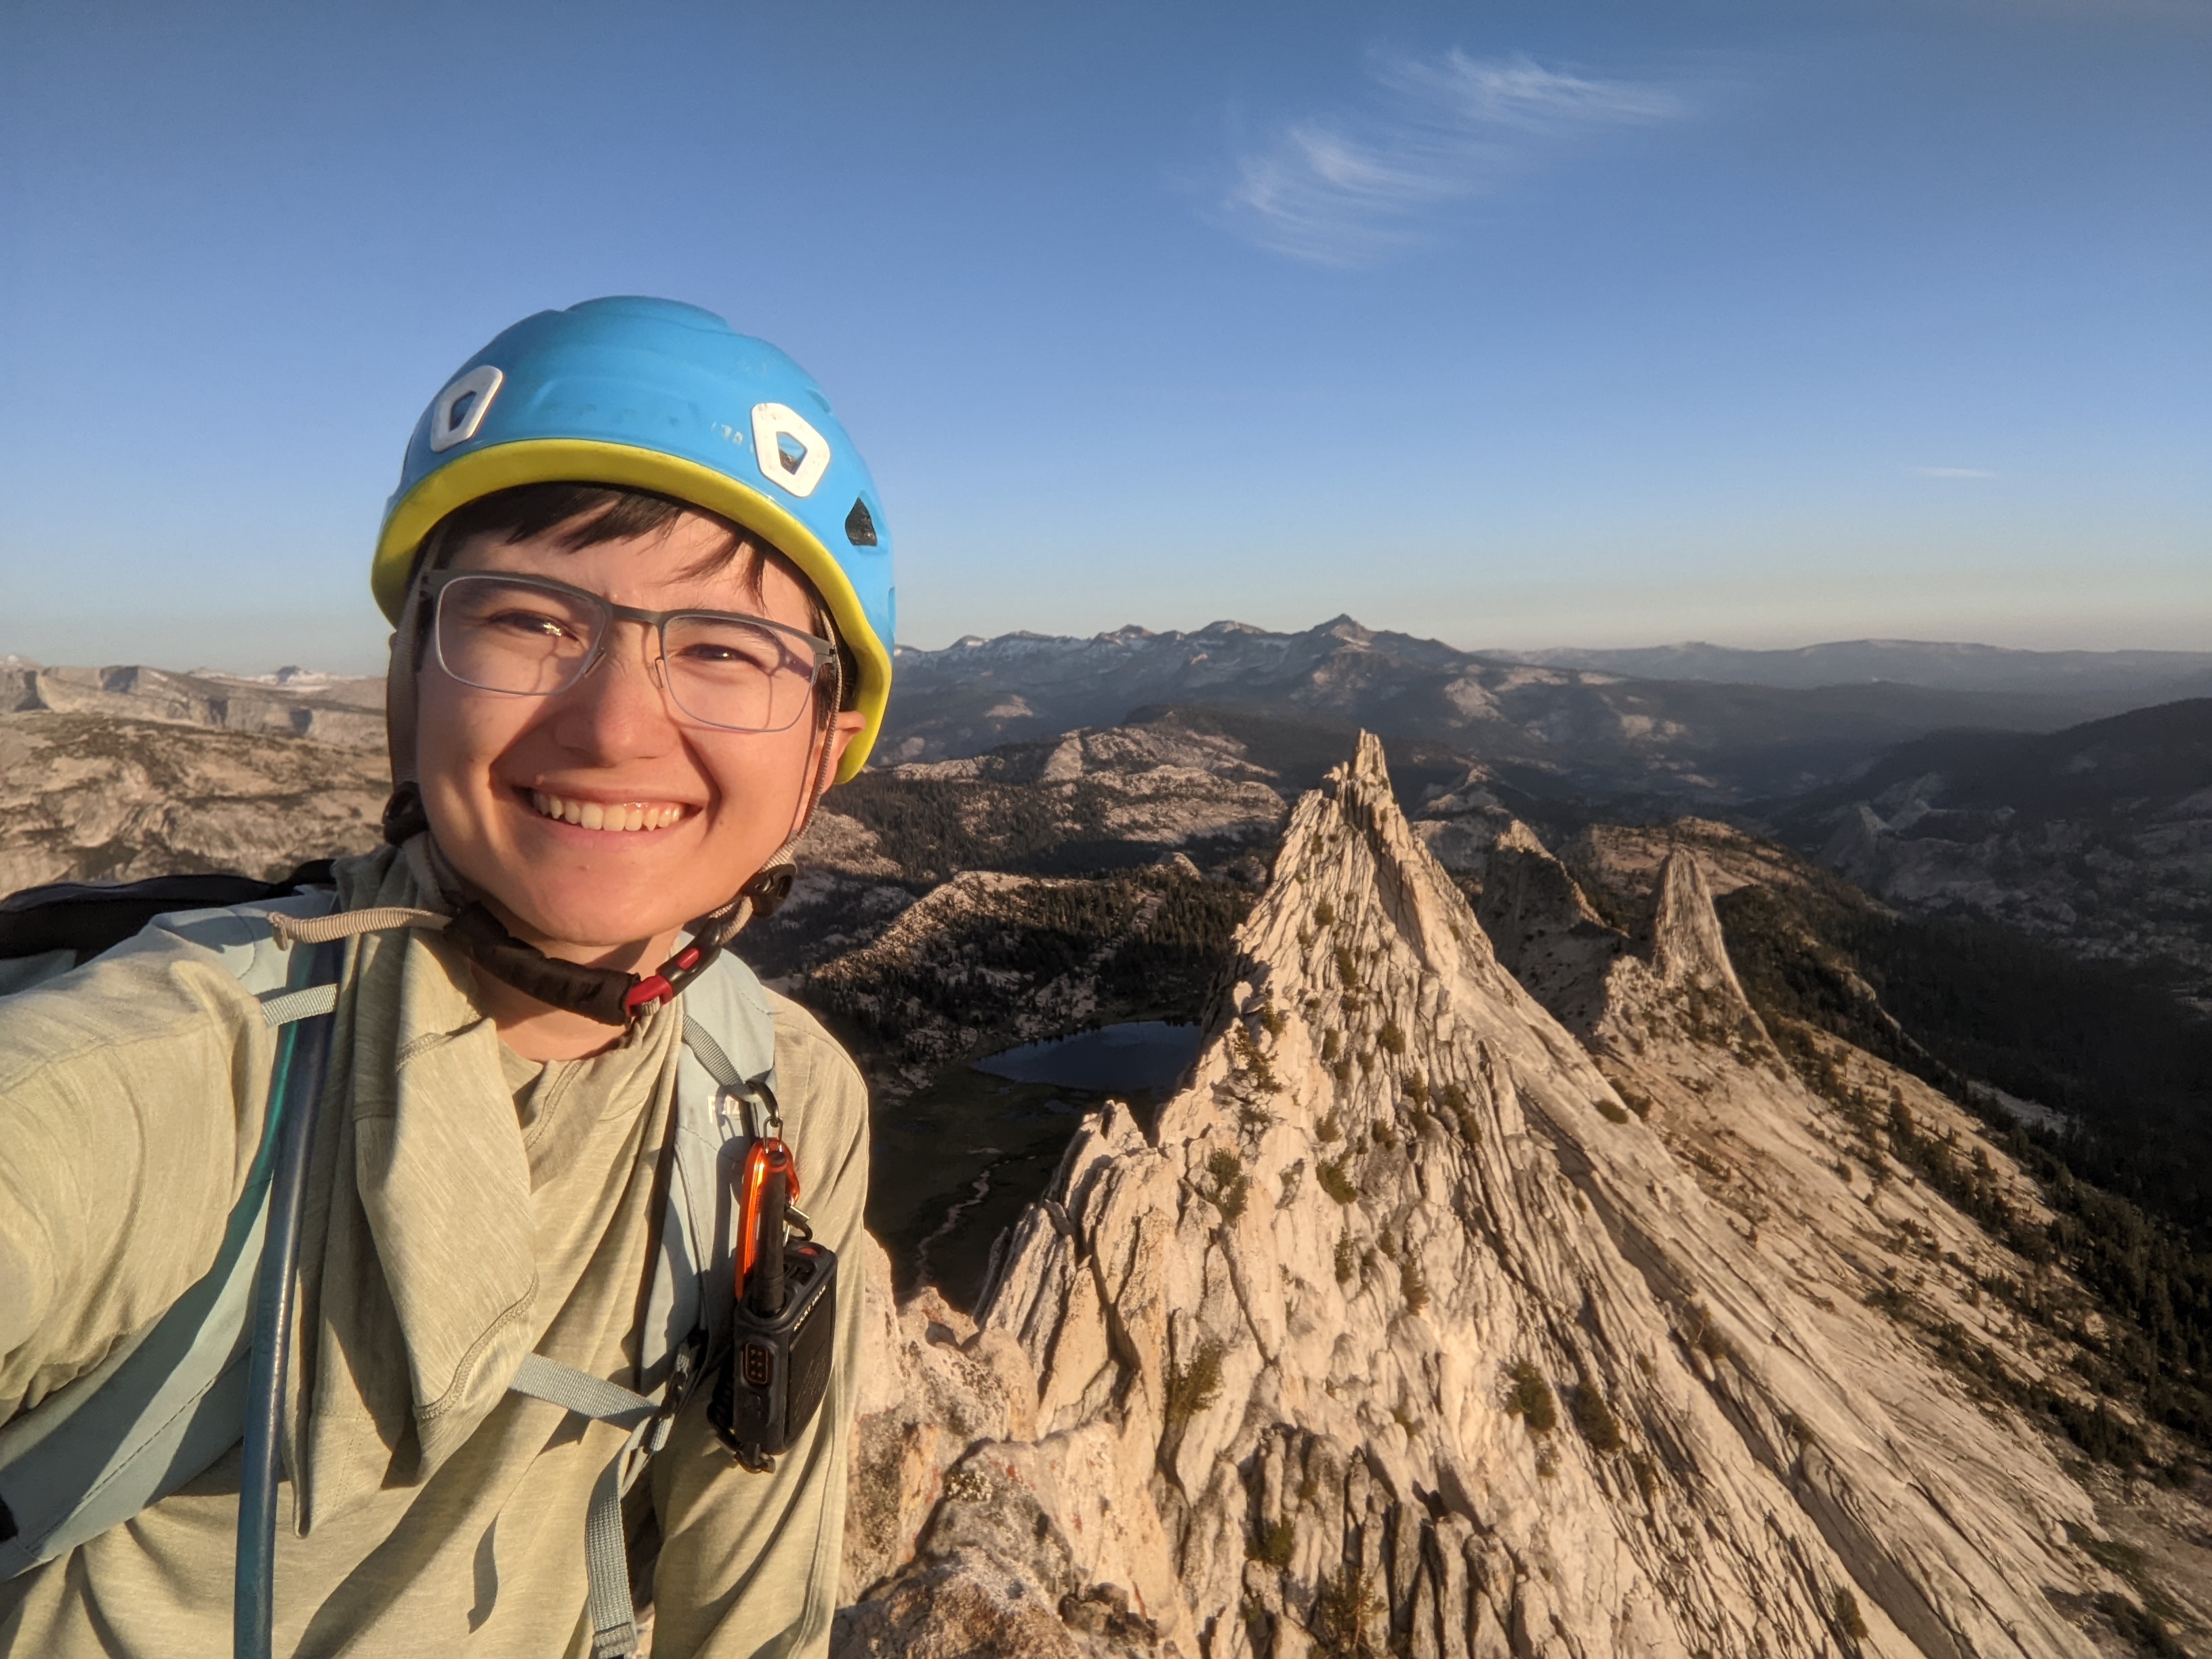
Matthes Crest is an incredible 300’ tall fin of granite sticking out of the ground. The climb begins with a vertical section to get to the top of the crest, then traverses horizontally across the top of the crest, with hundreds of feet of exposure on either side.
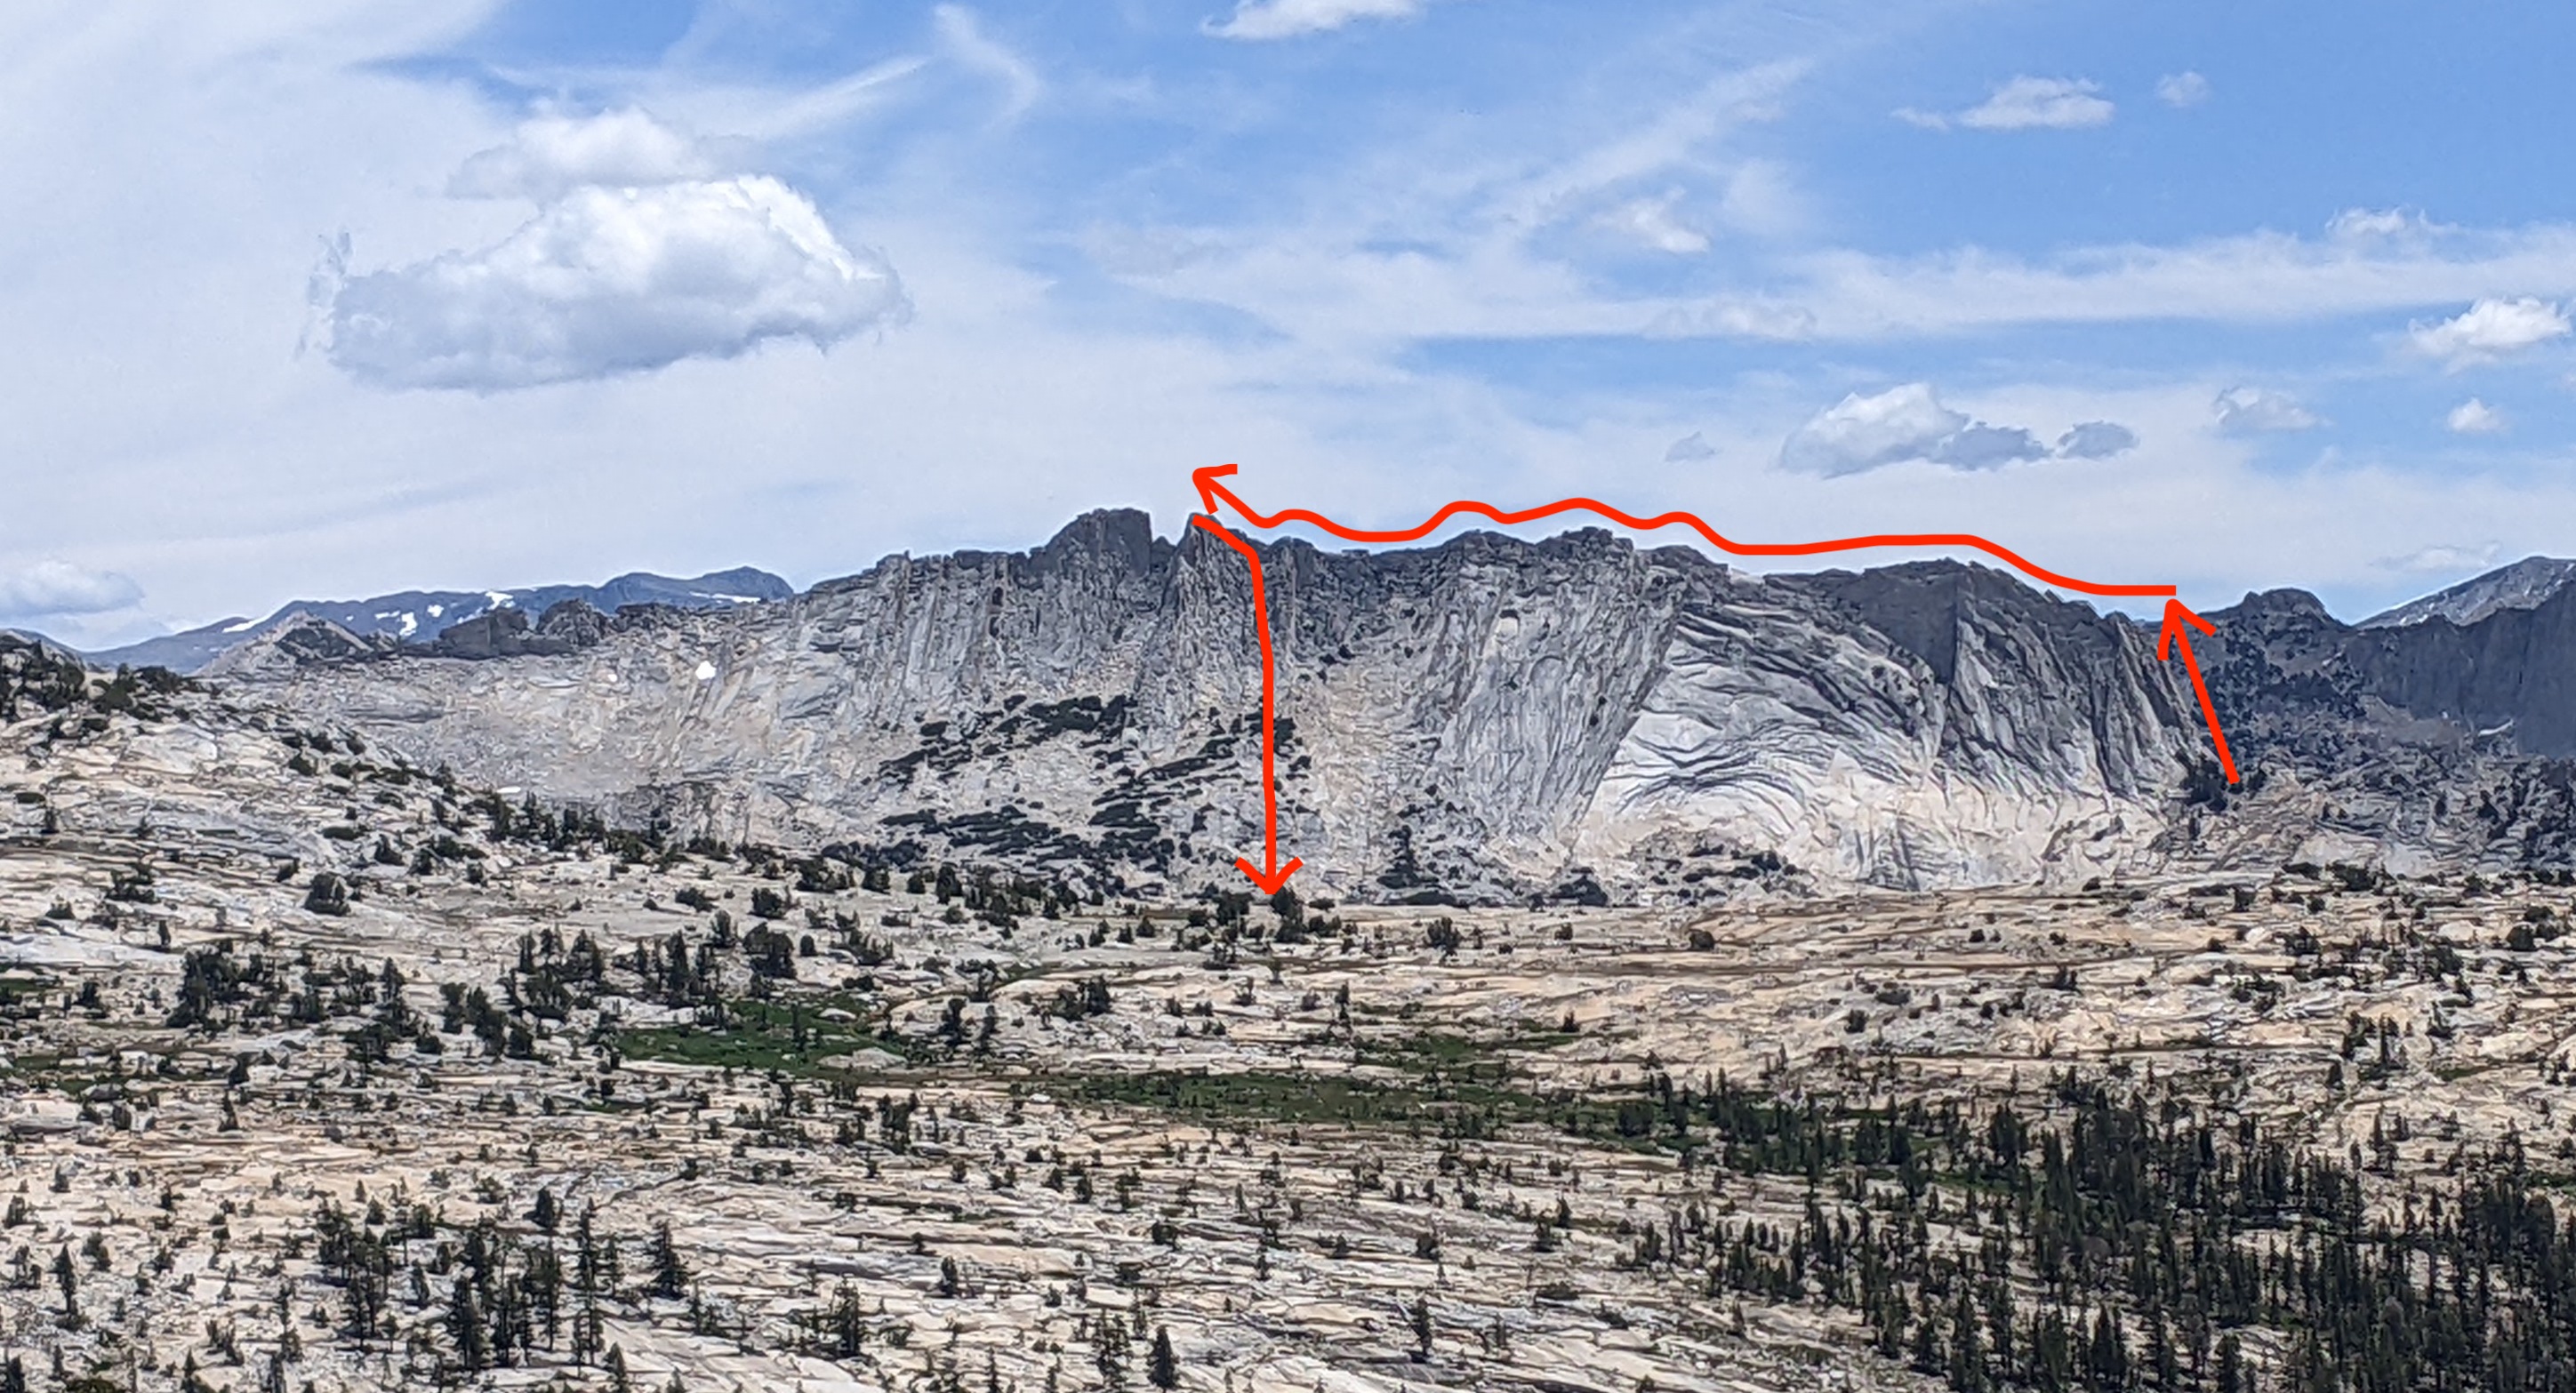
I started leading up the couple hundred feet of vertical climbing at the start. Again, we were simul-climbing. This section is 5.5 or 5.6 and quite vertical, although on excellent holds and features. Near the top, I was running low on gear so I stopped to belay Louie up to me and refill my gear.
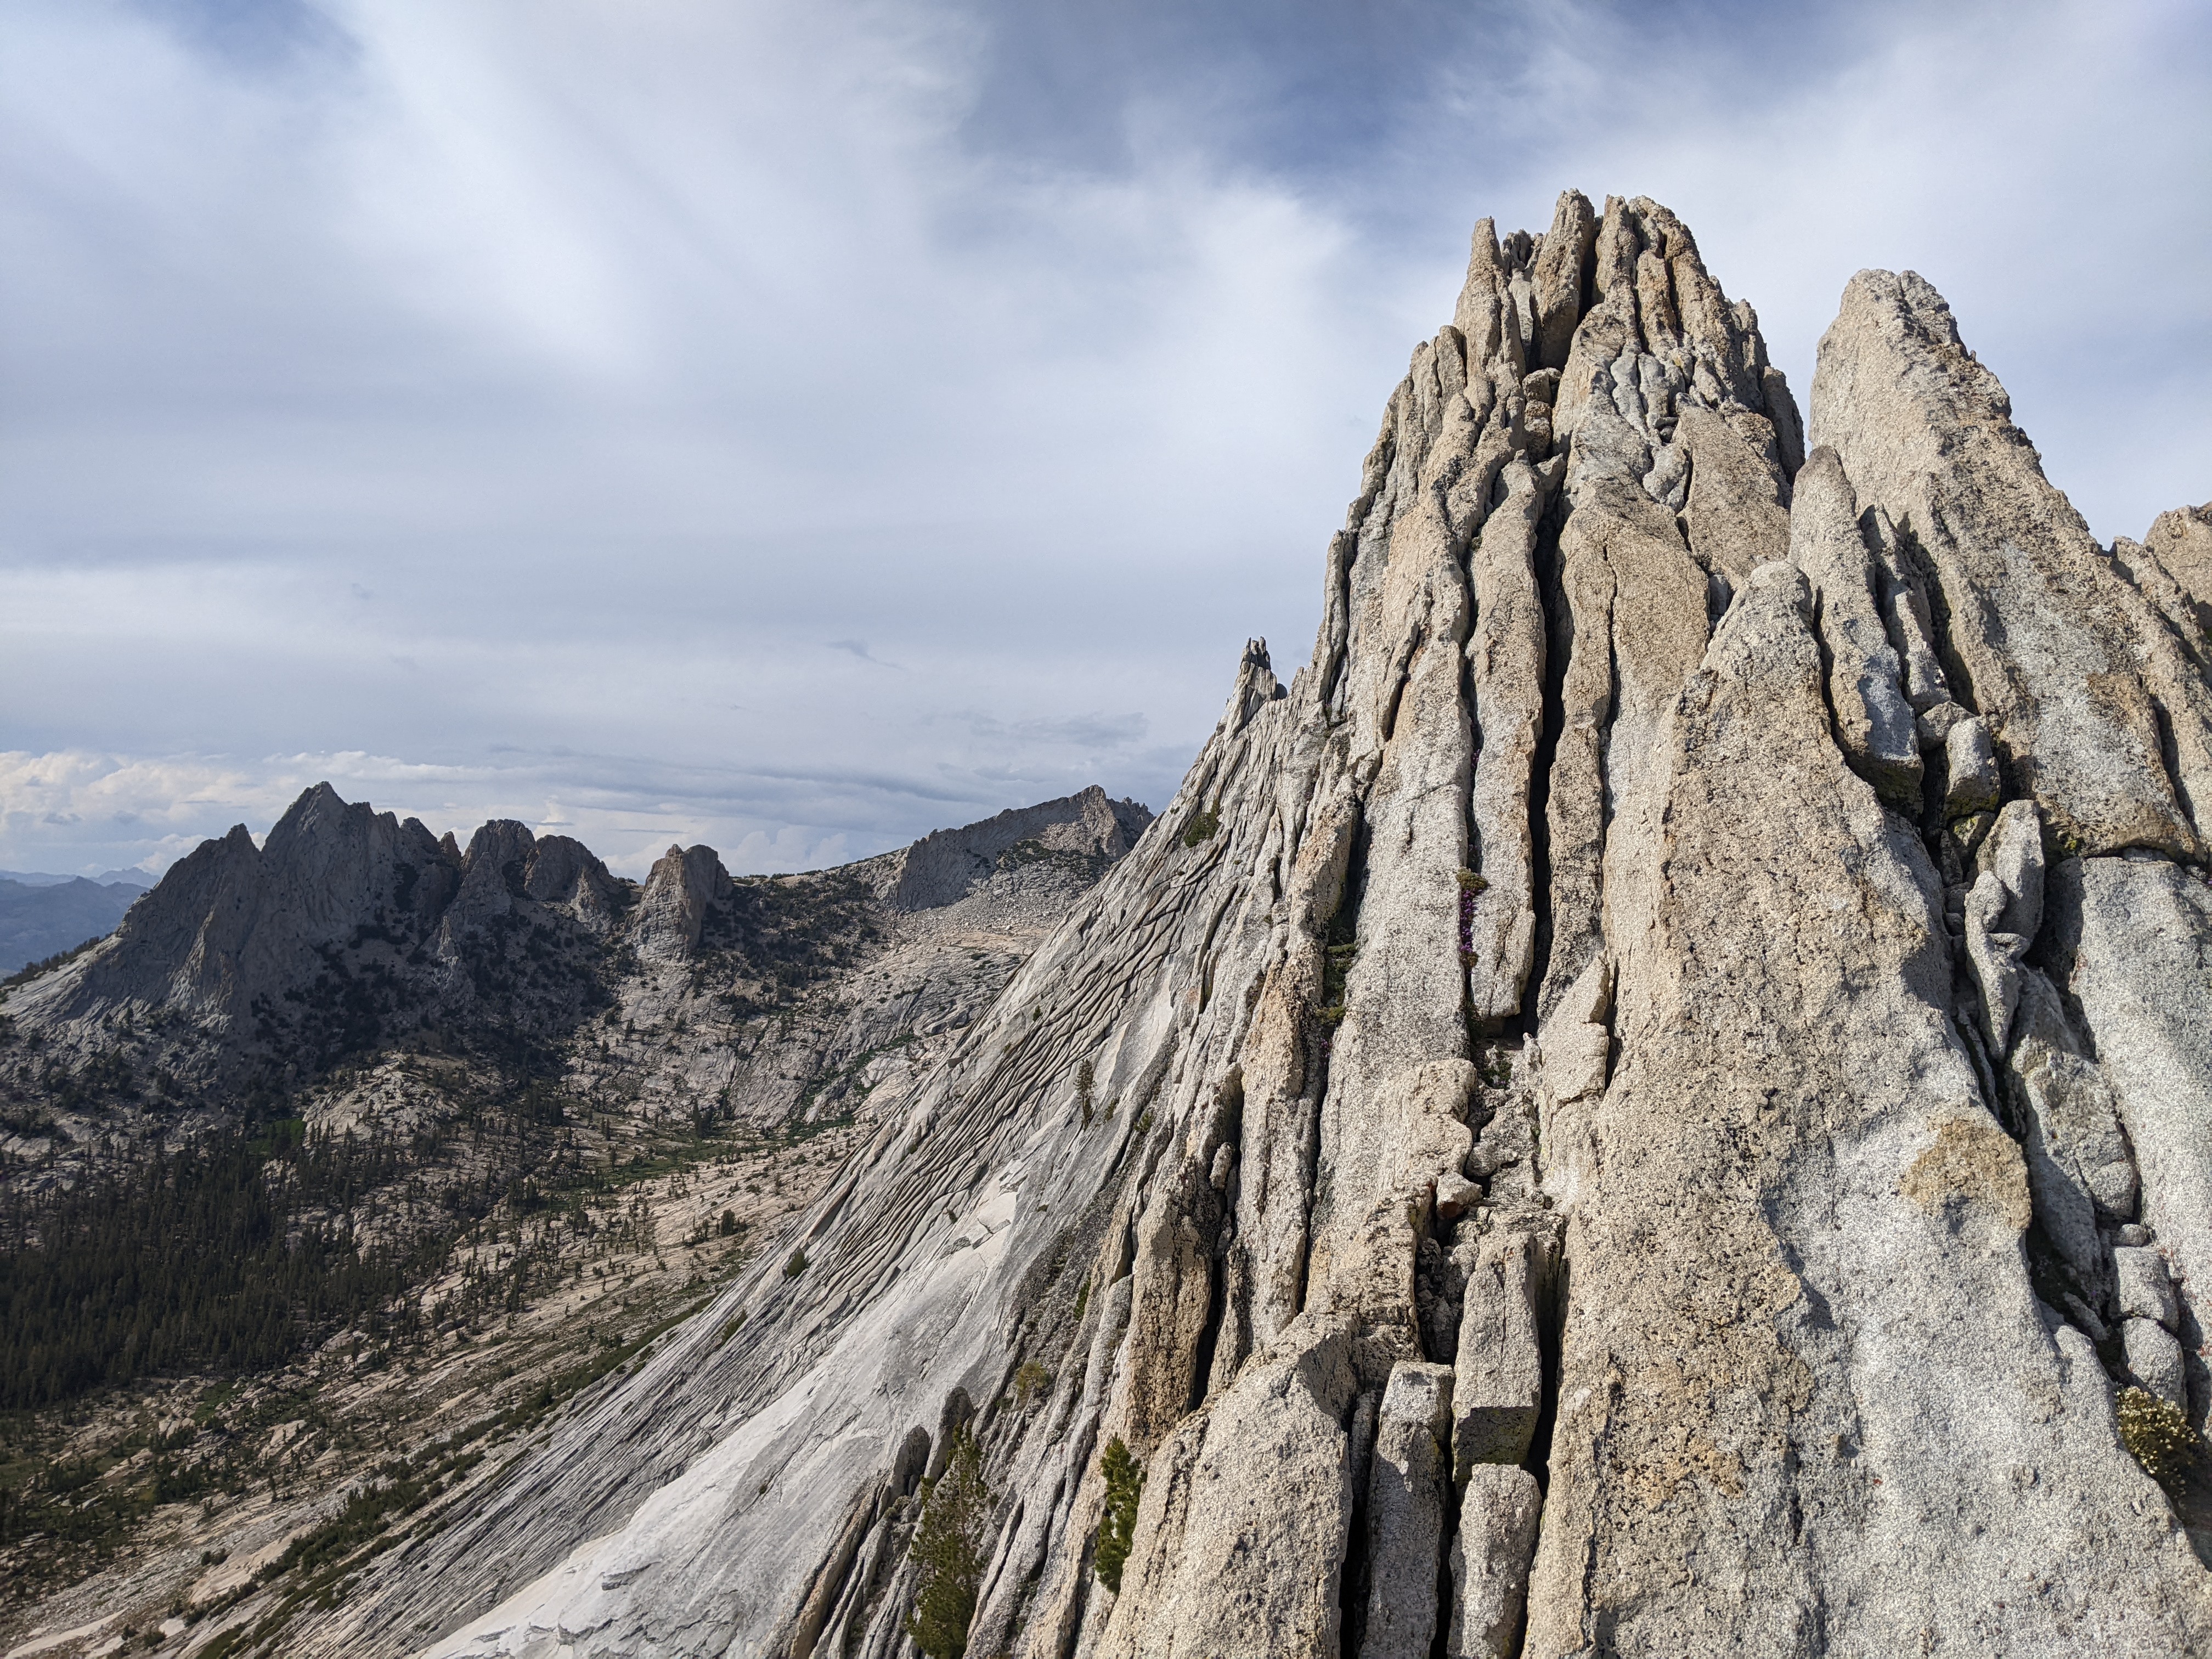
Next I started the traverse proper! The traverse itself is mostly 3rd/4th class where you are basically walking or scrambling rather than technical climbing. In these sections, I placed gear only around every 40 feet since there was nearly no chance of a fall. The gear would still be there to catch us if we happened to fall, but I was able to move a lot faster and farther by spacing it out.
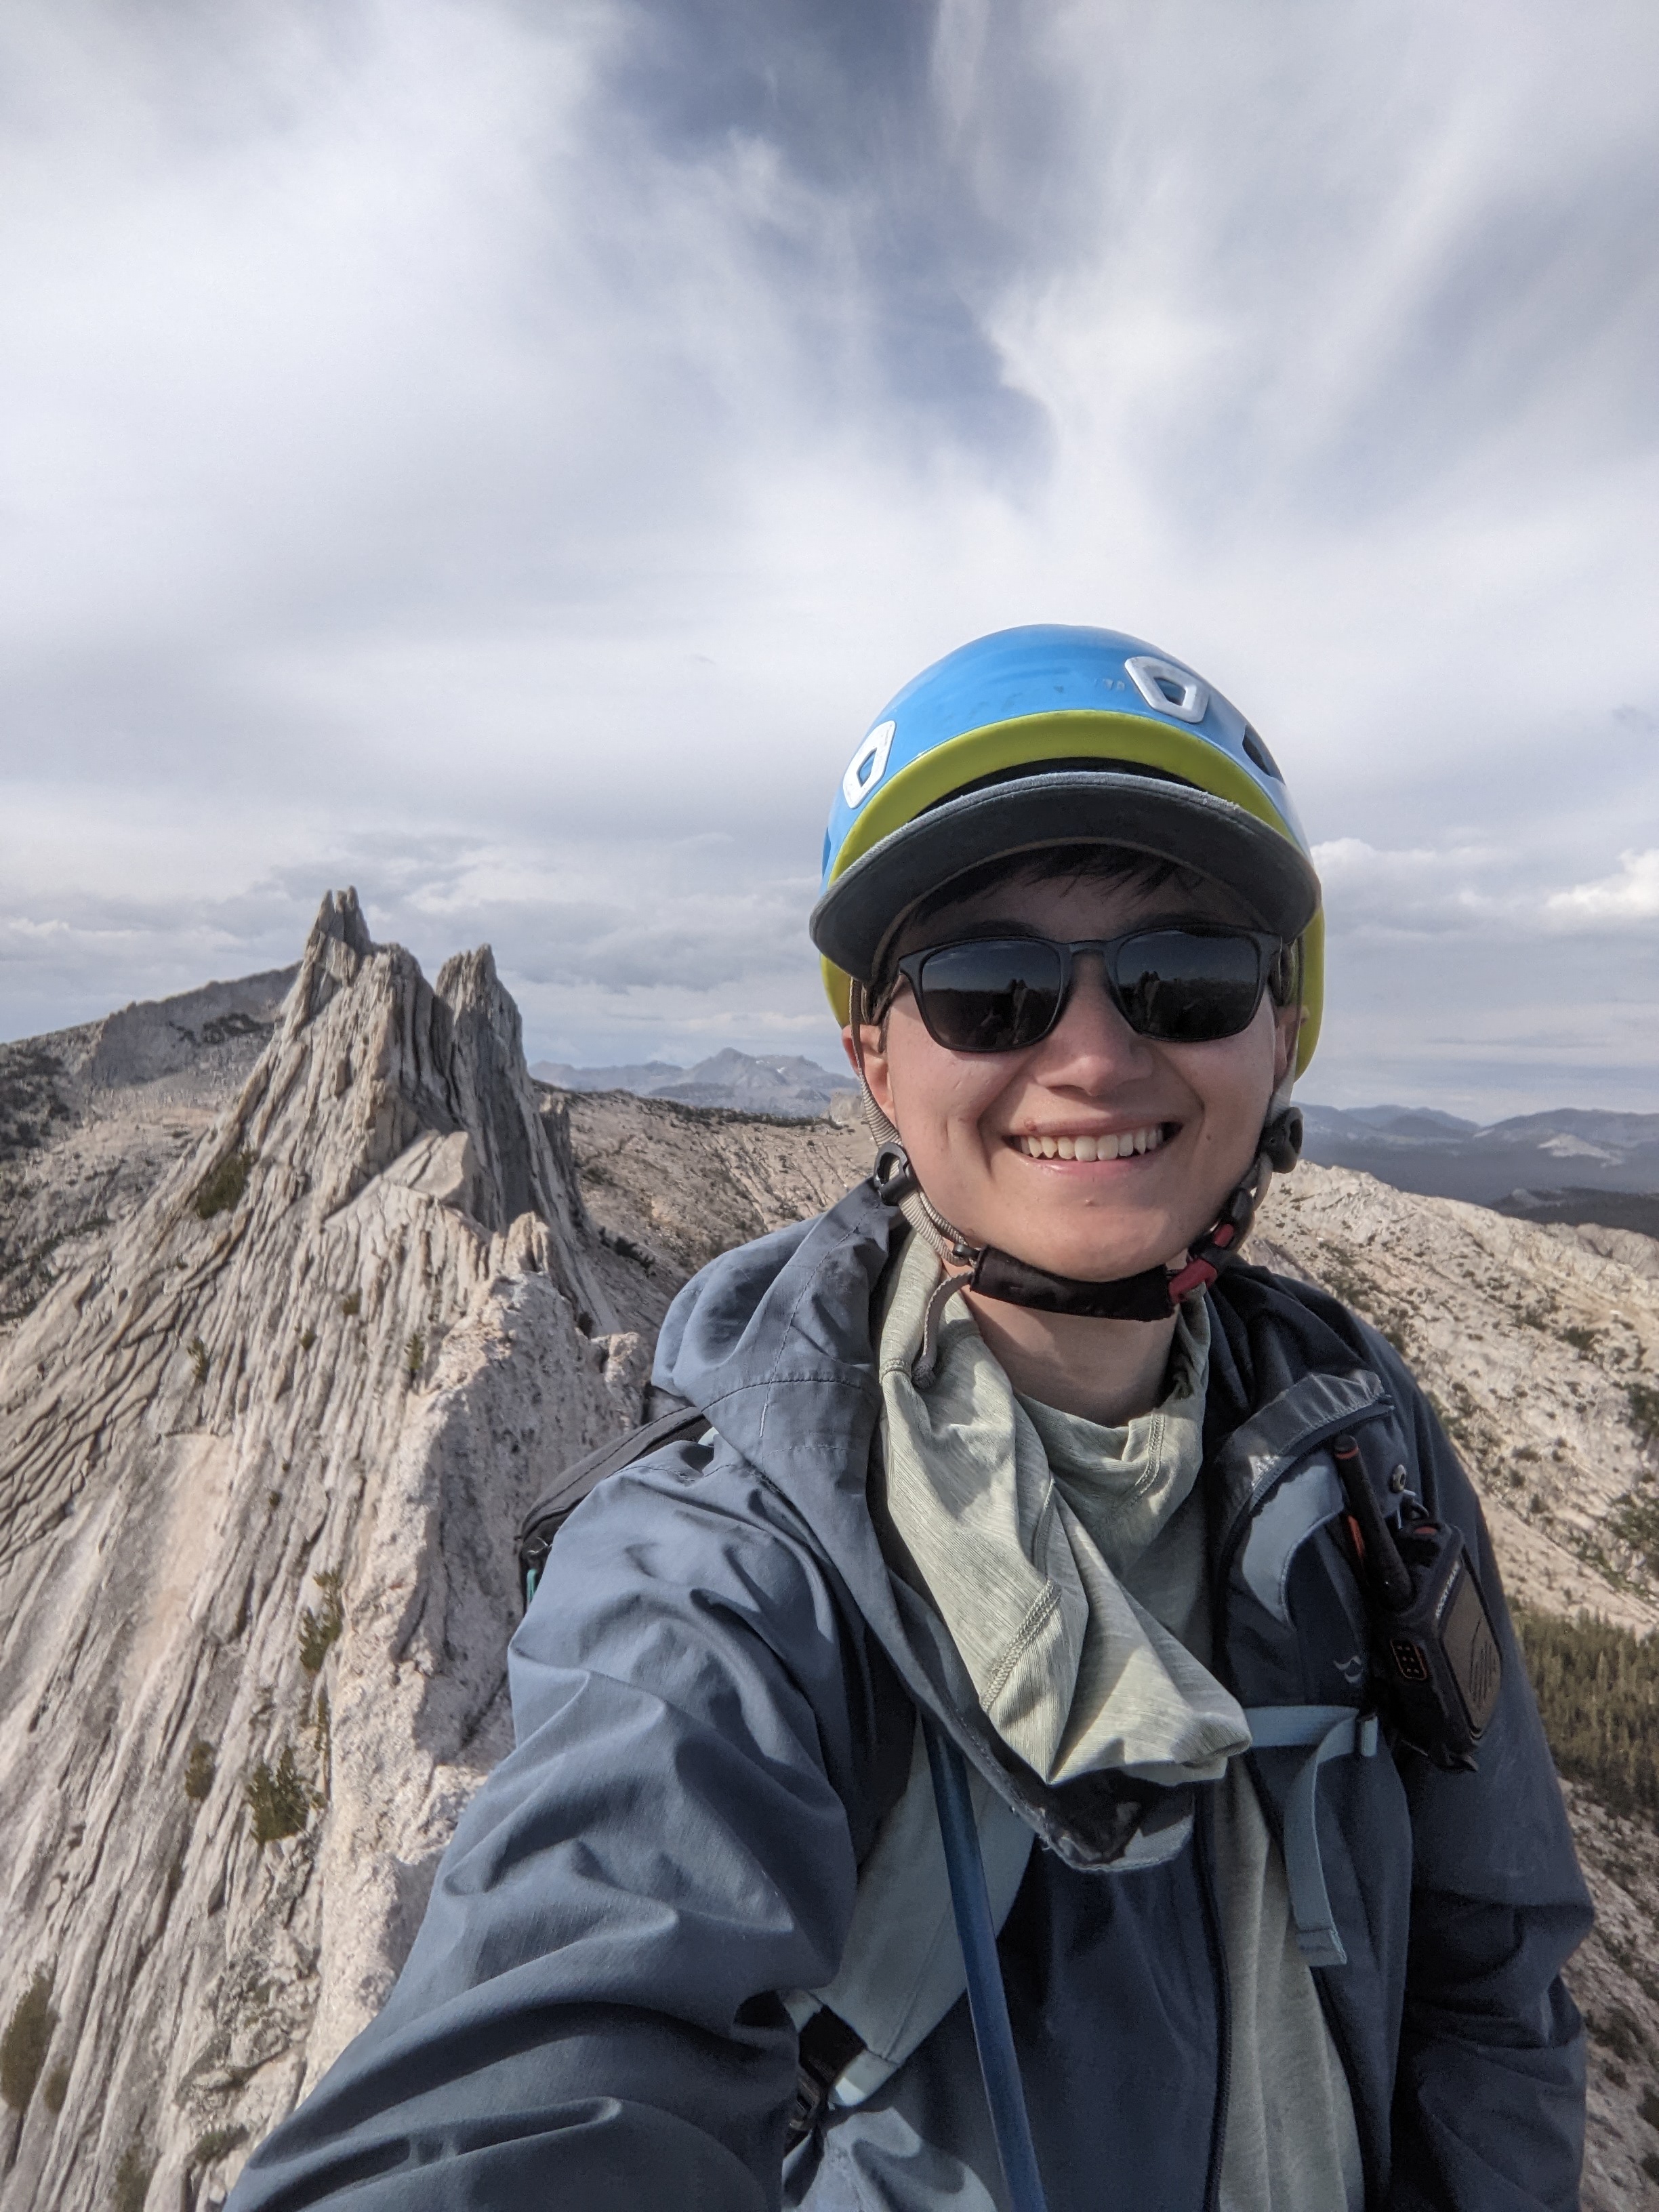
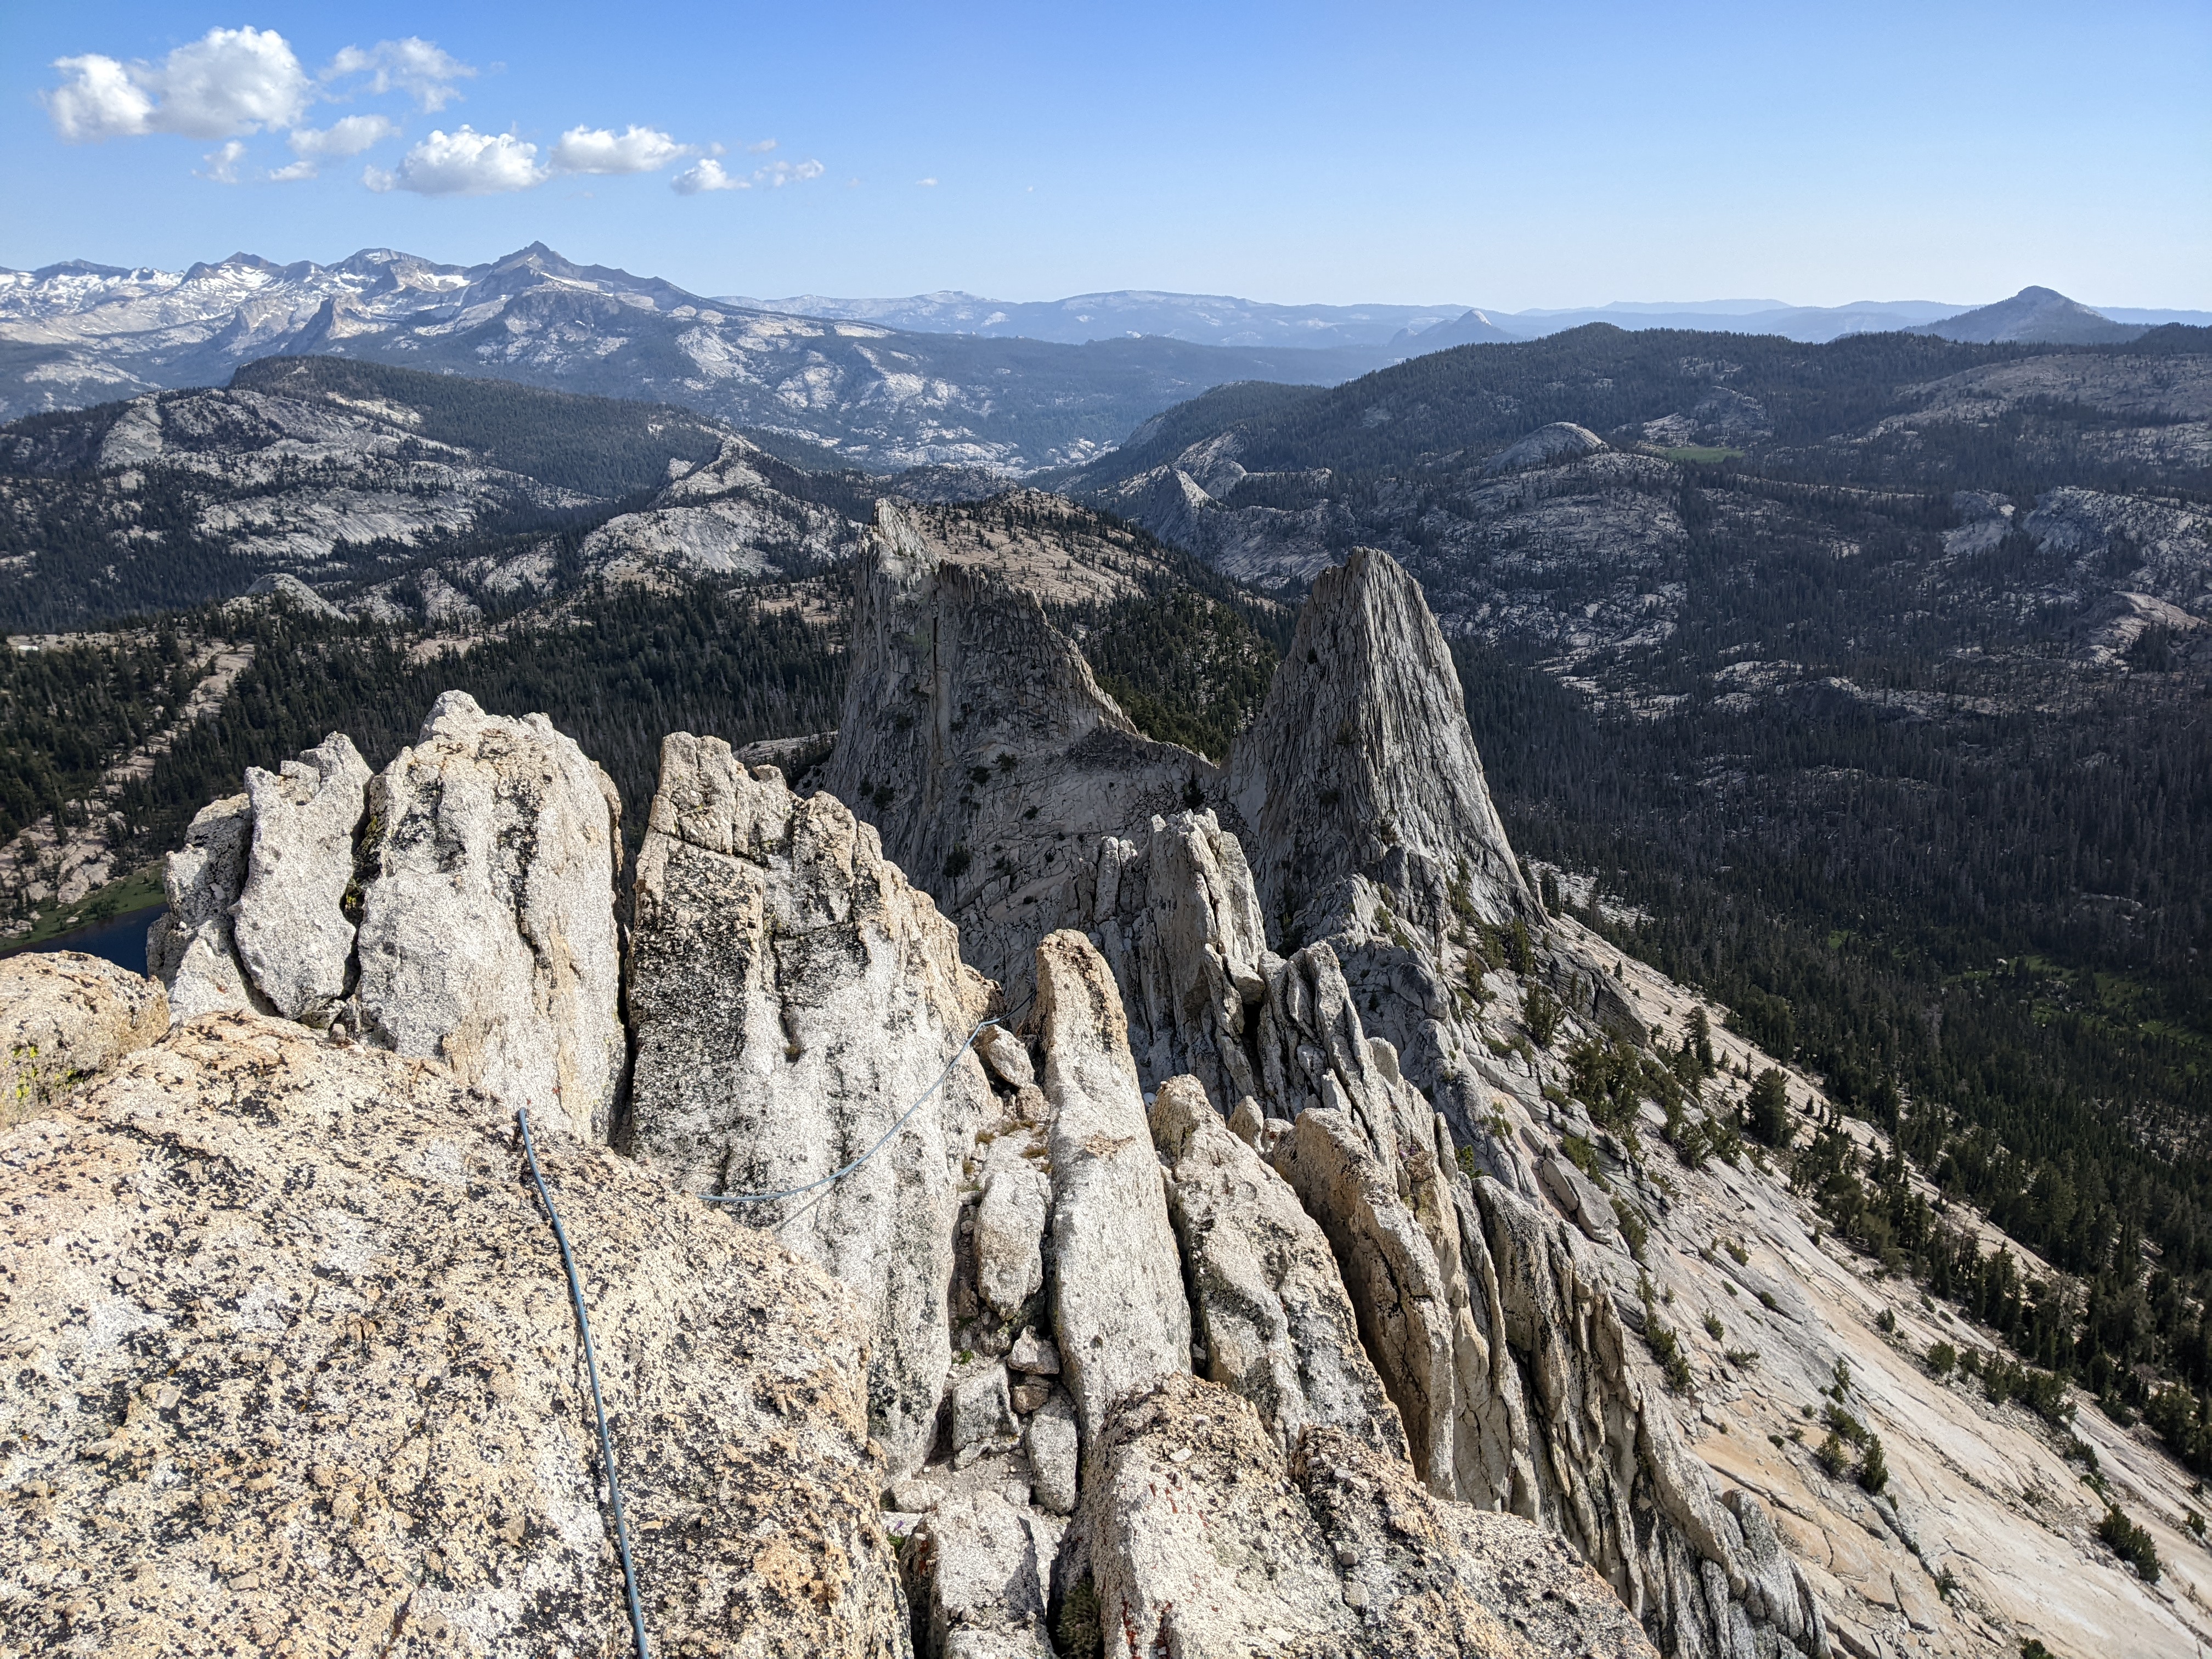
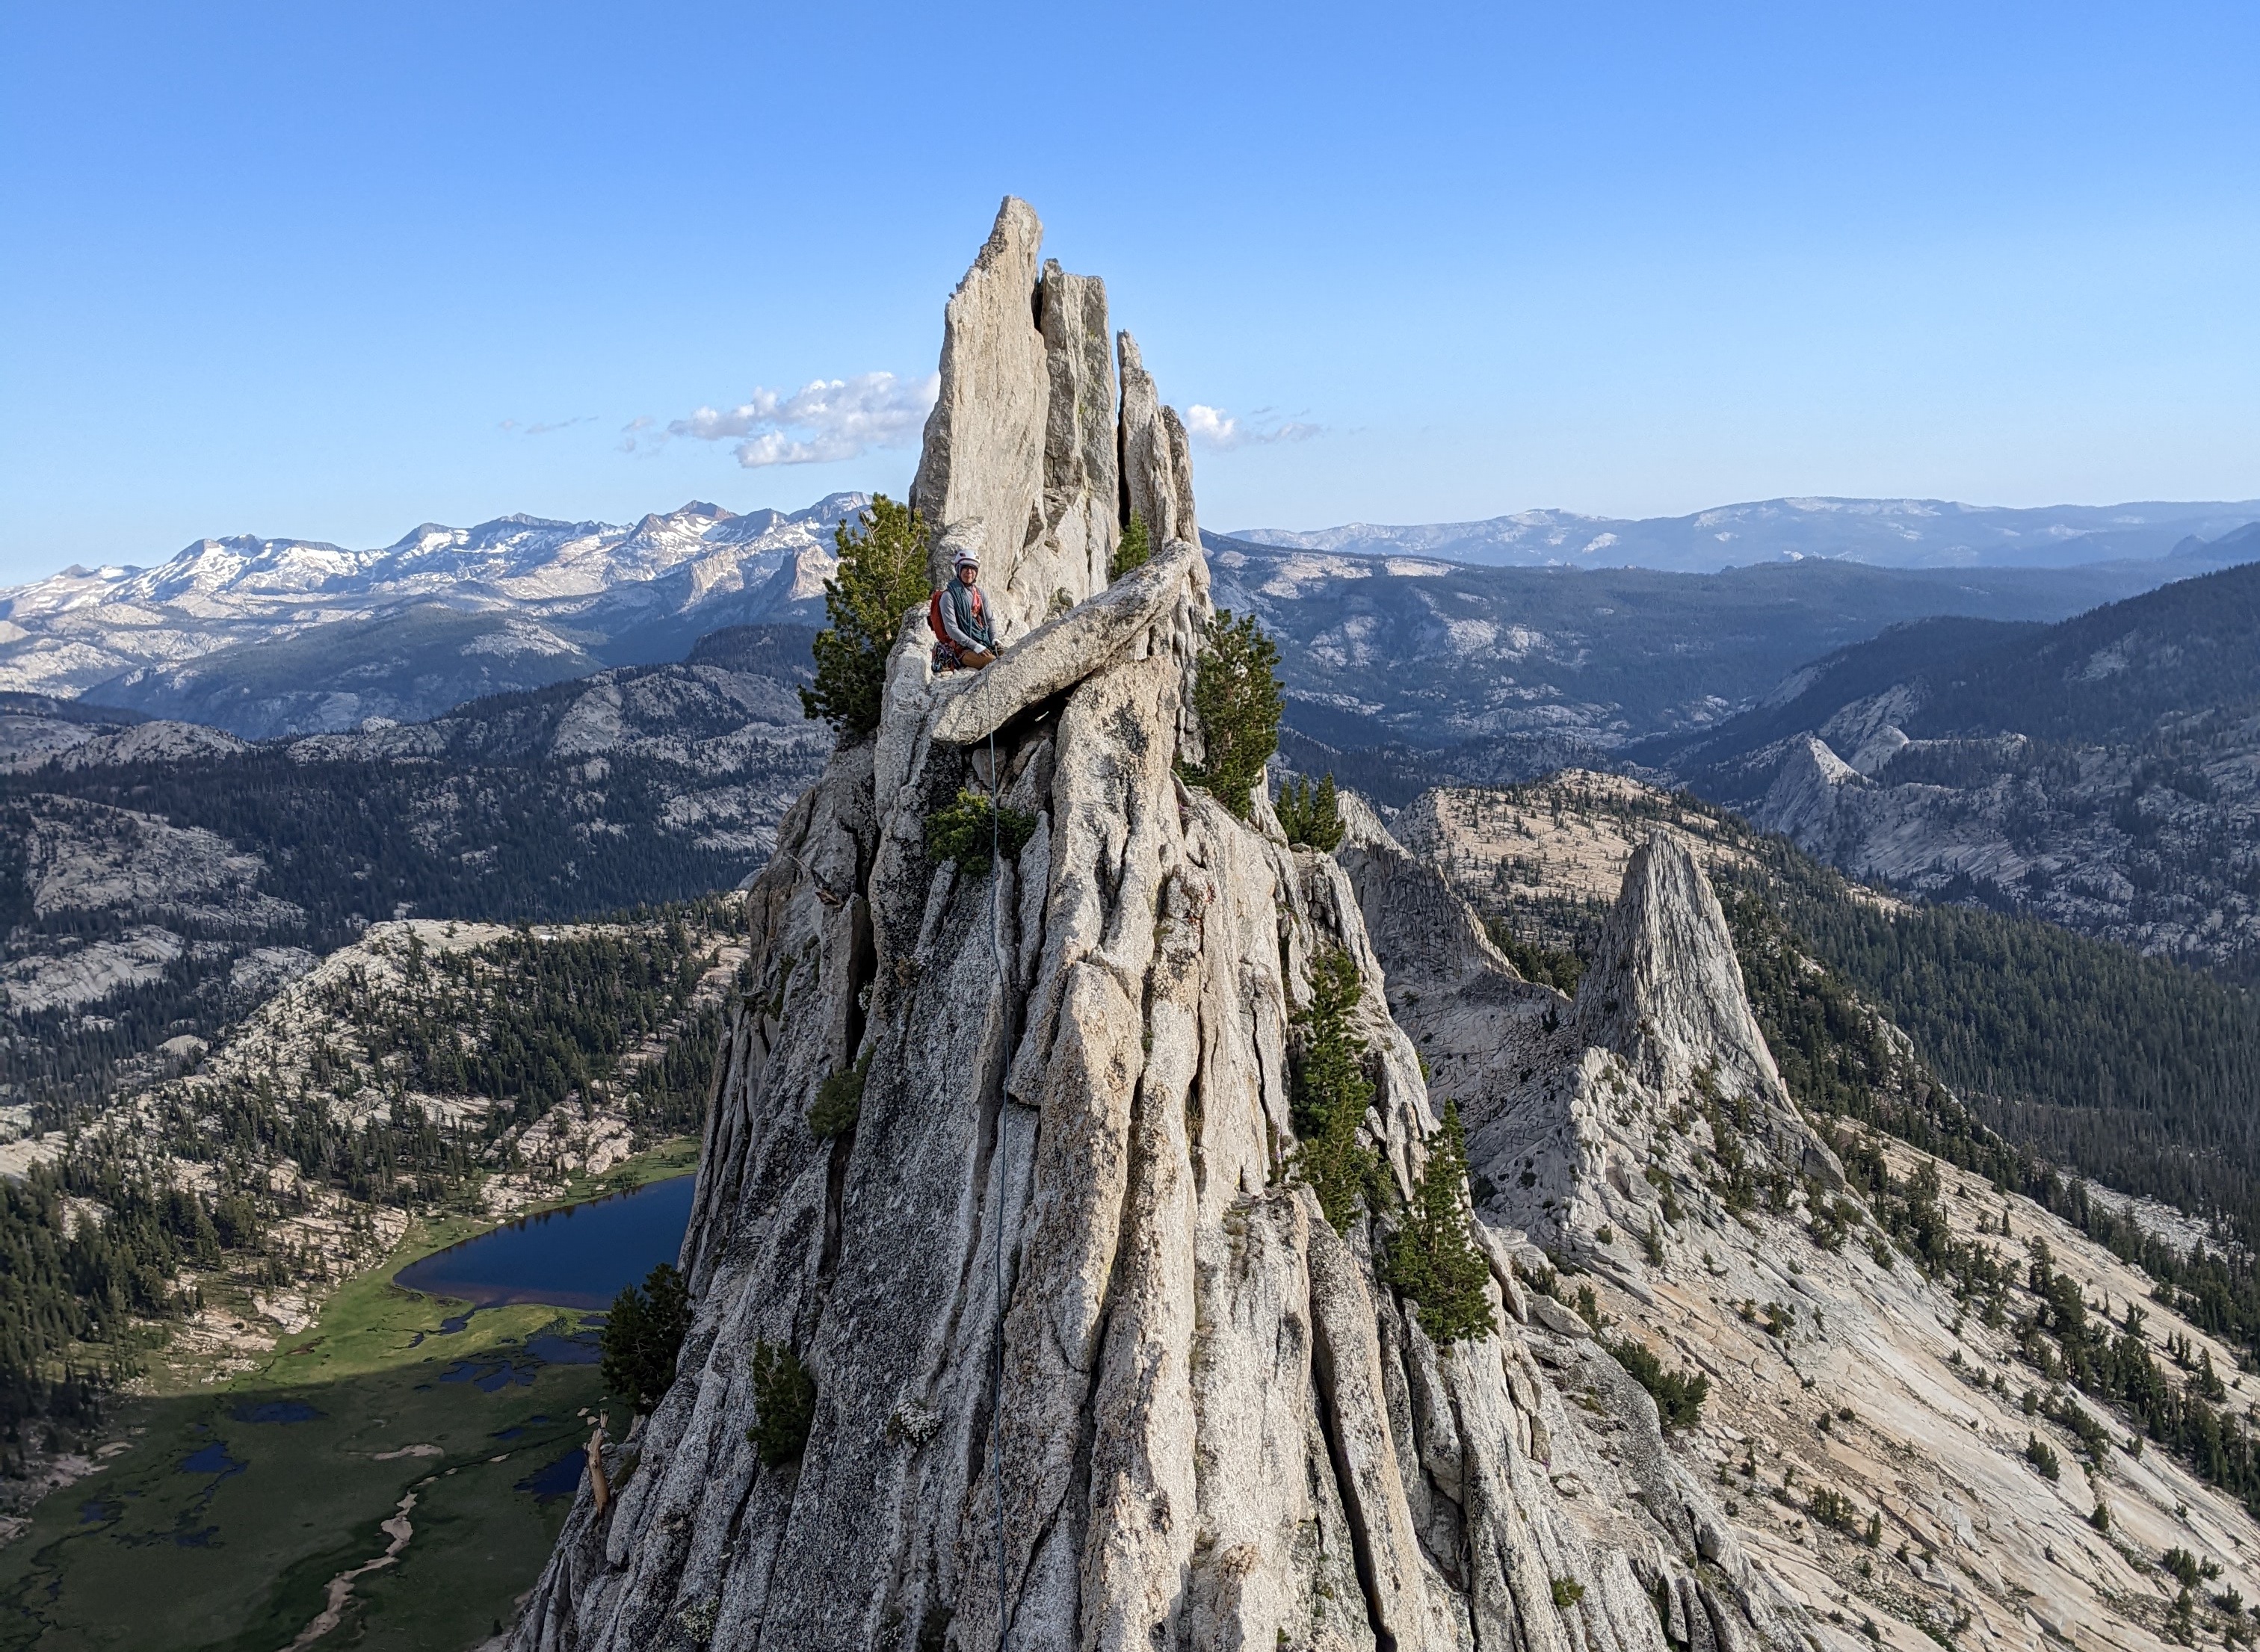
The traverse continued on for quite a while like this! In some sections, there would be 20 or so feet of vertical climbing, and a few times I had to do a few 5.7ish downclimb moves, which I was able to protect with cams. A few times, Louie and I thought we were about to reach the South Summit only to realize that we had been faked out by a false summit, and the real summit was actually still a ways to go.
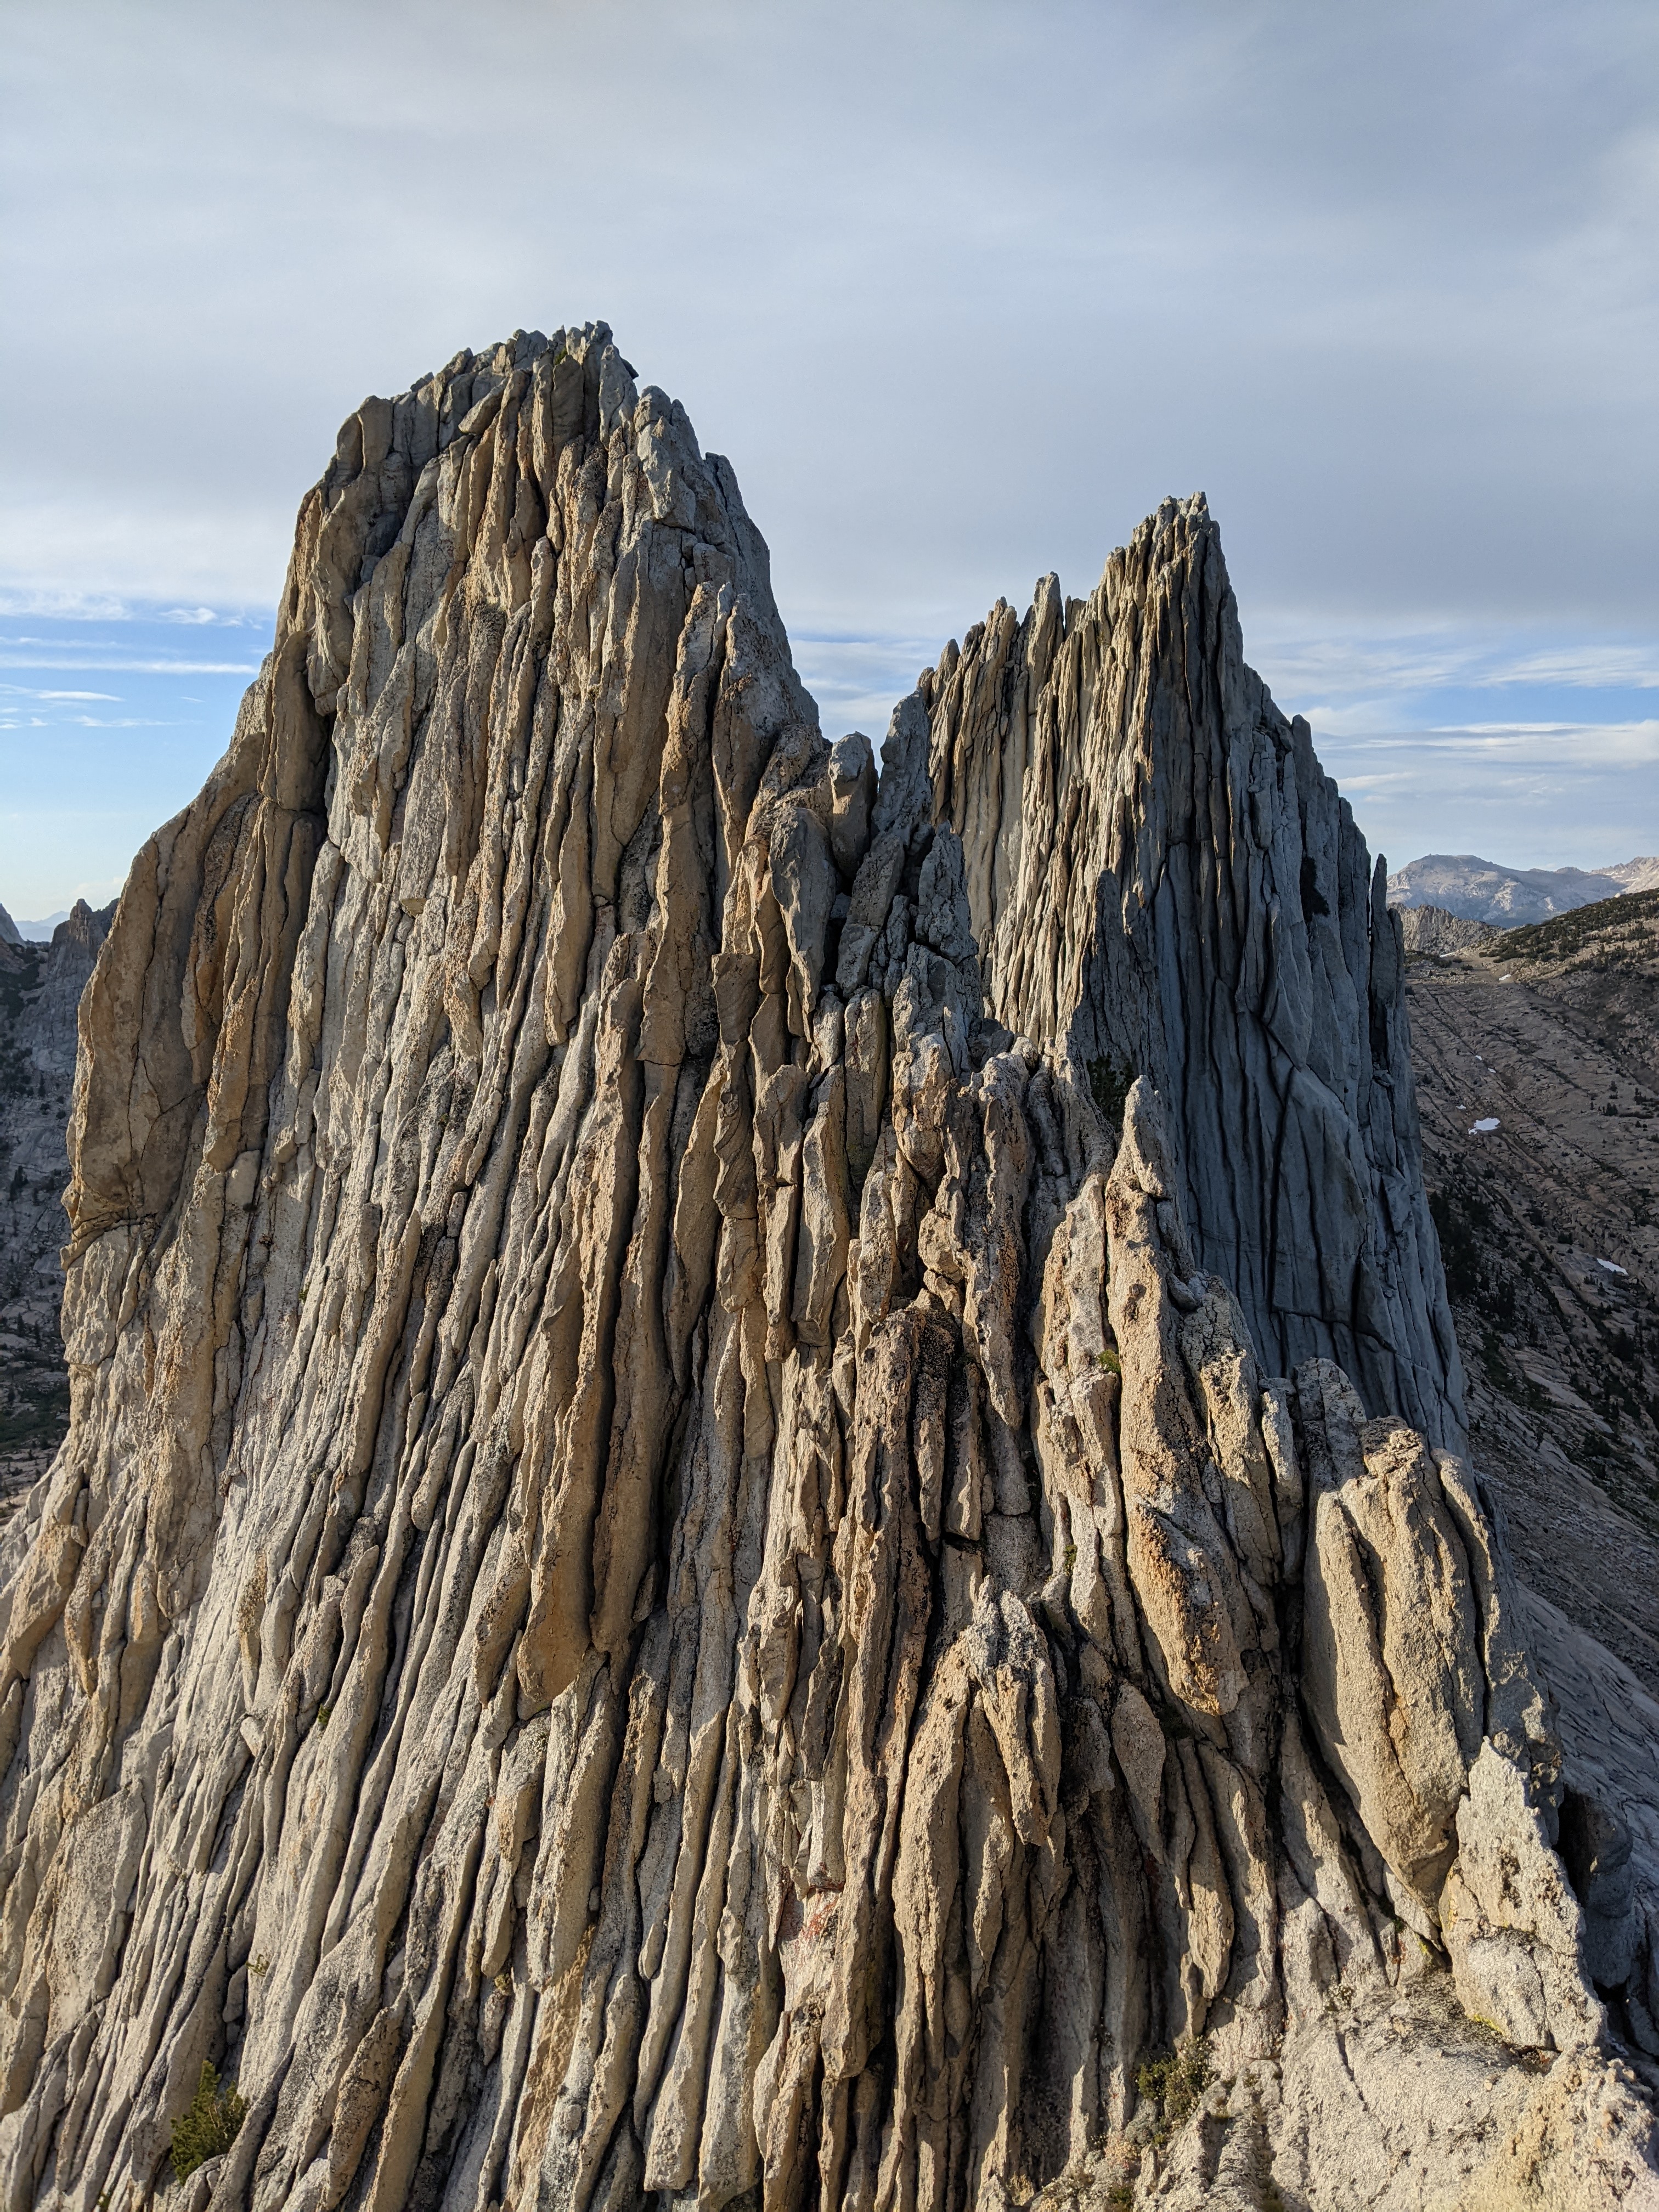
We were getting pretty tired by around 6:30 or 7pm but pressed onwards. I ended up doing around 5 or 6 simul pitches, eventually reaching the South Summit around 8pm, 4 hours since beginning Matthes Crest. We had initially planned to also tag the North Summit, but it was getting late and we didn’t want to risk having to rappel or down-scramble anything in the dark, so we opted to begin the descent from here.
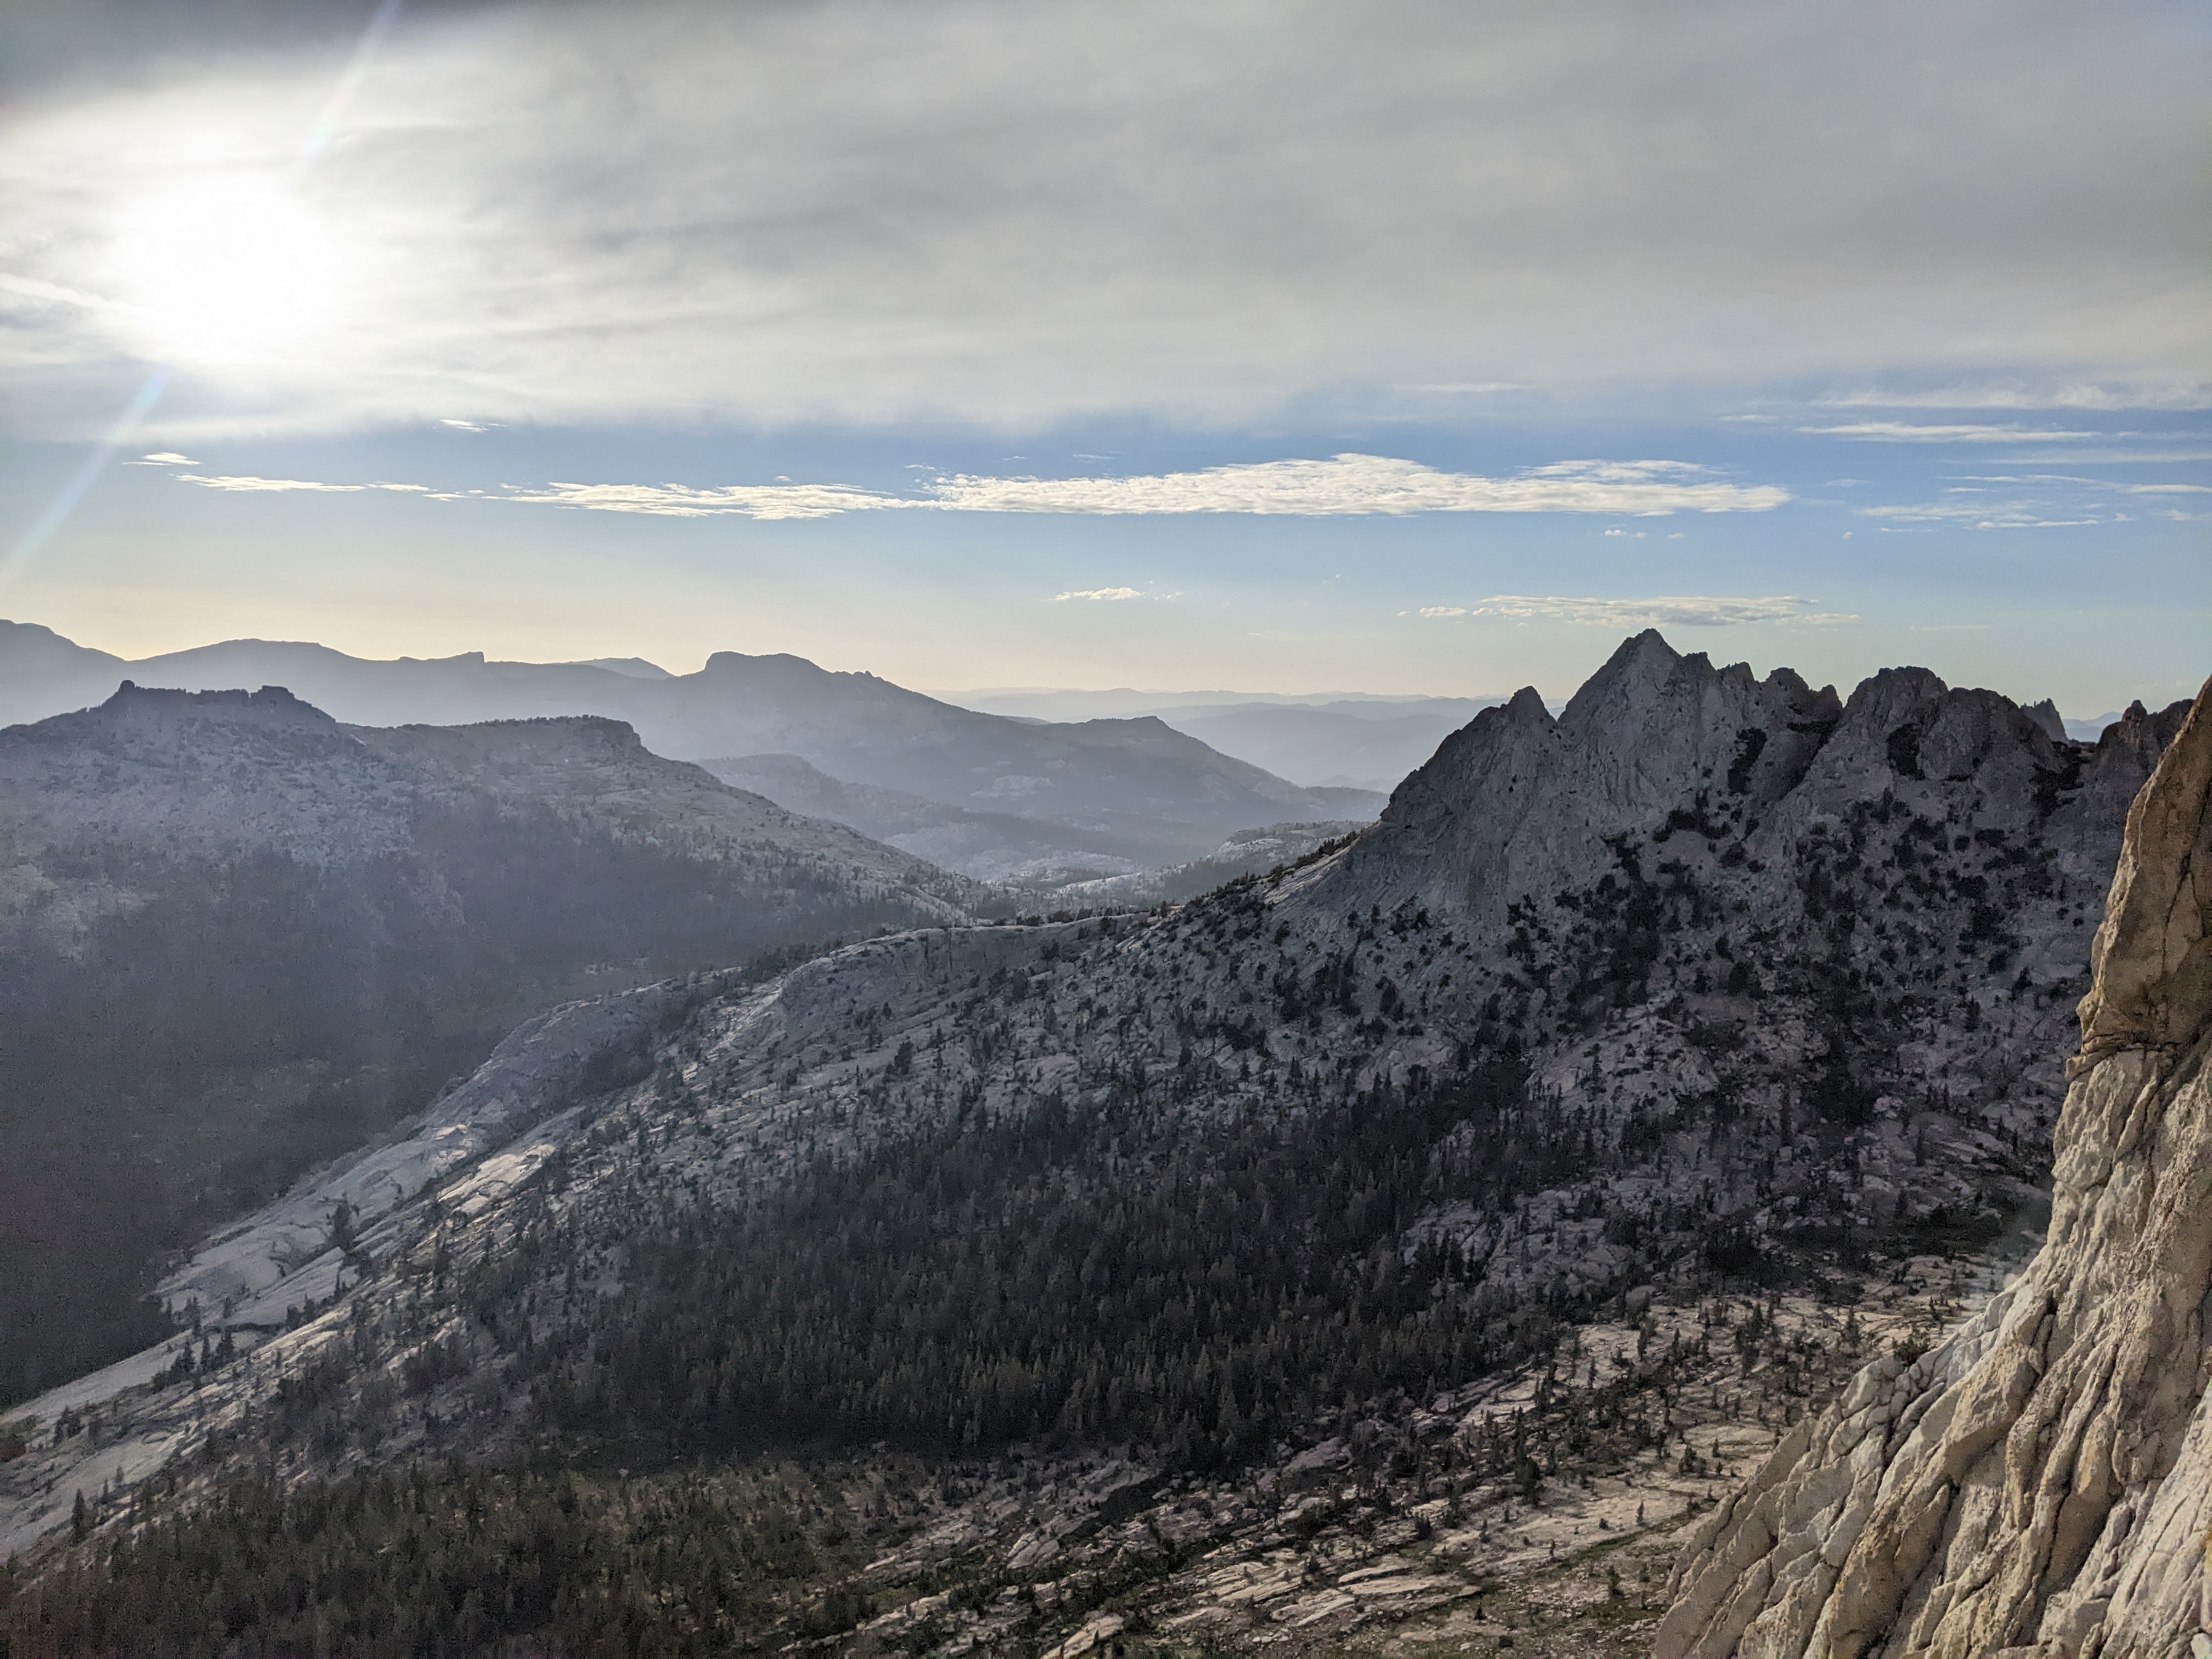
Descent and hike to Cathedral trailhead
About 40 feet before the South Summit, I had noticed a rappel station. This isn’t the standard descent, but it looked pretty reasonable, so we headed back there to rappel. We did 2 70m rappels, once from a large flake and once from a tree. Both stations had new cord/webbing and rap rings. We had to downscramble a bit after each rappel, but it wasn’t too hard.
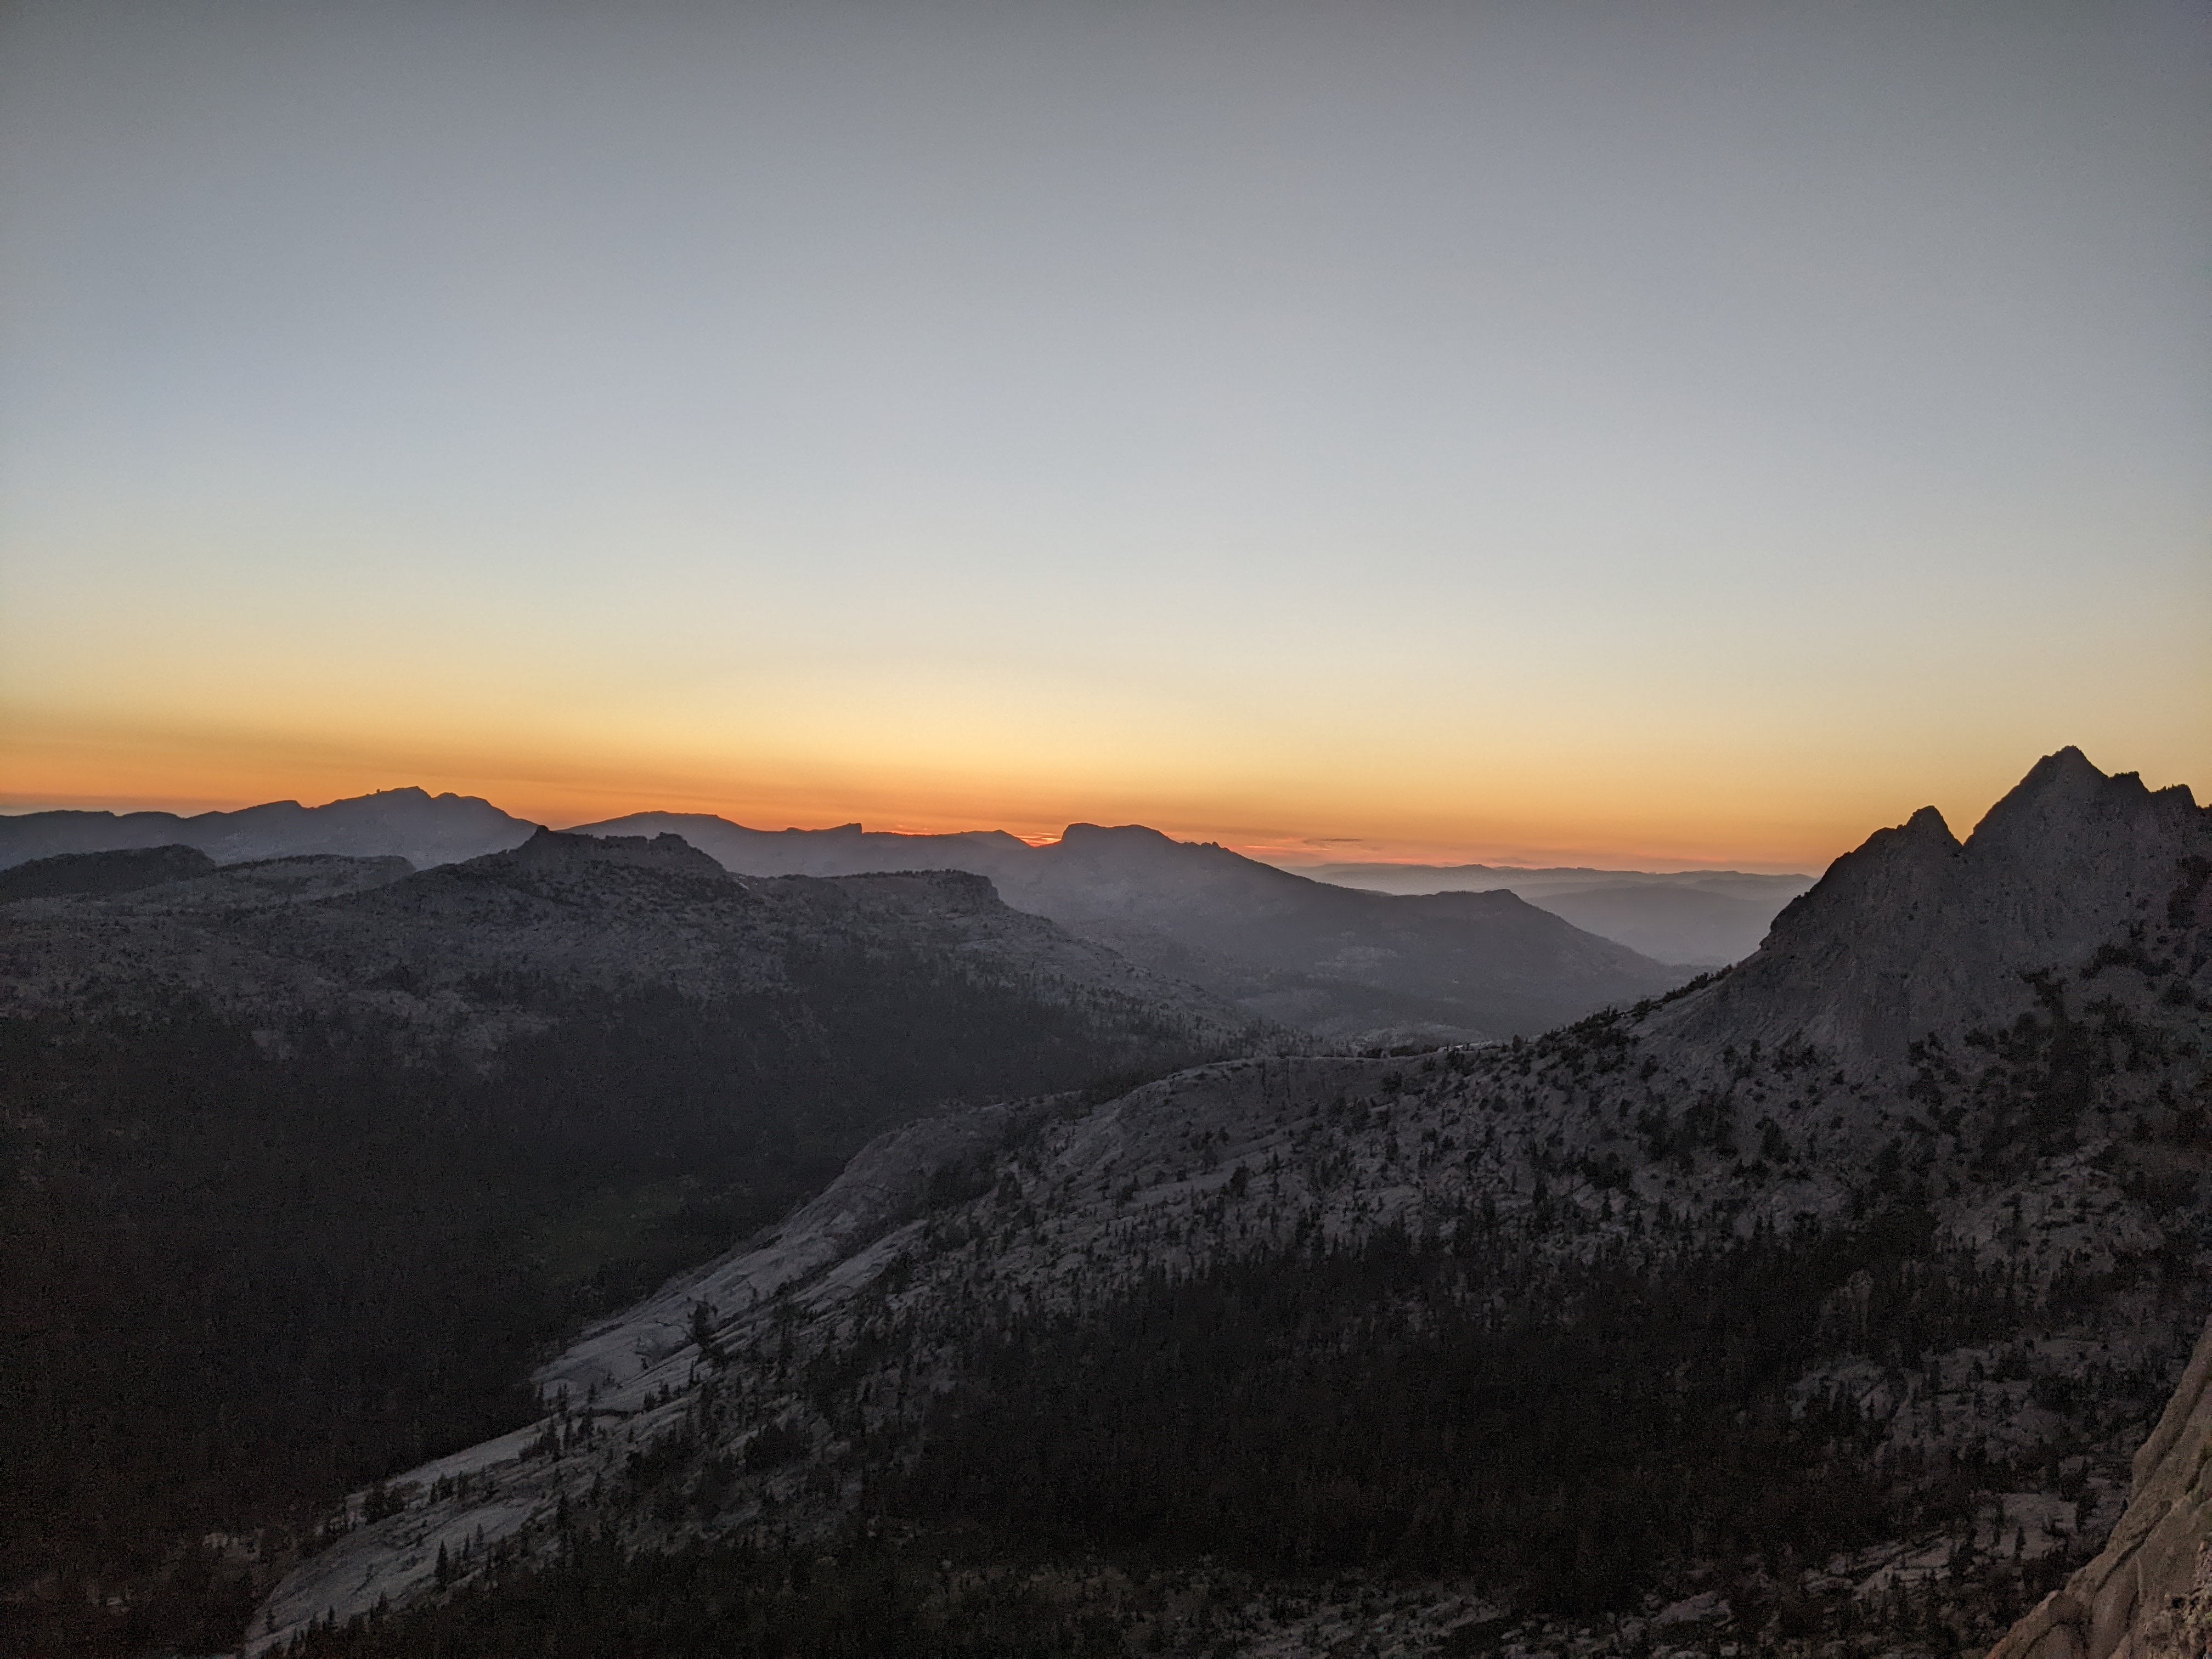
When we reached the ground, it had just gotten dark and we pulled out our headlamps to begin the long hike out (5 miles or so).
The first several miles are off trail, heading past the left side of Echo Peaks and over the ridge, then down to the Cathedral Peak trail. We were able to navigate this section in the dark without much trouble, since you basically head in a straight line towards where you want to go. The terrain is not steep or treacherous. We were a bit tired but once we got to the downhill section, we were able to still hike at a reasonable pace. We eventually made it to the Cathedral Peak climber’s trail, which we were familiar with due to having taken it on last year’s trip. At this point, we were booking it and made it to the road just 20 minutes after midnight. This finished off our long 18+ hour day!
It was a long day but it had gone almost exactly according to plan. We wished that the hiking had gone faster, which we could probably improve on in the future by taking the correct approach to Tenaya Peak and by lightening our packs. But the climbing was all very smooth and we were happy with the climbing pace (2 hours for Tenaya and 4 for Matthes). And thanks to the long days, we had been able to complete all of the climbing and rappelling in the light. All in all, it was a challenging and fun adventure in Yosemite’s beautiful high country!